Office Refurbishment Contractors: Modern Spaces
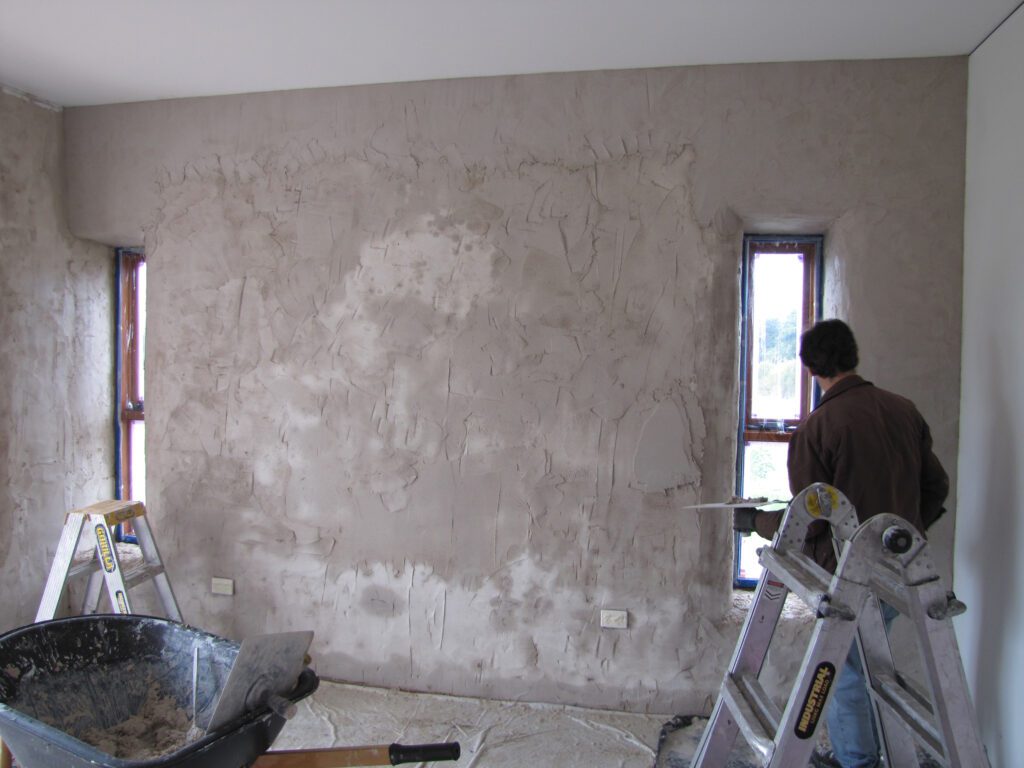
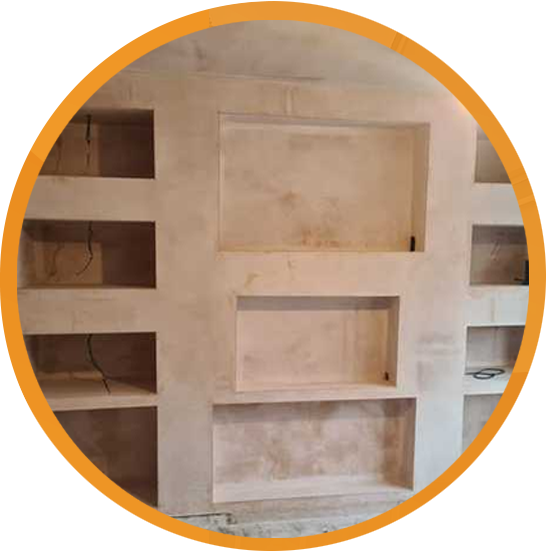
Quick Answer: Office refurbishment contractors transform outdated workspaces into modern, productive environments through strategic planning, quality craftsmanship, and minimal business disruption. Professional renovations typically cost £300-£1600 per square metre and can increase employee productivity by up to 20% while reducing workplace stress by 30%. Looking to revitalize your office space? Discover how professional refurbishment contractors are revolutionizing workplaces across Kent through innovative design and expert craftsmanship. As businesses evolve, the need for modern, efficient workspaces has never been more crucial. Office refurbishment contractors are leading the charge in transforming outdated environments into dynamic, productivity-enhancing spaces that reflect contemporary business needs. Understanding Modern Office Refurbishment Today’s office refurbishment goes far beyond cosmetic improvements. Modern workplace transformations integrate cutting-edge technology, wellness features, and productivity-enhancing elements. According to recent industry data, 75% of employees consider their physical workspace crucial for productivity. Professional contractors understand that successful office renovations must balance aesthetic appeal with practical functionality. Key integration elements include: Improved natural lighting systems Acoustic management solutions Flexible working areas Hybrid working accommodations Enhanced collaboration spaces The latest trends show that 88% of high-performing workplaces have undergone significant renovations in the past five years to accommodate hybrid working models and enhanced collaboration spaces. The Strategic Planning Phase Successful office refurbishment begins with comprehensive planning: Comprehensive site assessment and feasibility studies Detailed budget planning and cost analysis Permit acquisition and regulatory compliance checks Timeline development with minimal business disruption Material selection and procurement strategy Health and safety consideration integration Pro Tip: Schedule noisy renovation work during off-hours and create temporary workspaces to minimize business disruption. Well-planned projects can reduce downtime by up to 40% compared to poorly managed renovations. Essential Elements of Office Renovation Space Planning and Layout Optimization Expert contractors employ advanced space planning techniques to maximize workplace efficiency. This includes creating multi-functional areas, implementing activity-based working zones, and ensuring smooth traffic flow. Recent studies indicate that well-planned office layouts can increase productivity by up to 20%. Contractors utilize 3D modeling and space analysis tools to visualize and optimize every square metre of available space. Infrastructure Updates Modern offices require comprehensive infrastructure improvements: Modern electrical systems with sufficient power points and charging stations Advanced networking infrastructure for seamless connectivity Energy-efficient HVAC systems Enhanced security systems integration Sustainable lighting solutions Future-proof technology infrastructure Interior Design and Finishes Professional contractors understand that surface finishes and design elements significantly impact workplace atmosphere and productivity. High-quality plastering work creates smooth, perfect surfaces for modern office aesthetics. The selection of materials, colours, and textures is carefully considered to create an environment that promotes both wellbeing and productivity. Recent studies show that thoughtful interior design can reduce stress levels by 30% and increase job satisfaction by 25%. Managing the Transformation Process Minimizing Business Disruption Expert office refurbishment contractors employ sophisticated project management techniques to minimize disruption to daily operations. This includes careful scheduling of noisy works during off-hours, creating temporary workspaces, and implementing phase-based renovation strategies. Statistics show that well-planned office renovations can reduce downtime by up to 40% compared to poorly managed projects. Quality Control and Project Management Professional contractors maintain strict oversight throughout the renovation: Daily progress monitoring and quality checks Regular client communication and updates Strict adherence to health and safety regulations Coordination with all subcontractors Systematic problem-solving approach Detailed documentation and reporting The Impact of Professional Office Refurbishment Employee Wellbeing and Productivity Modern office renovations prioritize employee wellness through improved air quality, natural lighting, and ergonomic design. Research indicates that companies with well-designed workspaces see a 15% increase in employee productivity and a significant reduction in sick days. Professional contractors incorporate key wellness features: Breakout areas for relaxation Quiet zones for focused work Biophilic elements to create a balanced environment Brand Image and Client Impressions A well-designed office delivers multiple business benefits: Professional office environment reflects company values Enhanced first impressions for clients and visitors Improved company culture and employee pride Better talent attraction and retention Increased property value and marketability Office Refurbishment Cost Breakdown Cost Factor Price Range Notes UK Office Fit Out (per sqm) £300 – £1600 Varies by project type and funding Singapore Office (per sqm) S$300 – S$1000+ International comparison Singapore Office (per sqft) S$30 – S$100+ Alternative measurement Making the Right Choice for Your Office Renovation Selecting the right refurbishment contractor is crucial for project success. Look for contractors with proven experience in commercial renovations, strong project management capabilities, and comprehensive service offerings. Ensure they understand current workplace trends and can deliver solutions that align with your business objectives. Industry data shows that 65% of successful office renovations are attributed to choosing the right contractor. Transform Your Workspace with Kent’s Leading Contractors Ready to revolutionize your workplace? Kent’s professional office refurbishment contractors combine expertise, innovation, and precision craftsmanship to deliver exceptional results. With a focus on quality finishes, minimal disruption, and maximum value, these experts can transform your tired office space into a modern, productive environment that inspires success. Contact Kent’s leading contractors today for a consultation and take the first step toward creating your ideal workplace. FAQ How much to renovate a small office? Office renovation cost per square meter (sqm) in Singapore could start from a low of S$300 to more than S$1000. And the cost in terms of per square feet (sqft) is around S$30 to more than S$100. How much to refurbish an office? The cost of an office fit out or office refurbishment can range between £300 to £1600 per square metre. A more specific breakdown of costs are listed below, though these will vary between types of project. Which funding avenue you choose can also influence costs. Sources [1] https://www.calahan.com/full-service-general-contracting/remodel-renovations/ [2] https://www.fentonconstruction.com/services/fit-out/ [3] https://www.fentonconstruction.com/services/commercial-industrial-renovation/
Office Refurbishment Contractors: Modern Spaces Read More »