How To Skim Coat A Wall
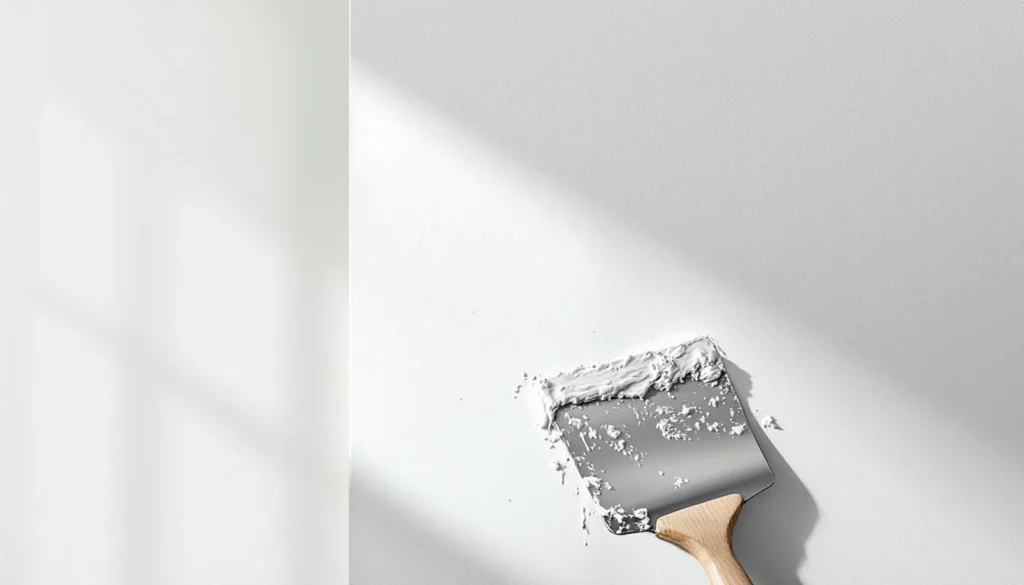
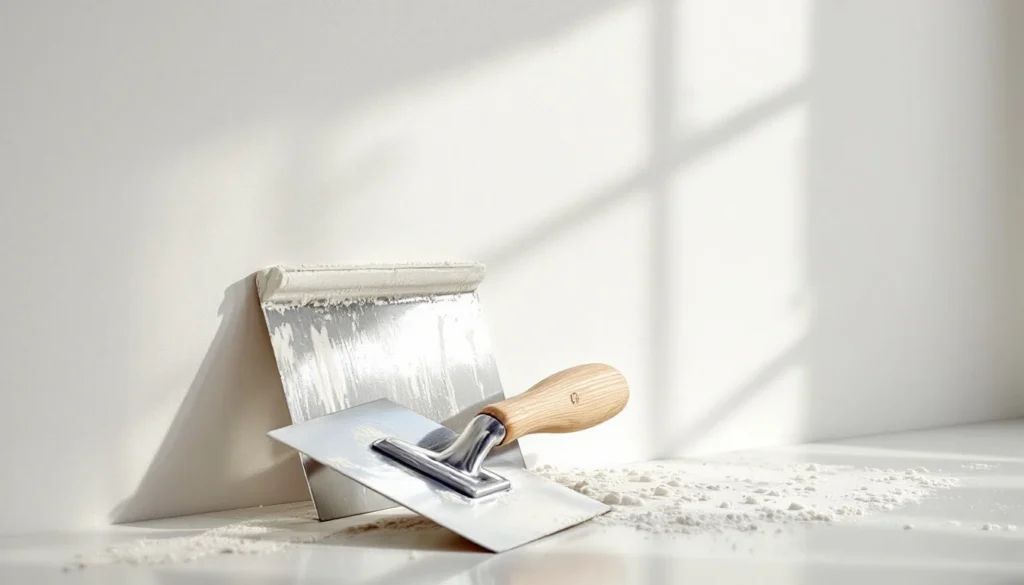
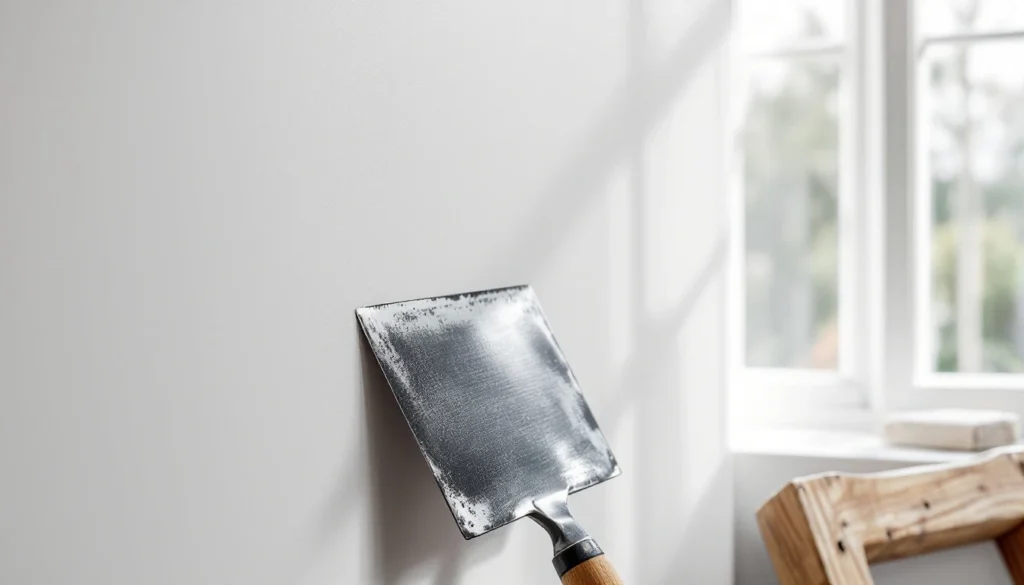
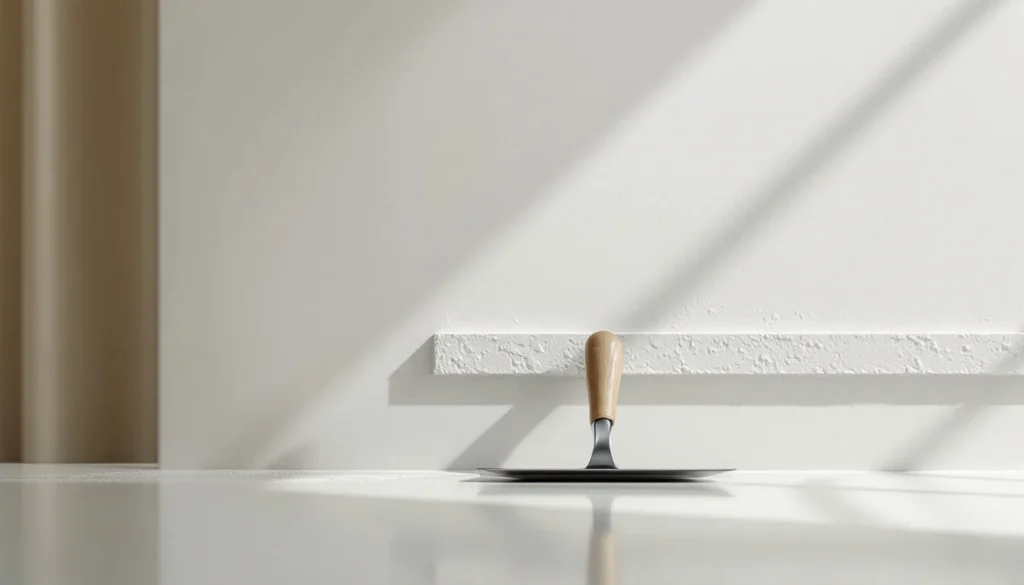
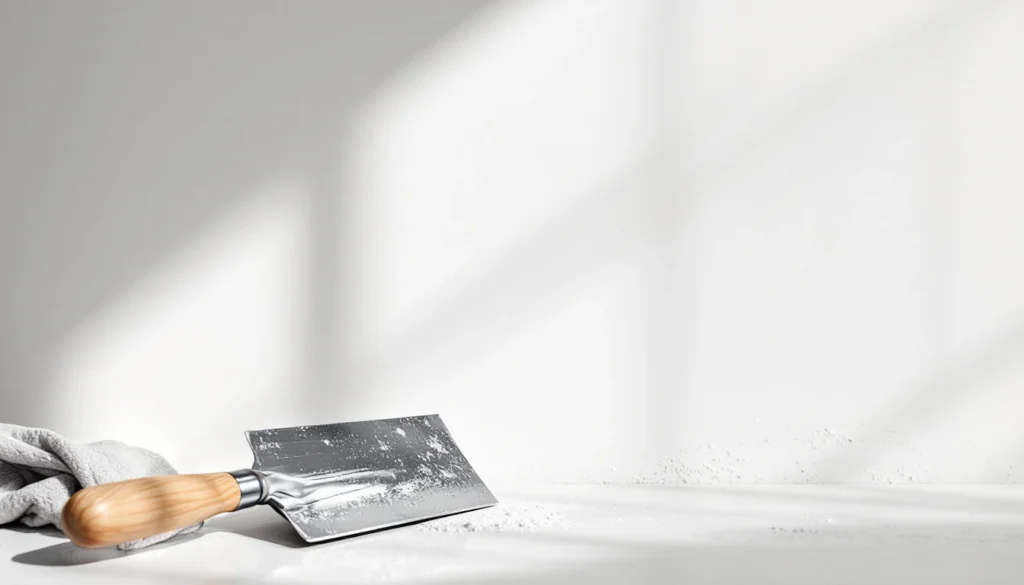
Quick Answer: Skim coating (also called skimming) is the process of applying a thin, smooth layer of finishing plaster over plasterboard, old plaster, or previously painted walls to create a perfectly flat surface ready for decoration. It typically takes 2-3 coats of multi-finish or board finish plaster applied at 2-3mm thickness per coat, with 20-40 minutes drying time between coats. While DIY is possible for small areas, professional plasterers charge £150-£300 per day or £15-£25 per square metre for perfect results. What Is Skim Coating and Why Would You Need It? Skim coating is the most common plastering technique used in UK homes today. It’s the final finishing layer that transforms rough or damaged surfaces into smooth, paint-ready walls. You’ll need to skim coat a wall in several common scenarios: New plasterboard installation: Freshly hung plasterboard needs two coats of finishing plaster to create a smooth surface Damaged or cracked walls: Old plaster with cracks, dents, or uneven patches Artex or textured ceiling removal: After scraping off textured coatings, a skim coat provides a modern flat finish Painted walls needing refresh: Previously painted surfaces can be skimmed over after proper preparation After tile removal: Bathroom or kitchen walls where tiles have been stripped need a new surface The British Gypsum Technical Manual specifies that skim coats should be applied in two thin layers rather than one thick coat, which prevents cracking and ensures proper drying. Essential Materials and Tools for Skim Coating Getting the right materials is critical. Professional plasterers are particular about their tools for good reason—quality equipment makes the job significantly easier. Plaster Types for Skim Coating Plaster Type Best For Setting Time Cost (25kg bag) Multi-Finish Most surfaces including plasterboard and old plaster 90 minutes £8-£12 Board Finish Plasterboard only (lower suction) 90 minutes £8-£12 Easifill 60 Small repairs and patches 60 minutes £12-£16 For most DIY projects, British Gypsum Thistle Multi-Finish is the go-to choice. It works on virtually any background and is available at Screwfix, Wickes, and Travis Perkins. One 25kg bag covers approximately 10-12 square metres at standard thickness. Required Tools Plastering trowel (280-300mm): A quality stainless steel trowel is essential—expect to pay £20-£45 for professional grade (see our complete trowel guide) Hawk or hand board: For holding plaster while working (£8-£15) Mixing bucket (25-30 litre): Dedicated plastering buckets with measurement marks (£8-£12) Mixing paddle and drill: A mixing paddle attachment for a power drill ensures lump-free plaster (£10-£18) Gauging trowel: For mixing small batches and getting plaster onto your hawk (£6-£10) Spray bottle: For dampening the trowel during polishing (£3-£5) Corner trowel (optional): Makes internal corners easier for beginners (£12-£18) Clean water bucket: Keep your trowel clean between coats Professional plasterers often use corner beads and plaster trims to create perfectly straight edges and protect vulnerable corners. Preparing Your Wall for Skim Coating Preparation accounts for 50% of achieving professional results. Rush this stage and your skim coat will fail—it’s that simple. Surface Assessment and Cleaning First, identify your substrate type. The preparation method differs significantly between plasterboard, old painted plaster, and previously wallpapered surfaces. For new plasterboard: Ensure all joints are properly taped with scrim tape Check that all plasterboard screws are countersunk below the surface Remove any dust with a soft brush Apply a thin coat of diluted PVA (see below) if the board is very dry For painted walls: Remove any loose or flaking paint with a scraper Wash down with sugar soap to remove grease and dirt Rinse thoroughly and allow to dry completely Score shiny painted surfaces with a wire brush to create a mechanical key Apply a bonding agent or diluted PVA For old plaster: Remove any loose or blown areas completely back to solid plaster Fill deep holes with bonding plaster first Brush off all dust and debris Check for dampness—never plaster over damp walls ⚠️ Warning: Never attempt to skim coat over wallpaper or vinyl coverings. The moisture in fresh plaster will cause the paper to bubble and peel away, taking your new plaster with it. Always strip walls completely first. The PVA Debate: To Use or Not to Use? The use of PVA (polyvinyl acetate) as a bonding agent divides plasterers. Modern best practice, according to British Gypsum’s technical guidance, recommends specific plaster bonding agents over general-purpose PVA for critical applications. However, diluted PVA (4 parts water to 1 part PVA) still has its place for controlling suction on thirsty backgrounds. Read our detailed guide on when and how to use PVA for plastering for the full technical breakdown. Surface Type Preparation Required Drying Time Before Plastering New plasterboard Light PVA solution or none if low suction board 30-40 minutes (should be tacky, not wet) Painted plaster Blue Grit or bonding agent Follow product instructions (typically 24 hours) Old bare plaster Two coats of PVA solution 30-40 minutes between coats, plaster when tacky Blown plaster areas Remove completely, fill with bonding coat 24 hours (bonding must be fully set) Pro Tip: The timing of your PVA application is critical. You want to plaster when the PVA is still slightly tacky to touch but no longer wet. This usually means waiting 30-40 minutes after application, but timing varies with temperature and humidity. In warm weather, you may need to apply a second thin coat just before plastering to maintain the tackiness. Mixing Plaster: Getting the Consistency Right Proper mixing is where most DIY attempts go wrong. Plaster must be mixed to the correct consistency—too thick and it won’t spread, too thin and it’ll slump and lack adhesion. The Correct Mixing Process Step-by-step mixing method: Fill a clean bucket about one-third full with cold, clean water (warm water accelerates setting) Add plaster powder by sprinkling it into the water—never add water to powder Add plaster until small islands appear just above the water surface Leave to stand for 30-60 seconds (allows powder to slake) Mix thoroughly with a paddle attachment on a drill at low speed (400-600 RPM) Mix for 90-120 seconds until completely lump-free
How To Skim Coat A Wall Read More »