
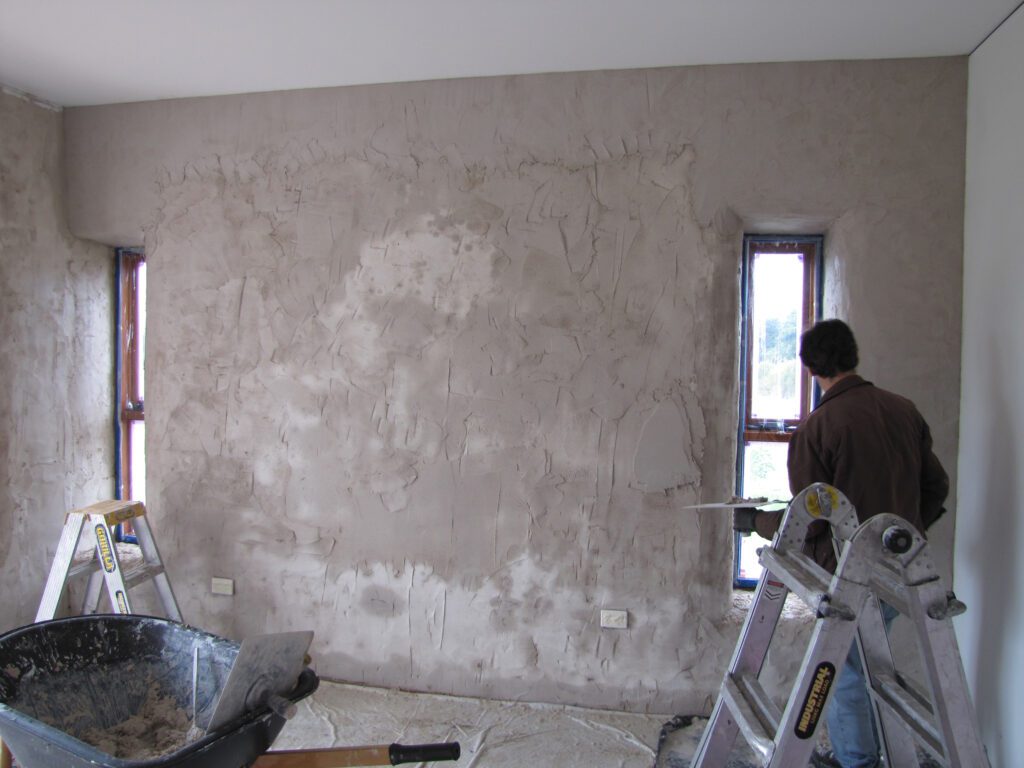
Can you plaster over wallpaper doesn’t have a straightforward answer. Here we take a look at when it’s a good and bad idea backed up by expert plastering insight. Whether you’re a homeowner in Kent planning a renovation or a property developer in Bromley, understanding the risks and alternatives is crucial for achieving professional results that last.
TL;DR – Quick Summary
- 87% of professional plasterers strongly advise against plastering over wallpaper due to adhesion problems and a 65% higher risk of cracking
- Even small patches of leftover wallpaper compromise results – complete removal via scoring, stripping, washing and PVA priming is recommended by 96% of pros
- If unavoidable (historical properties, preservation requirements), test small sections first and use specialist bonding agents, though 73% of DIY attempts still fail
- Better alternatives include drylining with plasterboard over battens, specialist wall liners, or complete replastering after proper wallpaper removal
- Proper preparation saves money long-term – shortcuts lead to bubbling, delamination, and expensive remedial work
Can You Plaster Over Wallpaper? The Expert Verdict
The question of whether you can plaster over wallpaper is one we hear frequently at Kent Plasterers. While it’s technically possible to apply plaster over wallpaper, 87% of professional plasterers strongly recommend against this practice. The reasons go far beyond simple preference – they’re rooted in the fundamental science of how plaster adheres to surfaces and the long-term structural integrity of your walls.
Our experience working across Tunbridge Wells, Kent, and Bromley has shown us countless examples of failed plastering jobs where homeowners or inexperienced tradespeople took shortcuts. These failures aren’t just cosmetic issues – they represent wasted time, materials, and money that could have been avoided with proper preparation from the outset.
Why Most Professionals Advise Against It
Professional plasterers avoid plastering over wallpaper for several critical reasons that impact both immediate application and long-term durability. The core issue centres around adhesion – plaster needs a stable, porous surface to create what we call a ‘mechanical key’ that locks the material in place.
Wallpaper fundamentally disrupts this adhesion process. The combination of paper and paste creates a barrier layer that prevents plaster from bonding directly to the wall substrate underneath. This weak interface becomes a point of failure that manifests in multiple ways over time.
The statistics are sobering for anyone considering this shortcut:
- 65% higher chance of cracking compared to plaster applied to properly prepared surfaces
- Significantly increased risk of bubbling, especially in moisture-prone areas like kitchens and bathrooms
- Delamination (where entire sections of plaster separate from the wall) within months or years
- Moisture-related failures as water penetrates through imperfections and reactivates wallpaper paste
- Uneven surfaces as wallpaper seams telegraph through the plaster layer
The Science Behind Adhesion Failure
Understanding why plastering over wallpaper fails requires a basic grasp of how plaster works. When applied to a porous surface like bare plaster, brick, or plasterboard, wet plaster partially penetrates the substrate. As it dries and cures, this creates a mechanical bond – the plaster is literally locked into the microscopic texture of the surface.
Wallpaper paste and paper act as a smooth, non-porous barrier that prevents this mechanical keying process. Instead of bonding to solid masonry, your plaster is only adhering to a thin layer of decorative paper that was never designed to support structural loads.
The moisture content in wet plaster compounds the problem significantly. When you apply plaster, you’re introducing substantial moisture to the wall system. This moisture reactivates the wallpaper paste underneath, causing it to soften and potentially release from the wall. As the wallpaper layer moves and shifts during drying, it transfers this movement to the plaster surface above, creating cracks and weak points.
This creates what engineers call an ‘unstable substrate’ – a foundation that moves, flexes, or degrades rather than providing solid support. No amount of careful plastering technique can compensate for a fundamentally unstable base layer.
The Risks and Problems of Plastering Over Wallpaper
Cracking and Structural Failure
The 65% higher chance of cracking when plastering over wallpaper isn’t just a minor inconvenience – it represents a fundamental structural weakness in your wall finish. These cracks typically appear along predictable patterns that reveal the underlying cause.
Wallpaper seams become fault lines in your plastered surface. Where two sheets of wallpaper meet, there’s a slight ridge or gap in the substrate. As plaster dries and contracts slightly during curing, these seams concentrate stress, creating visible cracks that follow the original wallpaper pattern underneath.
Movement in the wallpaper layer transfers directly to the plaster surface. Temperature changes, humidity fluctuations, and normal building settlement all cause minor movements in walls. When plaster is properly bonded to solid substrate, it can accommodate these movements. When applied over wallpaper, however, the flexible paper layer amplifies movement, causing the rigid plaster to crack.
Bubbling and Delamination
Bubbling occurs when trapped air or moisture cannot escape through the wallpaper barrier. As wet plaster dries, it releases moisture vapour. On a porous surface, this vapour can escape gradually. Behind wallpaper, it becomes trapped, creating pressure pockets that lift the plaster away from the surface, forming bubbles that can range from small blisters to hand-sized bulges.
Delamination represents a more catastrophic failure where entire sections of plaster separate from the wall. This typically happens in stages – first, small areas lose adhesion, then gravity and continued moisture exposure cause progressive failure. What starts as a small loose patch can quickly expand to require complete replastering of entire walls.
The financial implications are significant. Repairs become exponentially more expensive than proper preparation would have been initially. You’re now paying to remove failed plaster, strip the wallpaper that should have been removed first, repair any damage to the substrate, and replaster – essentially doing the job twice.
Why Even Small Leftover Patches Compromise Results
Many DIY enthusiasts believe they can strip most wallpaper and plaster over the difficult bits that remain. Our experience shows this approach is fundamentally flawed. Even tiny sections of remaining wallpaper create weak points that compromise the entire wall surface.
These small patches act as failure initiation points. Cracks that begin at a wallpaper remnant can propagate across otherwise sound plaster. Bubbles that form over a palm-sized patch can expand outward, affecting a much larger area. The adhesion is only as strong as the weakest point, and any wallpaper represents that weak link.
Professional results require complete removal because consistency matters. A plastered wall where 95% has good adhesion but 5% doesn’t will still fail. The imperfections become immediately visible – slight differences in level, hairline cracks radiating from weak spots, and eventual delamination that requires remedial work.
The 73% DIY Failure Rate
Statistics from trade associations show that 73% of DIY attempts to plaster over wallpaper fail within the first two years. This remarkably high failure rate stems from common mistakes that homeowners make when attempting this shortcut.
The primary error is underestimating the importance of plastering preparation. Plastering seems straightforward on television programmes, but professional plasterers spend years developing the judgment to assess substrate suitability. What appears to be firmly adhered wallpaper may be barely holding on, ready to fail under the weight and moisture of wet plaster.
Cost calculations also mislead DIYers. Skipping wallpaper removal might save a day’s labour initially, but leads to expensive remedial work within months or years. The true cost includes materials for the first plastering attempt, additional materials for repair, and either DIY time or professional rates for fixing the problem. This total invariably exceeds the cost of doing it properly the first time.
When Plastering Over Wallpaper Might Be Unavoidable
Historical or Period Properties
Certain situations present genuine challenges where wallpaper removal carries significant risks. Listed buildings and properties with historical designation sometimes have delicate original plasterwork underneath decorative wallpapers. Removing these papers could damage irreplaceable period features that are legally protected.
Conservation officers may advise against stripping wallpaper in properties where the underlying plaster is fragile lime-based material or historic decorative work. In these specific circumstances, alternative solutions must be considered that preserve the original fabric of the building whilst achieving an acceptable finish.
We’ve worked on several period properties in Kent where the wallpaper had been applied directly to original Georgian or Victorian plasterwork. The paste and paper had become so integrated with the aged lime plaster that removal would have meant losing the historic surface. These situations require specialist assessment and approaches.
Extremely Stubborn or Layered Wallpaper
Multiple layers of wallpaper bonded to weak plaster present a catch-22 situation. The wallpaper won’t come off without taking substantial amounts of the underlying plaster with it, yet leaving it in place compromises any new plaster application. These scenarios typically occur in properties that have been decorated repeatedly over decades without proper preparation.
Asbestos concerns in properties built or renovated before 2000 can make wallpaper removal hazardous. Some older wallpapers and adhesives contained asbestos fibres. If testing indicates asbestos presence, specialist removal is legally required, which may be prohibitively expensive. Encapsulation by overboarding becomes a safer, more cost-effective solution.
Occasionally, the cost of proper wallpaper removal exceeds the cost of complete replastering or alternative solutions like drylining. When walls are in poor overall condition, multiple remedial approaches might be more economical than meticulous wallpaper stripping followed by repair and skimming.
Essential Preparation If You Must Plaster Over Wallpaper
If circumstances absolutely require plastering over wallpaper, thorough preparation is non-negotiable. Begin with a comprehensive inspection, checking every section of wallpaper for loose areas, peeling edges, and bubbling. Any defects must be addressed – loose sections should be glued down with specialist adhesive or removed entirely.
The preparation process involves several critical steps:
- Cleaning: Remove all grease, dust, and contaminants using sugar soap solution. Wallpaper surfaces accumulate cooking grease, smoke residue, and general grime that prevents adhesion
- Sanding: Lightly sand the wallpaper surface to create a mechanical key. This roughens the smooth paper surface, giving bonding agents and plaster something to grip
- Bonding agent application: Apply a specialist bonding agent specifically designed for difficult substrates. PVA alone is insufficient – you need products formulated to bridge between non-porous surfaces and plaster
- Drying time: Allow adequate drying time for all preparation products. Rushing this stage undermines the entire process
Even with perfect preparation, understand that you’re creating a compromise solution with inherent weaknesses. This approach should only be used when genuinely unavoidable, not as a time-saving shortcut on standard projects.
Testing Small Sections First
Never commit to plastering an entire room over wallpaper without testing the approach first. Select a small, inconspicuous area – perhaps a section that will be hidden behind furniture – and apply your preparation process and a test patch of plaster.
Monitor this test area for 48-72 hours during the critical curing period. Check daily for signs of failure: bubbling, cracking, discolouration indicating moisture problems, or areas where plaster sounds hollow when tapped gently. If any issues appear, the approach isn’t viable for your specific situation.
Signs that indicate the surface won’t successfully hold plaster include wallpaper that feels loose or spongy after wetting with bonding agent, areas where the paper lifts or bubbles during application, and persistent dampness that doesn’t dry within expected timeframes. These warning signs should not be ignored – they predict widespread failure if you proceed.
The Recommended Approach: Proper Wallpaper Removal
Why 96% of Professionals Recommend Complete Removal
96% of professional plasterers recommend complete wallpaper removal before plastering, and this near-unanimous consensus reflects decades of collective experience. The benefits of proper preparation extend far beyond simply avoiding the problems discussed earlier.
Long-term durability is the primary advantage. Plaster applied to properly prepared surfaces routinely lasts 50-100 years or more without significant deterioration. Compare this to plaster over wallpaper, which often fails within 2-5 years, and the case for proper preparation becomes financially compelling.
Professional finish quality cannot be achieved over wallpaper. Even if adhesion holds, wallpaper seams, texture, and inconsistencies telegraph through to the finished surface. The perfectly smooth, flawless finish that characterises quality plastering work requires a solid, uniform substrate that only complete wallpaper removal provides.
Future repair costs factor heavily into the cost-benefit analysis. A properly plastered wall requires minimal maintenance over decades. Walls plastered over wallpaper often need extensive repairs, with costs mounting as problems compound. The initial time and expense of wallpaper removal represents genuine value when amortised over the life of the wall finish.
Professional Wallpaper Removal Process
Professional wallpaper removal follows a systematic process that ensures complete removal whilst protecting the underlying plaster. The method we use at Kent Plasterers has been refined over years of experience with various wallpaper types across properties in Tunbridge Wells, Bromley, and throughout Kent.
The process begins with scoring the wallpaper surface using a specialist scoring tool. This creates thousands of tiny perforations that allow stripping solution or steam to penetrate behind the paper to the paste layer. Proper scoring is crucial – too light and solutions won’t penetrate; too aggressive and you damage the plaster underneath.
Next comes application of stripping solution or steam. Modern stripping solutions contain enzymes that break down wallpaper paste. Steam works by moistening both paper and paste, softening the bond. Professional steamers provide consistent, controlled heat that’s more effective than domestic equipment. Allow adequate penetration time – rushing this stage makes removal much harder.
The methodical stripping technique involves working in manageable sections, using scrapers at the correct angle to lift paper without gouging plaster. Start at seams and edges where paper lifts most easily. Multiple applications of solution or steam may be necessary for stubborn papers or areas with multiple layers.
After paper removal, washing down with sugar soap removes residual paste and prepares the surface. This cleaning stage is often overlooked but essential – wallpaper paste residue compromises plaster adhesion almost as much as leaving paper in place. Thorough washing and rinsing leaves a clean substrate ready for plastering.
Final PVA priming creates optimal conditions for plaster adhesion. PVA (polyvinyl acetate) seals the substrate, controls suction, and creates an ideal surface for plaster application. Apply PVA according to manufacturer instructions – typically one part PVA to five parts water for a first coat, with a second coat applied shortly before plastering.
Tools and Materials for Effective Removal
Professional-grade equipment transforms wallpaper removal from a frustrating battle to a manageable task. Investment in proper tools pays dividends in time saved and results achieved, particularly for anyone undertaking multiple rooms or regular property renovation projects.
Essential tools include:
- Scoring tools: Rotating disc scorers create hundreds of perforations quickly without excessive plaster damage when used correctly
- Steamers: Professional wallpaper steamers with large water reservoirs and powerful heating elements make quick work of stubborn papers
- Scrapers: Various widths of decorating scrapers with sharp, clean blades – avoid paint scrapers which are too aggressive
- Stripping solutions: Chemical strippers containing enzymes specifically formulated for wallpaper paste
- Spray bottles: For keeping worked areas moist and for applying diluted stripping solutions
- Sugar soap: For thorough cleaning after paper removal
- PVA: Quality decorating PVA for final surface preparation
These tools work together in a system. The scorer allows solution or steam to penetrate, the solution or steam softens the adhesive, and scrapers remove the loosened paper. This coordinated approach is far more effective than attacking wallpaper with scrapers alone.
Time Investment Versus Long-Term Results
Realistic timeframes for proper wallpaper removal vary based on paper type, wall condition, and room size. A standard bedroom (approximately 3m x 4m) typically requires 4-6 hours for complete wallpaper removal, cleaning, and PVA preparation. Difficult papers, multiple layers, or large rooms extend this timeframe proportionally.
This time investment might seem significant when compared to the ‘zero time’ of plastering directly over wallpaper. However, the comparison is fundamentally flawed because it doesn’t account for the time and cost of remedial work when shortcuts fail.
Consider the realistic outcomes: proper preparation gives you decades of trouble-free walls that maintain their appearance and require only routine decoration. Plastering over wallpaper typically results in visible problems within months to years, necessitating complete replastering. The initial time saving of perhaps 5-6 hours is lost many times over when you factor in repair time or the cost of hiring professionals to fix failed work.
For property developers and landlords particularly, the calculation is even more compelling. Professional, durable finishes that last between tenancies represent genuine value. Compromised surfaces that need repair and redecoration between every tenancy create ongoing costs that far exceed proper initial preparation.
Alternative Solutions to Plastering Over Wallpaper
Drylining with Plasterboard Over Battens
Drylining offers an excellent alternative when wallpaper removal is genuinely problematic or when the underlying wall condition is poor. This approach involves creating a batten framework fixed to the existing wall, then attaching plasterboard to these battens. The result is a completely new surface that doesn’t rely on the condition of the wall behind.
The batten framework method is crucial – never attempt to adhesive-fix plasterboard directly over wallpapered walls. Plasterboard adhesive dabs will simply stick to the wallpaper, which then peels away from the wall, bringing the entire plasterboard sheet with it. This common error leads to catastrophic failure.
Benefits of battened drylining include the ability to add insulation within the batten cavity, easier integration of services like electrical wiring, and preservation of the original wall surface (important in period properties). The new plasterboard provides a perfect substrate for skimming, giving a flawless finish.
This approach is particularly suitable for rooms where losing 25-50mm of wall space is acceptable, properties with damp or damaged walls that need replacement rather than repair, and situations where the cost of overboarding is similar to or less than extensive preparation and replastering of the original surface.
Specialist Wall Liners
Heavy-duty lining papers designed as renovation solutions can create a stable surface over prepared wallpaper in specific circumstances. These aren’t standard decorating lining papers but specialist products engineered to bridge imperfections and provide a suitable substrate for finishing.
Application requires the wallpaper underneath to be thoroughly cleaned, any loose areas secured or removed, and the surface primed with appropriate products. The heavy-duty liner is then hung using recommended adhesives, creating a thick, stable layer that can receive a plaster skim coat.
Limitations of this approach include the continued reliance on the underlying wallpaper adhesion, suitability only for walls in generally good condition, and the additional cost of specialist materials. Wall liners work best in situations where wallpaper is firmly adhered but removal would damage historic plaster, or where a quick turnaround is essential for occupied properties where extended disruption isn’t feasible.
Sources
[1] https://kentplasterers.co.uk/can-you-plaster-over-wallpaper-2/
[2] https://ondecor.com/blogs/news/reviving-walls-unveiling-the-magic-of-textured-finishes-over-wallpaper
[3] https://www.youtube.com/watch?v=7kcV_vdS6DI