Breathable Paint for Lime Plaster: Why Essential?
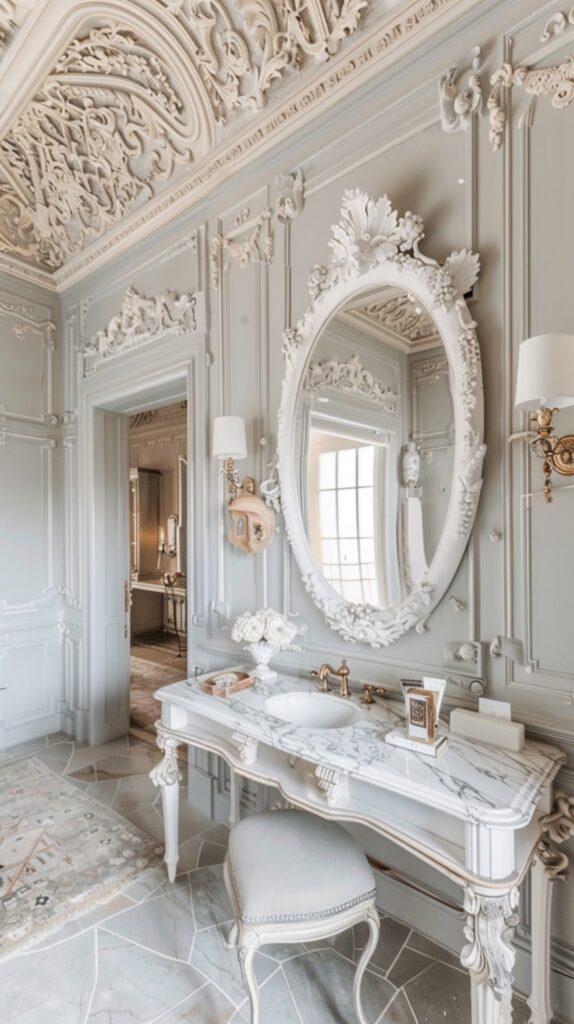
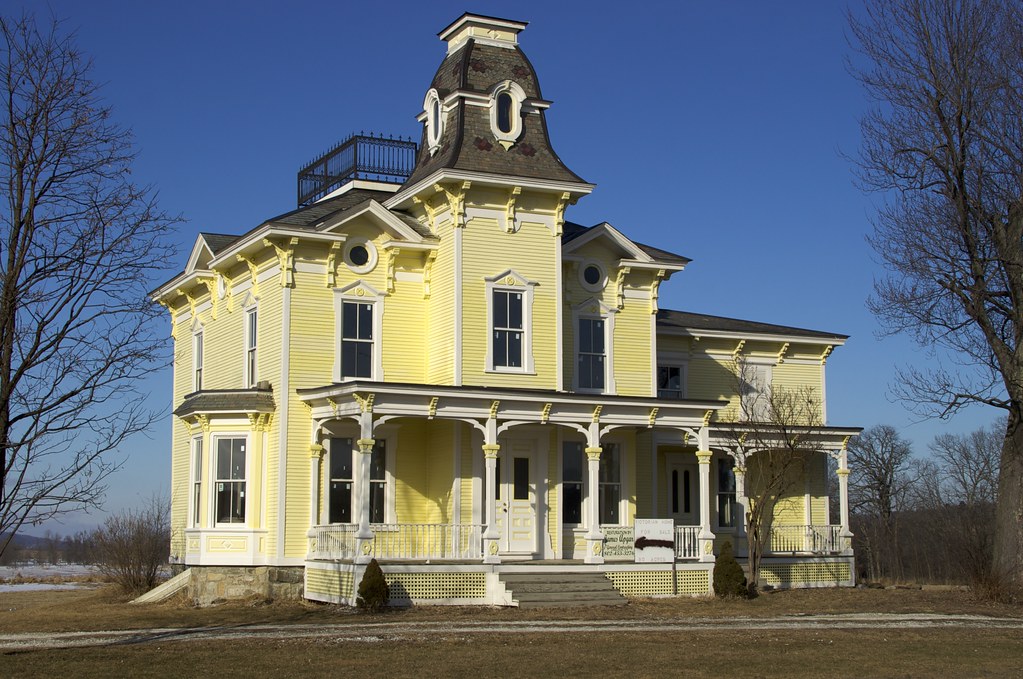
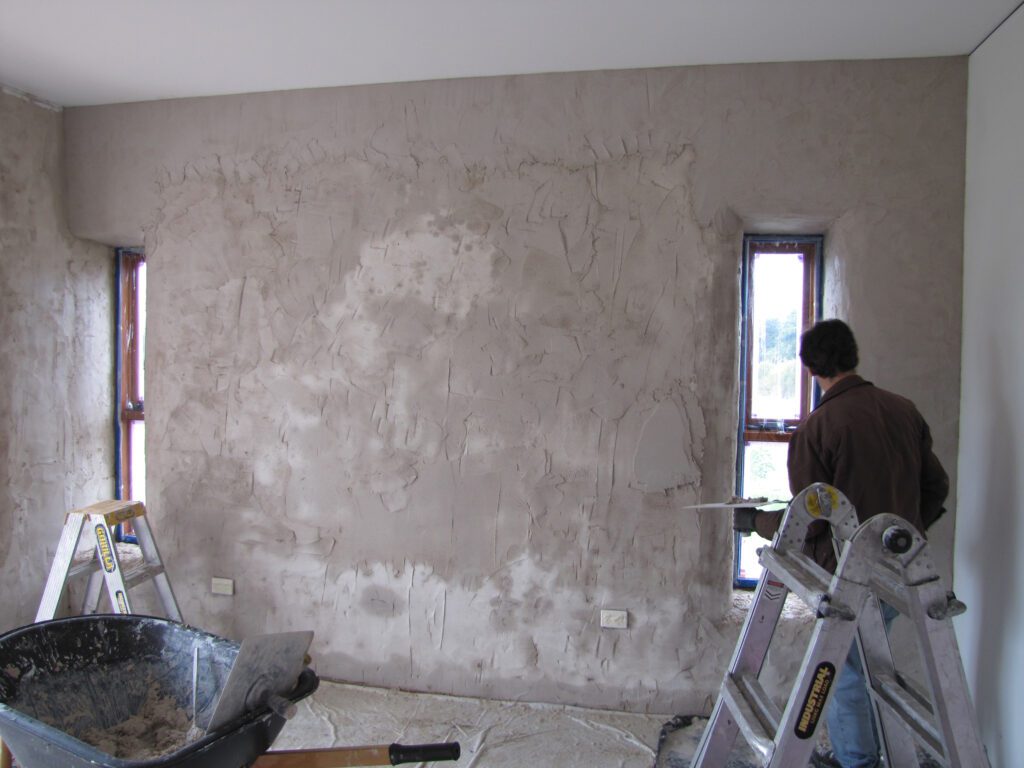
Quick Answer: Breathable paint is essential for lime plaster because it allows moisture to move freely through walls, preventing trapped dampness that causes deterioration. Traditional limewash, mineral silicate paints, and clay paints are ideal choices with SD values of 0.01-0.05. Avoid vinyl or plastic-based paints that create impermeable barriers and cause serious damage to heritage properties. Discover why choosing the right breathable paint for lime plaster could be the difference between preserving your period property and facing costly repairs. Understanding the Vital Role of Breathability in Period Properties In heritage homes across Kent and the UK, lime plaster walls have stood the test of time for centuries, thanks to their remarkable ability to manage moisture. This delicate balance relies heavily on the natural breathability of lime plaster – a crucial characteristic that allows moisture to move freely through the wall structure. When walls can’t breathe properly, moisture becomes trapped, leading to serious issues that can compromise your property’s integrity. Recent studies show that over 60% of heritage building damage is directly related to moisture problems, often caused by inappropriate modern materials blocking natural vapour movement. Traditional buildings were designed as complete systems, with every element working in harmony to regulate indoor humidity and protect the structure. Lime plaster plays a vital role in this system, acting as a natural humidity buffer that absorbs excess moisture when humidity is high and releases it when conditions are drier. This process helps maintain optimal indoor conditions and prevents damaging condensation. The Science Behind Breathable Paints for Lime Plaster The effectiveness of breathable paints is measured by their SD value (Steam Diffusion), with lower values indicating better breathability. The ideal SD value for paints used on lime plaster walls ranges from 0.01 to 0.05, ensuring optimal vapour permeability. This scientific measurement helps property owners make informed decisions about which paints will work best with their lime plaster walls. SD Value Range Breathability Rating Suitability for Lime Plaster 0.01-0.05 Excellent Ideal for lime plaster 0.06-0.14 Good Acceptable with caution 0.15+ Poor Avoid on lime plaster Key factors affecting breathability include: Paint composition and ingredients Application thickness Number of coating layers Surface preparation Best Breathable Paint Options for Lime Plaster When it comes to choosing breathable paint for lime plaster, several options stand out for their exceptional performance and compatibility. Limewash remains the most traditional and highly breathable choice, with an SD value as low as 0.02. Modern mineral paints, including silicate and lime-based options, offer excellent breathability while providing improved durability and ease of application. Clay paints have gained popularity in recent years, offering nearly identical breathability to limewash while being easier to apply and maintain. Paint Type Key Benefits Best For Traditional Limewash Most authentic, highest breathability Purists, heritage restoration Mineral Silicate Paints Modern durability with excellent breathability High-traffic areas, exteriors Clay Paints Natural alternative with superior moisture management Interior walls, eco-conscious projects Lime-Based Paints Traditional formula with modern applications Period properties, conservation work Pro Tip: When choosing between breathable paint options, consider your property’s specific conditions. Exposed exterior walls benefit most from mineral silicate paints, while interior rooms with high humidity work best with clay paints or traditional limewash. Common Mistakes and Paints to Avoid The biggest threat to lime plastered walls comes from using inappropriate modern paints containing vinyl or plastic-based ingredients. These materials create an impermeable barrier that traps moisture within the wall structure, leading to severe problems. Common issues from wrong paint choice include: Plaster deterioration and crumbling Salt crystallisation and efflorescence Mould and damp problems Peeling and blistering paint Choosing and Applying the Right Breathable Paint Before selecting a breathable paint, it’s essential to assess your lime plaster’s condition thoroughly. Look for signs of previous paint applications, damage, or repairs that might affect the new paint’s performance. Professional surveys indicate that 40% of heritage properties in the UK have inappropriate modern coatings that need removal before applying breathable alternatives. Pre-application checklist: Assess wall condition and moisture levels Remove any non-breathable coatings Repair any damaged plaster Clean and prepare surfaces properly Choose appropriate weather conditions for application Maintaining Your Lime Plastered Walls Proper maintenance of lime plastered walls with breathable paint requires regular inspection and timely intervention when issues arise. Most breathable paints will need refreshing every 5-7 years, though this can vary based on exposure and conditions. Regular maintenance helps prevent more serious problems and ensures your walls continue to perform their moisture-management function effectively. Expert Recommendations and Final Considerations While breathable paints might initially cost more than standard modern alternatives, the long-term benefits far outweigh the initial investment. Studies show that properly maintained lime plaster walls with appropriate breathable finishes can last over 100 years, compared to just 20-30 years for modern plaster systems. Key cost considerations: Initial material costs vs long-term durability Professional application benefits Maintenance requirements Property value enhancement Protecting Your Heritage Home’s Future Choosing the right breathable paint for your lime plaster walls is crucial for preserving your heritage property’s character and structural integrity. By understanding the importance of breathability and selecting appropriate materials, you’re investing in your property’s long-term health and value. For professional advice and application services in Kent, contact Kent Plasterers – your local experts in traditional plastering and heritage property maintenance. We provide comprehensive solutions for maintaining and protecting your period property’s unique character while ensuring its longevity for future generations. FAQ Is rust oleum paint breathable? Rustoleum Mathys Murfill Renovation Paint is a breathable paint that is also elastomeric and micro-porous. This matt masonry paint is suitable for exterior and interior walls. Are Zinsser paints breathable? Its vapour permeable film allows the painted surface to “breathe”. The finish contains a biocide to protect the dried coating against fungal degradation*, whilst the paint film dries with zero tension which reduces the likelihood of future cracking, flaking and peeling. Is Benjamin Moore paint breathable? Improved block resistance and reduced tack, which increases job site efficiency and minimizes disruption. A breathable coating that is less prone to blistering that provides long-term durability
Breathable Paint for Lime Plaster: Why Essential? Read More »