The Ultimate Home Renovation Checklist
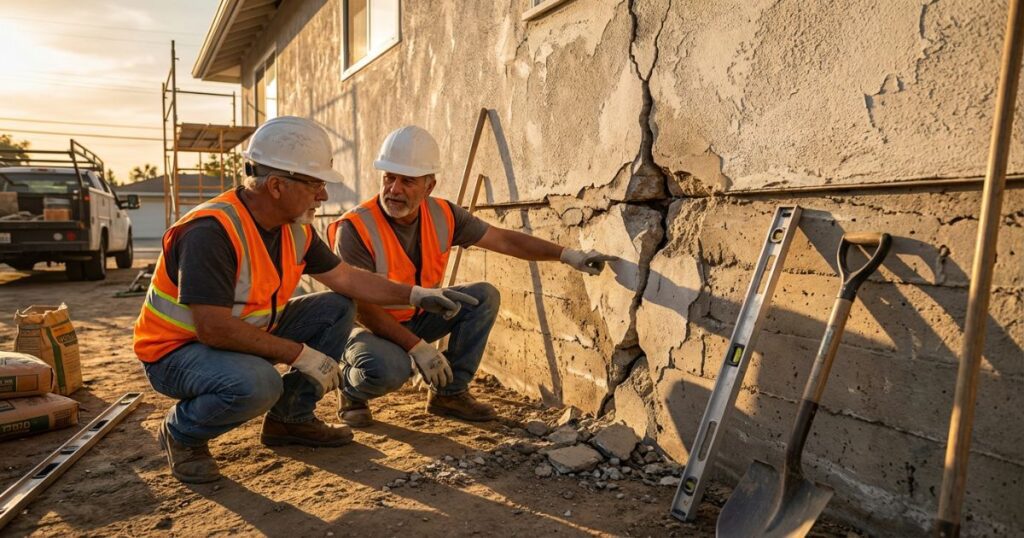
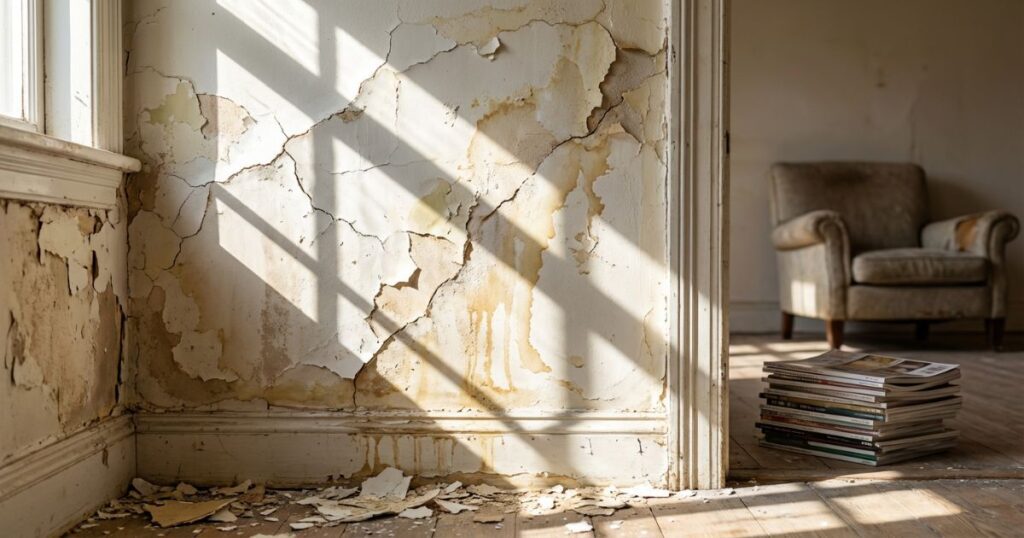
Embarking on a home renovation is an ambitious project that can significantly increase the value of your property. Whether you’re updating a Victorian terrace or modernising a semi-detached house, success depends on a logical sequence of work. Skipping steps or rushing into the cosmetic details can lead to expensive mistakes later on. A well-organised plan helps you manage your budget and ensures that every tradesperson, from plasterers to electricians, knows exactly what to do. Before you pick up a paintbrush or tear down a wall, you should establish a clear roadmap. Take a moment to look at these essential steps to ensure your project stays on track. Assess the Structure and Damp Proofing The first stage of any renovation involves securing the building’s core. You must identify any issues with the roof, foundations, or external walls. If there are signs of rising damp or penetrative moisture, these need addressing immediately. Plastering over a damp wall is a temporary fix that will eventually fail, so ensuring the shell of the home is watertight is your top priority. Once the exterior is secure, you can focus on internal structural changes. This includes removing load bearing walls or installing steel beams to create open-plan living spaces. Always consult a structural engineer for these tasks to ensure the safety of the building. Dealing with these heavy-duty jobs early prevents dust and debris from ruining your new finishes later. Modernise the Heating and Utilities Updating the heating system is often a practical step during a home renovation, particularly if the existing setup shows signs of age. Common indicators that a system may need attention include radiators that stay cold at the bottom or units that produce unusual noises during operation. For those considering a replacement, iHeat boilers specialise in boiler installation, replacement, and servicing. They focus on providing fixed-price online quotes for homeowners and landlords. The company provides new boiler installations using the best British and European brands. Their local Gas-Safe-qualified engineers ensure a straightforward process for homeowners. Property owners can secure reliable, transparently priced heating while other building work continues. With next-day installations available, adding a boiler, heat pump, or air conditioning won’t delay the project. First Fix Electrics and Plumbing Before the walls are replastered and the floors are laid, you must complete the first stage. This involves running all the necessary cables for lights, sockets, and internet points. It’s also the time to install new pipework for bathrooms and kitchens. Think carefully about where you want your furniture to go so you can place outlets exactly where they’re needed. Some other things to consider are: Plastering and Flooring After the internal wiring and plumbing are signed off, the house starts to look like a home again. Professional plastering provides the smooth canvas needed for a high-quality finish. It’s important to allow fresh plaster plenty of time to dry naturally before you apply any paint. If you rush this stage, the moisture trapped in the walls can cause the paint to peel or bubble. Once the walls are ready, you can turn your attention to the floors. Whether you prefer engineered wood, traditional tiles, or luxury vinyl, the subfloor must be perfectly level. Good flooring is a significant investment, so take the time to prepare the surface correctly. This stage bridges the gap between the messy construction phase and the final styling of your rooms. Final Decorations and Styling The final stage is where your personal style truly shines. This involves tasks, such as fitting light switches, hanging doors, and installing skirting boards. It’s the most rewarding part of the process because you can finally see your vision coming together. Choose a paint palette that complements the natural light in each room to create a cohesive feel throughout the house. Don’t forget the small details that make a big impact. New handles on doors, stylish taps in the kitchen, and well-chosen window dressings can elevate the entire look. While it’s tempting to rush this final hurdle, taking care with the finishing touches ensures a professional result that you’ll be proud of for years. Conclusion Completing a home renovation is a marathon, not a sprint. By following a structured checklist, you protect your investment and reduce the stress of the building process. From securing the structural integrity to choosing a modern heating solution, every decision contributes to a better living environment. Your dream home is achievable when you approach the project with a clear plan and the right experts by your side.