Plaster Adhesives and PVA: When and How to Use Them
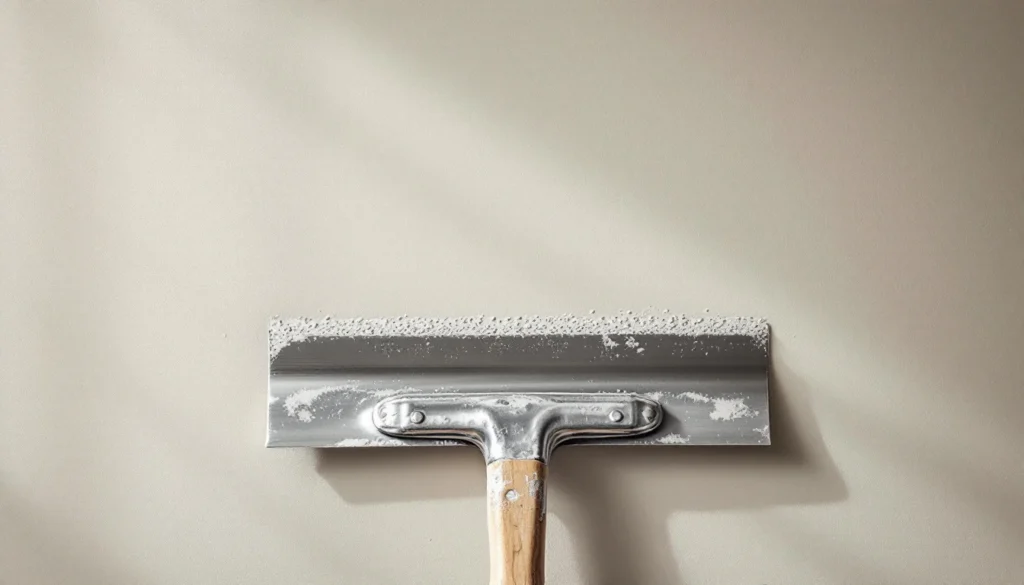
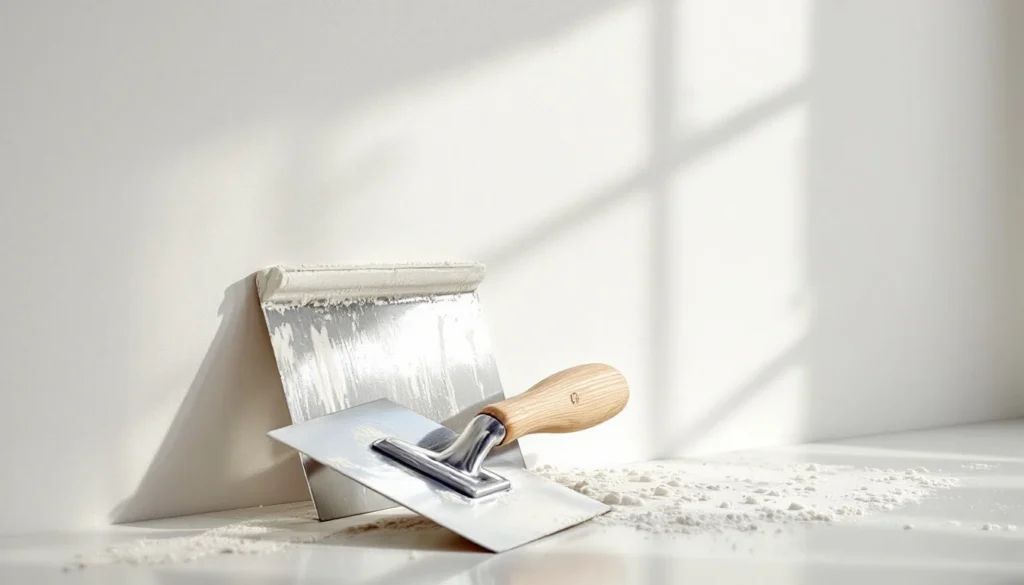
Quick Answer: PVA (polyvinyl acetate) is primarily used as a sealing agent on porous surfaces before plastering, not as an adhesive. For bonding plaster to difficult substrates, use dedicated bonding agents like SBR (Styrene Butadiene Rubber), Unibond, or thistle bond-it. Mix ratios matter: PVA should typically be diluted 3-5 parts water to 1 part PVA for sealing, while SBR is mixed at 1:1 for bonding. Each product serves different purposes in the plastering process, and using the wrong one at the wrong time can lead to adhesion failures and cracking. Understanding the Difference: PVA vs Bonding Agents Walk into any builder’s merchant and you’ll find countless bottles claiming to help plaster stick better. But here’s what most DIYers don’t realise: PVA and bonding agents aren’t interchangeable, and using them incorrectly is one of the most common causes of plaster failure we see on jobs across Kent. PVA (polyvinyl acetate) is fundamentally a sealing agent and primer. It controls suction on porous surfaces like old plaster, plasterboard, or brick. SBR and other bonding agents, on the other hand, are mechanical adhesion promoters designed to bond plaster to challenging substrates like painted surfaces, glazed tiles, or concrete. Think of it this way: PVA is like a sponge that soaks into porous materials and dries to form a slightly tacky surface. Bonding agents create a polymer bridge between incompatible materials. Use the wrong one, and you’ll either have plaster that won’t stick or surfaces that crack within weeks. When to Use PVA for Plastering Despite what some old-school plasterers might tell you, PVA has specific, limited applications in modern plastering. The British Gypsum technical guidance has evolved significantly on this topic over the years. Appropriate Uses of PVA Sealing new plasterboard joints: A diluted PVA solution (4:1 water to PVA) controls suction before tape and jointing compound application Priming old plaster before skimming: When the existing plaster is sound but extremely porous, diluted PVA prevents flash setting Stabilising dusty surfaces: Very diluted PVA (5:1) can consolidate friable substrates before bonding coat application Bonding plasterboard to timber: Neat PVA works as a wood glue for fixing small plasterboard patches PVA Mixing Ratios for Different Applications Application Water:PVA Ratio Drying Time Working Time After Application General plasterboard sealing 4:1 to 5:1 30-60 minutes Must plaster while still tacky High-suction old plaster 3:1 to 4:1 20-40 minutes Plaster when touch-dry but tacky Dusty substrate stabilisation 5:1 to 6:1 45-90 minutes Apply second coat, then plaster Wood adhesive (plasterboard) Neat (no dilution) 24 hours full cure N/A – mechanical fixing required Pro Tip: Never apply plaster to fully dried PVA. The surface must still be slightly tacky (touch-dry) or you’ll create a waterproof barrier that prevents proper adhesion. In summer, you might have only 20-30 minutes working time; in winter, up to 90 minutes. When NOT to Use PVA This is where many DIY disasters happen. Avoid PVA entirely in these situations: Painted surfaces: PVA won’t key to gloss, emulsion, or vinyl paint – use Blue Grit or SBR instead Damp areas: Bathrooms, kitchens, or any area prone to moisture – PVA can reactivate when wet, causing adhesion failure External rendering: PVA isn’t weather-resistant and will break down outdoors Underfloor heating: Heat cycles cause PVA to become brittle and crack On concrete: The dense, non-porous surface provides nothing for PVA to key into We’ve been called to rectify countless jobs where someone used PVA on bathroom walls, only to have the plaster fall off in sheets within months. The HSE guidance on safe plastering practices emphasises understanding material compatibility. SBR Bonding Agent: The Professional’s Choice SBR (Styrene Butadiene Rubber) is what professional plasterers reach for when serious adhesion is needed. It’s a latex polymer that creates a mechanical and chemical bond between dissimilar materials. Popular brands include Everbuild SBR Bond (available at Screwfix for around £18-25 for 5L), Blue Hawk SBR from B&Q, and Wickes SBR Multi-Purpose Bonding Agent. They all work on the same principle but vary slightly in polymer content and recommended dilution rates. How SBR Works Unlike PVA, which just seals pores, SBR forms polymer chains that physically interlock with both the substrate and the plaster matrix. When mixed with the basecoat plaster (typically bonding coat or Browning), it significantly improves: Adhesion strength: Up to 3x better than PVA on challenging surfaces Water resistance: Won’t reactivate when damp, making it suitable for wetrooms Flexibility: Accommodates minor substrate movement without cracking Durability: Maintains bond strength through temperature cycling SBR Application Methods There are two primary ways to use SBR, depending on the substrate difficulty: Method 1: SBR Slurry Coat (for difficult surfaces) Mix neat SBR 1:1 with water, then add cement to create a slurry the consistency of single cream. Brush this onto painted walls, tiles, glazed bricks, or dense concrete. Apply your bonding coat while the slurry is still wet (within 20 minutes). This is the method specified in BS 5492 for internal plastering on problematic substrates. Method 2: SBR-Modified Plaster Mix (for general bonding improvement) Add SBR to your mixing water at 3:1 (water:SBR) when gauging bonding plaster. This improves adhesion, reduces shrinkage, and increases water resistance. We use this method routinely when plastering bathrooms or applying bonding coat to thermally insulated blocks that have variable suction. Substrate Type Recommended Method SBR Ratio Coverage (5L SBR) Painted plasterboard Slurry coat + bonding 1:1 water:SBR 30-40m² Dense concrete blocks Modified plaster mix 3:1 water:SBR 15-20m² Glazed tiles Slurry coat + bonding 1:1 water:SBR 25-35m² Engineering bricks Slurry coat + bonding 1:1 water:SBR 30-40m² Old distemper paint Remove paint first, then slurry 1:1 water:SBR 30-40m² ⚠️ Warning: Never use SBR as a neat coating and allow it to dry before plastering. It forms a waterproof skin that plaster won’t bond to. The slurry must be wet, or the SBR must be mixed into the plaster itself. This is the most common mistake we see on failed DIY jobs. Unibond and Thistle Bond-It: Ready-Mixed Alternatives Unibond Waterproof PVA and British Gypsum Thistle Bond-It occupy a
Plaster Adhesives and PVA: When and How to Use Them Read More »