Plaster Popping and Bubbling: What It Means and How to Fix It
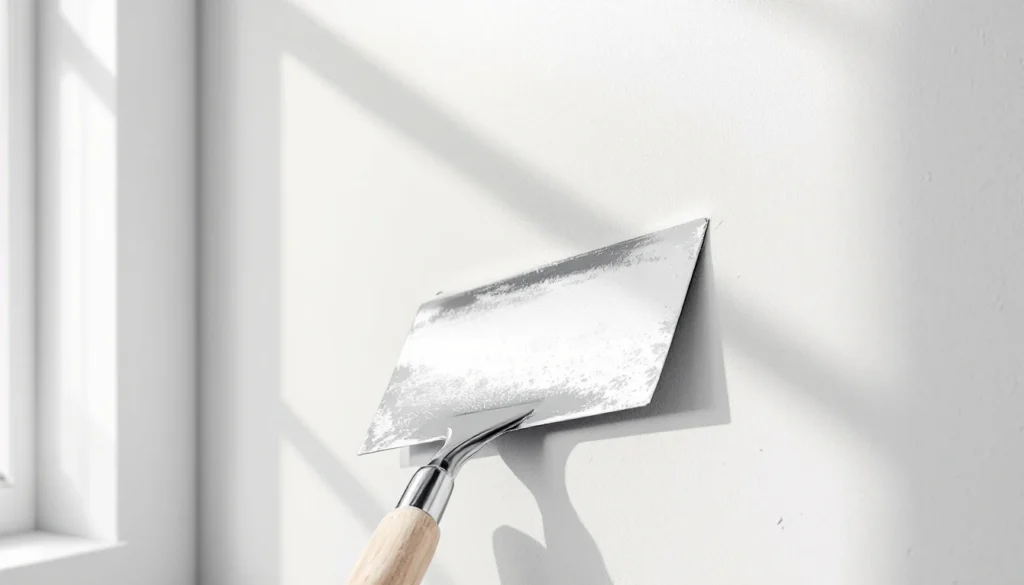
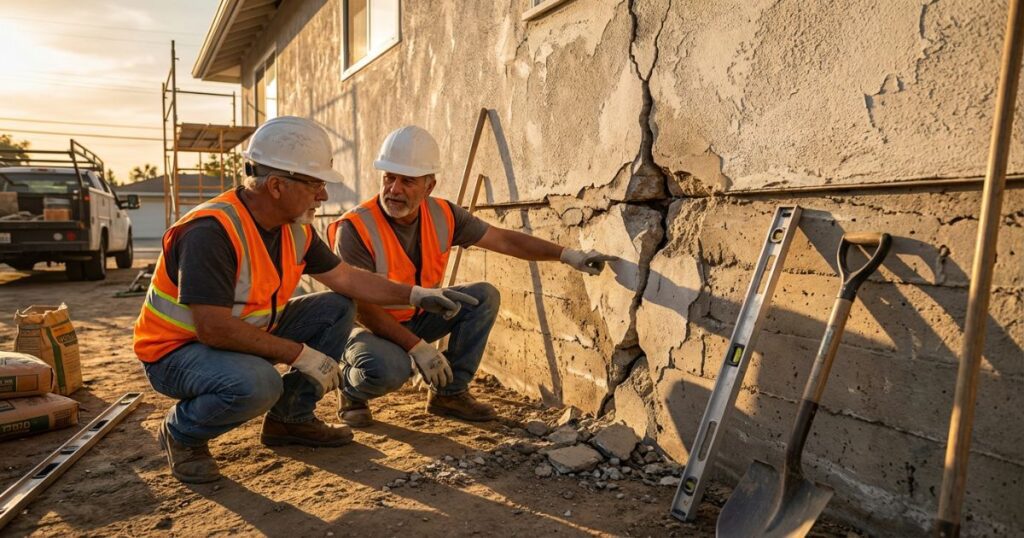
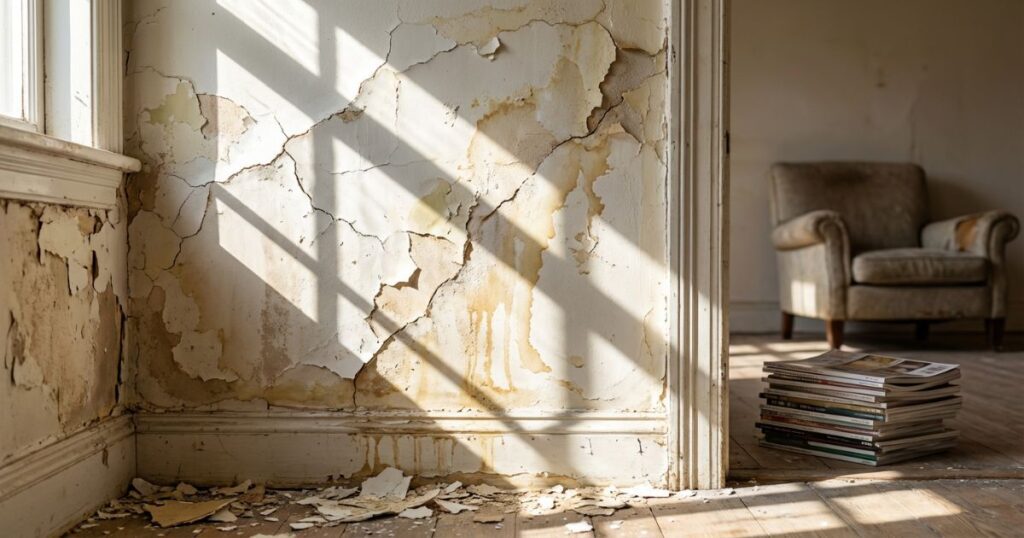
Quick Answer: Plaster popping and bubbling typically occurs due to moisture intrusion, inadequate surface preparation, incorrect mix ratios, or trapped air during application. Small bubbles can be patched with filler and redecorated, whilst extensive blistering usually requires removing the affected plaster and replastering the wall properly. The fix depends on the underlying cause—addressing moisture issues, substrate problems, or application errors before repairing the surface. Understanding Plaster Popping and Bubbling: What Causes These Defects? When you notice bubbles, blisters, or popping in your plasterwork, it’s more than just a cosmetic issue—it’s a sign that something went wrong during application or that an underlying problem exists. Plaster popping manifests as small raised areas or actual breaks in the surface, whilst bubbling creates hollow-sounding blisters that may crack or deflate over time. Both issues compromise the integrity and appearance of your walls or ceilings. Professional plasterers encounter these problems regularly, and the cause usually falls into one of several categories: Moisture-related issues: Water trapped behind the plaster or rising damp Surface preparation failures: Inadequate priming or contaminated substrates Application errors: Incorrect mixing, poor technique, or rushed drying Substrate movement: Expansion of underlying materials or structural settlement Chemical reactions: Sulphate contamination or incompatible materials The Science Behind Plaster Blistering To fix bubbling plaster properly, you need to understand what’s happening beneath the surface. Plaster is essentially gypsum (calcium sulphate dihydrate) mixed with water, which undergoes a chemical reaction called hydration. When this process is disrupted—whether by excess moisture, trapped air, or contamination—the plaster doesn’t bond correctly to the substrate. Instead, it forms weak spots where air or water vapour can accumulate, creating those telltale bubbles. According to British Gypsum’s technical guidance, proper adhesion requires clean, sound substrates and correct material selection. When these conditions aren’t met, delamination occurs. Common Scenarios We See on the Job After thirty years in the trade, I’ve seen plaster popping in virtually every type of property. Here are the most frequent situations: New builds: Rushed schedules leading to plastering before blockwork or brickwork has properly dried Victorian properties: Moisture from lime mortar or lack of damp-proof course causing sulphate attack Bathroom renovations: Steam penetration where inadequate tanking or ventilation exists Kitchen installations: Condensation from cooking, especially behind fitted units External walls: Penetrating damp from failed pointing or blocked gutters Pro Tip: If bubbling appears within the first few weeks of plastering, it’s almost always an application issue. If it develops months or years later, look for moisture ingress or structural problems as the root cause. Diagnosing the Problem: What Type of Bubbling Do You Have? Not all plaster defects are created equal. Correct diagnosis determines the right repair strategy and prevents recurrence. Type 1: Small Air Bubbles (Pinholes) These appear as tiny raised spots, typically 1-3mm across, scattered across the surface. They’re caused by air becoming trapped during application, often when: The plaster was over-trowelled, creating suction that pulls air through The backing coat was too dry when the finish coat was applied The mix was too thick or contained too much retarder Severity: Low. These are primarily cosmetic and relatively easy to repair. Type 2: Large Blisters (Hollow Bubbles) These range from 10mm to 100mm+ in diameter, feel hollow when tapped, and may contain moisture. Common causes include: Damp substrate that wasn’t allowed to dry before plastering Plaster applied too thickly in a single coat (exceeding 15mm) Condensation forming behind the plaster due to cold bridging Use of contaminated water containing organic matter Severity: Moderate to high. Requires investigation of underlying issues before repair. Type 3: Cracking and Popping This involves plaster actually breaking away from the substrate, often with an audible popping sound. Causes include: Sulphate attack from salts in the substrate reacting with gypsum Structural movement or settlement of the building Expansion of metal fixings or beading due to corrosion Incompatible materials (e.g., gypsum over cement render without proper bonding) Severity: High. Often indicates serious underlying problems requiring professional assessment. Moisture-Related Bubbling: The Most Common Culprit In my experience, at least 70% of plaster bubbling cases involve moisture in some form. Water is gypsum plaster’s enemy once it has set. When moisture enters plastered walls, it can come from several sources: Moisture Source Typical Location Identification Method Average Repair Cost Penetrating damp External walls, chimneys Moisture meter readings >20% £800-£2,500 Rising damp Ground floor walls below 1m Salt crystals, tide marks £1,500-£5,000 Condensation Bathrooms, kitchens, cold walls Morning moisture, mould growth £300-£1,200 Plumbing leaks Near pipes, behind fixtures Water staining, continuous dampness £400-£2,000 Roof leaks Upper floor ceilings, gable walls Staining after rain £600-£3,500 According to government guidance on damp in properties, any moisture reading above 16% on a protimeter indicates an issue that needs addressing before cosmetic repairs. ⚠️ Warning: Never simply plaster over bubbling caused by damp. You must identify and eliminate the moisture source first, or the problem will return—often worse than before. This is covered in BS 5492:2023, the British Standard for internal plastering. Application Errors That Cause Bubbling Even experienced plasterers can create conditions for bubbling if they rush or take shortcuts. Here are the technical issues we train apprentices to avoid: Incorrect Mix Ratios Multi-finish plaster (the standard skim coat used across the UK) should be mixed at approximately 11.5 litres of clean water per 25kg bag. Too much water creates a weak, porous finish; too little prevents proper spreading and increases trapped air. I always mix to a “thick double cream” consistency—it should pour slowly off the hawk but not be so stiff that it drags the trowel. Substrate Preparation Failures The substrate must be properly prepared before plastering. Common mistakes include: Insufficient PVA application: Diluted PVA (3:1 or 4:1 water to PVA) should be applied in two coats, allowing the first to become tacky Dust contamination: Plasterboard or old plaster must be vacuumed clean before application Uneven suction: Mixing different substrate types without proper bonding agents Temperature extremes: Plastering in rooms below 5°C or above 30°C affects setting times For more on proper surface preparation, see our
Plaster Popping and Bubbling: What It Means and How to Fix It Read More »