How to Renovate Your Home: Plastering Guide
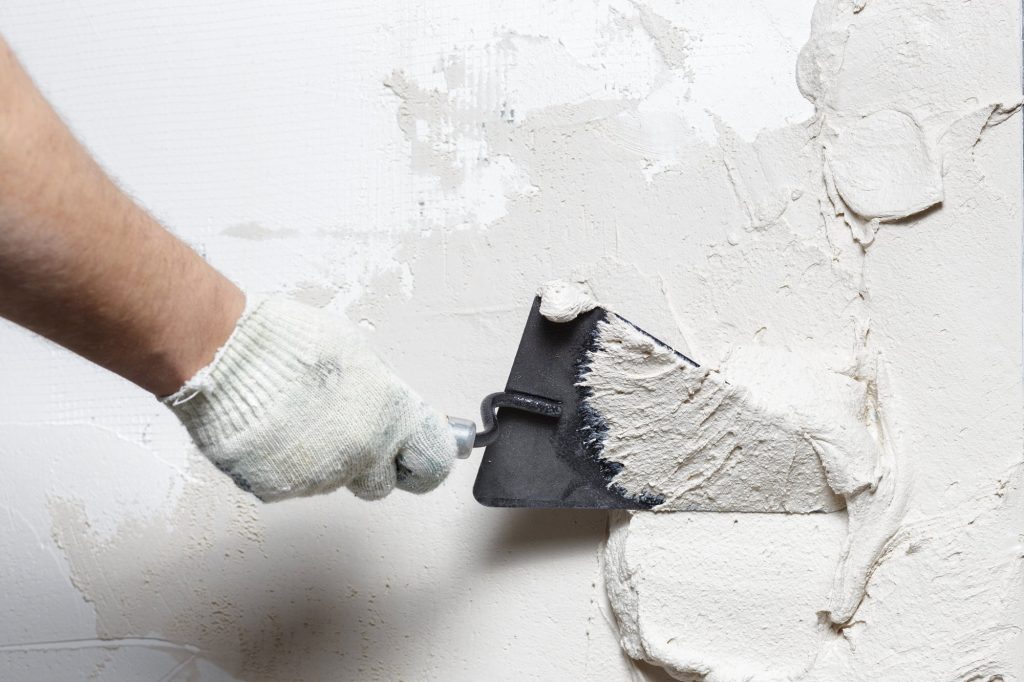
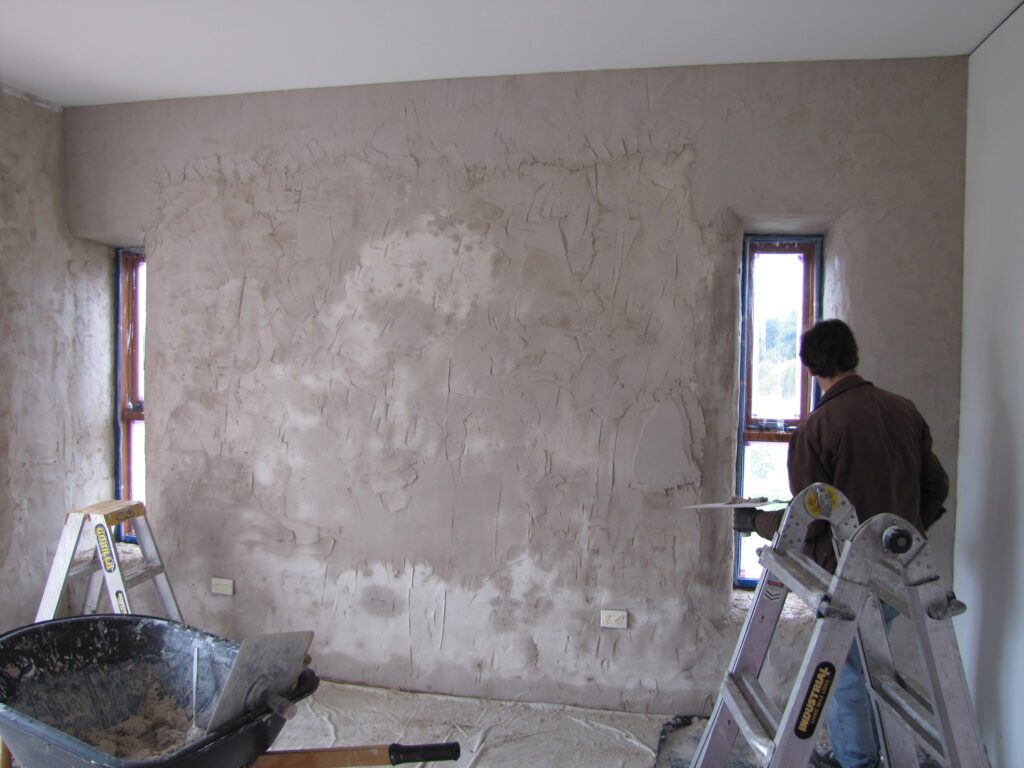
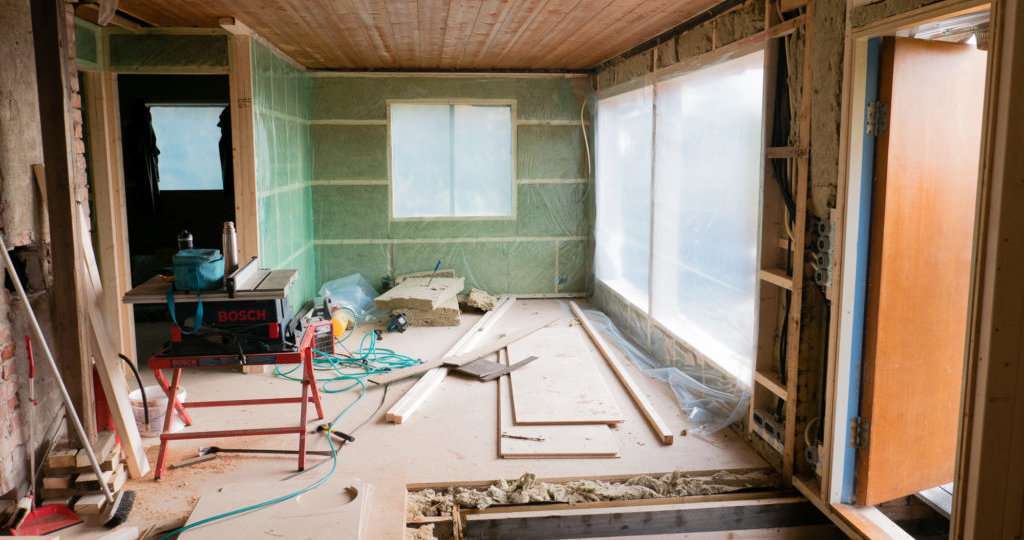
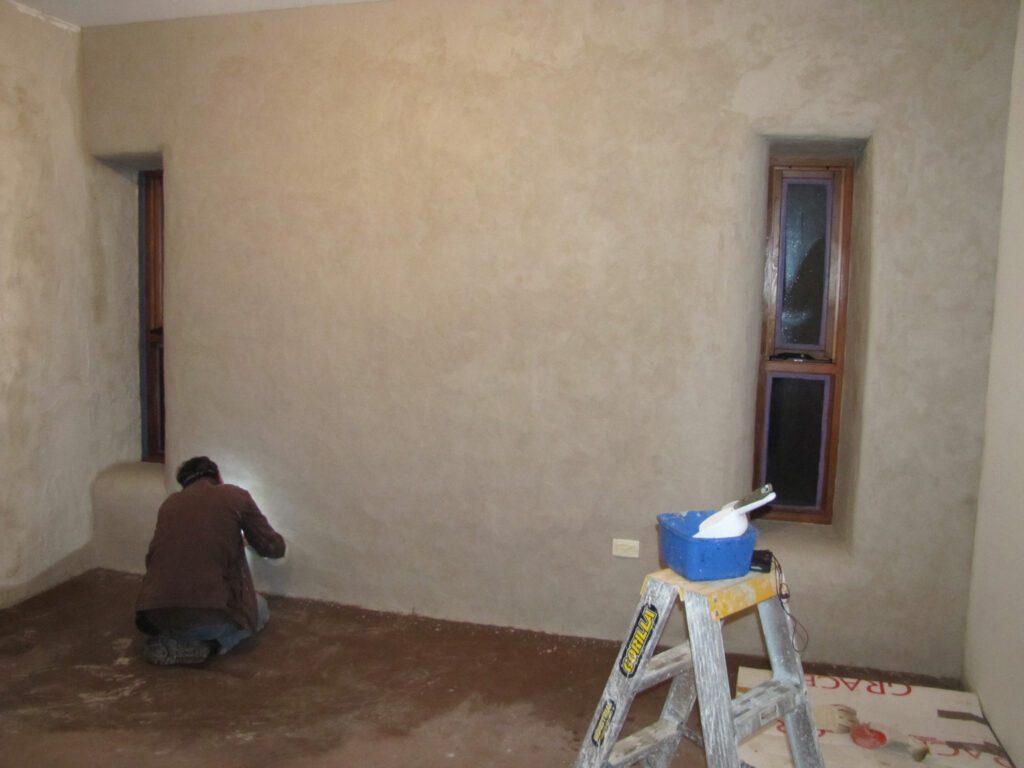
Quick Answer: Professional plastering renovation requires thorough surface preparation, the right tools and materials, and proper technique. Over 65% of UK renovation projects involve plastering work. While DIY is possible for small jobs, 70% of DIY projects need professional correction. Quality plastering can increase property value by up to 10%. Transform your living space with expert renovation techniques that blend timeless plastering craftsmanship with modern design sensibilities. Whether you’re embarking on a complete home makeover or focusing on specific areas, understanding professional plastering techniques is crucial for achieving stunning results that stand the test of time. Understanding the Foundations of Professional Plastering Professional plastering is a skilled trade that requires extensive knowledge, precise technique, and careful preparation. Recent studies show that over 65% of renovation projects in the UK involve some form of plastering work, highlighting its importance in modern home improvement. Success in plastering begins with thorough planning and understanding of the fundamental principles that guide professional plasterers. Initial Assessment and Planning Conduct a thorough inspection of walls and ceilings for damage, damp, or structural issues Measure surface areas accurately to calculate material requirements Document existing conditions with photographs Create a detailed project timeline Consider environmental factors like temperature and humidity Essential Tools and Materials Every successful plastering project relies on having the right tools and materials at hand. Professional plasterers typically invest in high-quality equipment that ensures precision and durability. Essential items include: Plastering trowels in various sizes Mixing buckets and electric mixer Plasterer’s hawk Finishing spatulas and finishing trowels Premium quality plaster (either gypsum-based or lime plaster) Scrim tape and corner beads Surface Preparation Techniques Surface preparation is arguably the most critical phase of any plastering project. Statistics show that 80% of plastering failures are due to inadequate surface preparation. This involves thoroughly cleaning the surface, removing old plaster or wallpaper, and ensuring the substrate is sound and suitable for new plaster application. Pro Tip: Always take the time to properly prepare your surfaces before applying plaster. The 80% failure rate from poor preparation shows this step cannot be rushed or skipped. Modern Plastering Techniques for Home Renovation Today’s plastering methods combine traditional craftsmanship with innovative materials and techniques. The UK market has seen a 30% increase in demand for specialist finishes in recent years, reflecting growing interest in unique surface treatments and textures. Skimming and Finishing Methods Modern skimming techniques require precision and skill to achieve the smooth, flawless finish that contemporary interiors demand. Professional plasterers typically apply multiple thin coats, each serving a specific purpose in building up the perfect surface. Dealing with Different Surface Types Surface Type Preparation Required Plasterboard Requires joint tape and careful preparation Brick and blockwork Needs thorough cleaning and often a scratch coat Concrete May require bonding agents and special preparation Wood and metal Requires specialist primers and mesh reinforcement Achieving the Perfect Smooth Finish The key to achieving a professional finish lies in technique and timing. Experienced plasterers understand the crucial moments when to work the surface and when to let it rest. Professional standards require walls to have no more than 3mm deviation across a 2-metre straight edge. Common Renovation Challenges and Solutions Every renovation project presents unique challenges. Understanding common issues and their solutions helps ensure successful outcomes. Recent surveys indicate that 40% of UK homes require some form of plastering repair due to age-related deterioration. Addressing Damp and Water Damage Identify and fix the source of moisture before replastering Use appropriate damp-proofing measures Select moisture-resistant plaster products Ensure proper ventilation during and after application Fixing Cracks and Structural Issues Structural issues require careful assessment and appropriate remedial action. Professional plasterers work closely with structural engineers when necessary to ensure long-lasting repairs. Period Property Considerations Historic properties require special attention and often traditional materials. 75% of pre-1919 buildings in the UK feature lime plaster, which needs specific techniques for restoration and repair. Finishing Touches and Professional Secrets The difference between good and exceptional plastering often lies in the finishing details. Professional plasterers employ various techniques to achieve superior results that meet modern expectations while preserving traditional craftsmanship. Texture and Pattern Techniques Smooth finish: Most popular for contemporary interiors Textured finish: Ideal for hiding minor imperfections Venetian plaster: For luxury decorative effects Patterned finishes: Creating bespoke design features Painting and Decorating Preparation Proper preparation for decoration is crucial. Experts recommend waiting at least 5-7 days before painting new plaster, ensuring the surface is completely dry and properly sealed. Maintenance and Care Tips Regular maintenance extends the life of plastered surfaces. Simple steps like addressing minor damages promptly and maintaining proper ventilation can prevent major issues. When to Call in the Professionals While DIY plastering is possible for small projects, professional expertise is often essential for achieving high-quality results. Industry data shows that 70% of DIY plastering projects require professional intervention to correct issues. Project Scale Assessment Consider the size and complexity of the project Evaluate your skill level honestly Factor in time constraints and deadlines Assess access and safety requirements Cost-Benefit Analysis Professional plastering services represent a significant investment in your property. Quality workmanship can increase property value by up to 10%, making it a worthwhile investment. Finding the Right Professional Choose qualified professionals with proven experience and positive reviews. Ensure they’re properly insured and can provide references from similar projects. Conclusion: Bringing Your Renovation Vision to Life Successful plastering renovation requires careful planning, proper technique, and often professional expertise. Whether you’re tackling a DIY project or hiring professionals, understanding these fundamental principles will help ensure your renovation achieves the desired results. Remember that quality plastering work not only enhances the aesthetic appeal of your space but also adds significant value to your property. FAQ What do you call people who renovate? A remodeler is a specialized type of contractor that remodels, renovates, or restores private homes and commercial buildings. While there’s some overlap between them, remodelers are distinct from construction contractors or handymen. What’s a fancy word for redo? synonyms: make over, refashion, remake. types: recast,
How to Renovate Your Home: Plastering Guide Read More »