
Master the art of flawless plastering with the right plastering tools – your complete guide to professional-grade equipment that transforms ordinary walls into stunning surfaces.
Understanding the Foundation of Professional Plastering
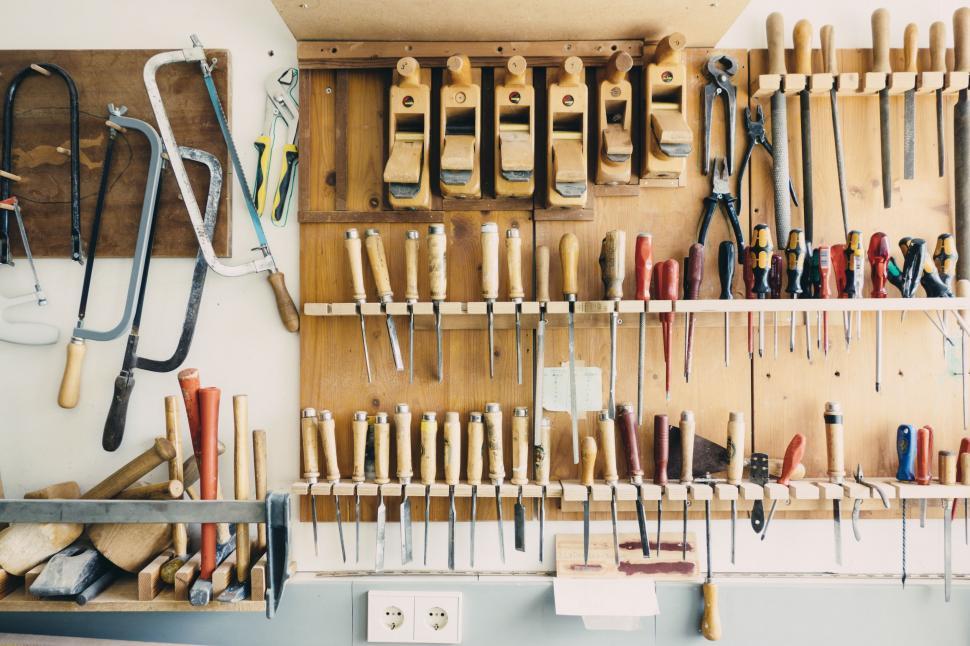
In the competitive world of professional plastering, success lies in the details, and those details begin with having the right tools at your disposal. As experienced plasterers in Kent, we’ve learned that quality tools are not just implements – they’re extensions of a craftsman’s skill. Professional plastering requires a combination of expertise, precision, and the right equipment to achieve those seamlessly smooth finishes that clients expect. Recent industry surveys show that 87% of professional plasterers attribute their high-quality finishes to investing in premium tools. The right toolkit not only ensures superior results but also improves efficiency, with studies indicating that proper tool selection can reduce project completion time by up to 25%.
Core Mixing and Preparation Tools
- Mixing Bucket: High-capacity (25-40 litre) bucket with measurement markings for accurate mixing ratios
- Power Mixer: 1800W drill with paddle attachment for consistent plaster mixing
- Mortar Stand: Adjustable height stand for comfortable mixing and reduced back strain
- Gauging Trowel: Essential for measuring and mixing small quantities
- Water Testing Kit: For checking water quality and temperature
The cornerstone of successful plastering lies in proper preparation. Using professional-grade mixing tools ensures consistency in your plaster mix, which is crucial for achieving that perfect finish. Our experience shows that investing in quality mixing equipment can reduce material waste by up to 15% and significantly decrease the likelihood of lumps forming in the mix.
Essential Hand Tools for Application
The application phase requires precise tools that combine durability with ergonomic design. A professional-grade plastering trowel is your primary tool, available in both carbon steel and stainless steel variations. Carbon steel trowels, typically priced between £35-£55, offer excellent flexibility and control, while stainless steel options, ranging from £50-£70, provide superior rust resistance and longevity. The hawk, another crucial tool, should feature a lightweight yet sturdy construction, preferably with an aluminium base and comfortable grip. Modern hawks now incorporate ergonomic features that reduce wrist strain by up to 30% during extended use.
Specialist Tools for Perfect Finishes
- Scarifier: Multi-blade tool for creating optimal bonding surfaces
- Straight Edge: Available in lengths from 1m to 3m for consistent levelling
- Feather Edge: Essential for achieving clean corners and edges
- Corner Trowel: Specifically designed for internal and external corners
- Finishing Spatula: For final touch-ups and detail work
Access and Safety Equipment
Working at height requires proper equipment to ensure both safety and efficiency. Professional plastering stilts, ranging from £150-£300, provide stable elevation for ceiling work. Hop-ups and platforms should meet current UK safety standards, with non-slip surfaces and weight ratings of at least 150kg. Recent industry statistics show that proper access equipment reduces work-related injuries by 65%. Always ensure your access equipment carries the BSI kitemark and complies with Work at Height Regulations 2005.
Maintenance and Cleaning Tools
Tool maintenance is crucial for longevity and performance. Professional plasterers should invest in dedicated cleaning tools including wire brushes, specialist cleaning solutions, and protective cases. Studies indicate that well-maintained tools can last up to 3 times longer than poorly maintained ones. Implement a daily cleaning routine using appropriate techniques for different materials – stainless steel requires different care than carbon steel tools.
Investing in Quality: A Professional’s Perspective
Quality tools represent a significant investment, but the returns are substantial. Professional-grade plastering tools typically cost 30-50% more than basic alternatives, but they offer superior durability and performance. Our experience shows that high-quality tools can reduce material waste by up to 20% and improve work efficiency by 25-30%. When building your toolkit, prioritise essential items first and gradually expand as your expertise grows.
Mastering Your Tools for Professional Results
- Maintain proper tool angles for optimal performance
- Regular practice with each tool to develop muscle memory
- Understanding tool-specific techniques for different finishes
- Proper storage and transportation methods
- Regular maintenance schedules for each tool type
From Tools to Expertise: Your Next Steps
Building a professional plastering toolkit is an investment in your craft. Start with essential tools and gradually expand your collection as your skills develop. Remember that quality tools, while initially more expensive, provide better results and longer service life. Stay updated with the latest tool innovations and techniques through professional training and industry publications. For those in Kent seeking professional plastering services, ensure your chosen plasterer uses high-quality tools and maintains them properly – it’s often a reliable indicator of their commitment to quality workmanship.
FAQ
What is the bull mark for plastering?
Bullmark is used to ensure that the thickness of the plastering is uniform throughout. BULLMARK is a plaster patch that is 10 cm x 10 cm in size and about 12 to 15 mm thick. Bullmark is placed on the wall’s one-end corner to provide a uniform thickness of plastering throughout the entire wall surface.
How do you plaster evenly?
Work from the bottom left hand corner of the wall upwards and outwards, using a small amount of plaster each time. You can use short sweeps to start with, then longer sweeps to smooth out. Continue working your way along the wall until the plaster has been evenly spread along the whole surface.
What is a plastering rule?
The Plastering Rule is designed to increase and enhance quality of finish. There is an aluminium handle and semi-flexible plastic blade for flattening, finishing and ruling off. It is compatible with all gypsum based plasters, traditional sand & cement renders and insulated rendering systems.
Sources
[1] https://www.krafttool.com/plaster
[2] https://walltools.com/tools-equipment/plaster/
[3] https://marshalltown.com/pro-3937-plastering-trowels