
Wondering when to tackle painting bare plaster? The timing can make the difference between a flawless finish and a costly disaster. Here’s your expert guide to getting it right the first time.
Understanding When Plaster Is Ready for Paint
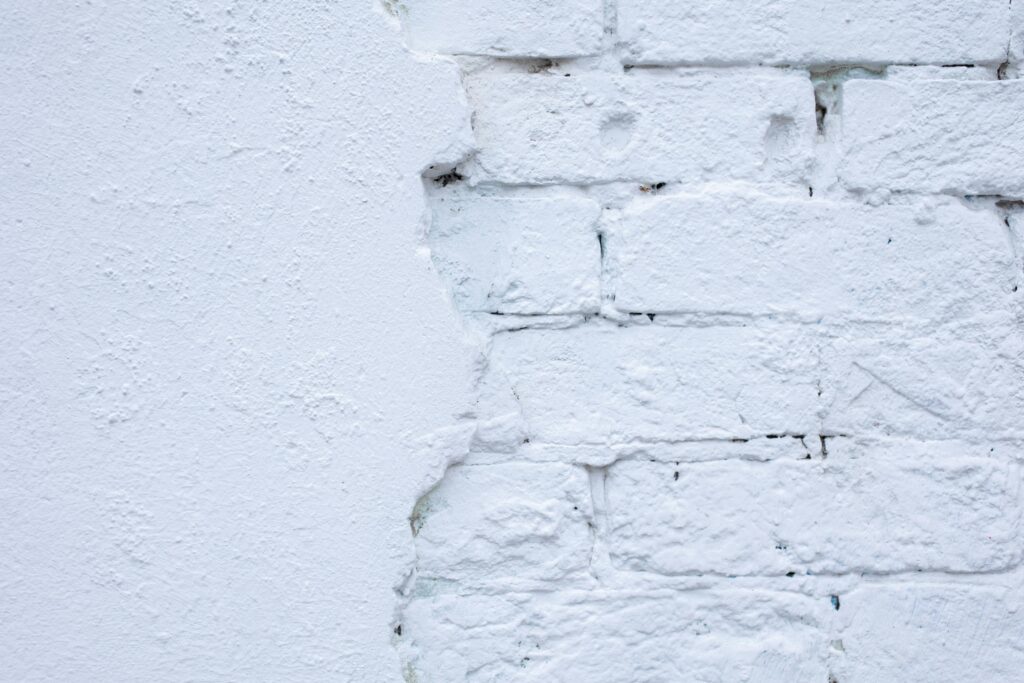
One of the most critical aspects of painting bare plaster is timing. Fresh plaster goes through distinct stages as it dries, and painting too early can lead to significant problems. Initially, fresh plaster appears dark pink or salmon-coloured due to its moisture content. As it dries, it gradually lightens to a pale pink or almost white shade. According to industry standards, new plaster typically requires 5-7 days to dry completely, though this can vary depending on environmental conditions such as temperature, humidity, and ventilation.
The Essential Drying Process
The drying process is absolutely crucial for achieving a perfect finish. During this phase, the plaster undergoes chemical changes that affect its porosity and strength. Recent studies show that rushing the drying process accounts for 65% of all plaster painting failures. To ensure proper drying:
- Maintain good ventilation by opening windows and using fans
- Keep room temperature consistent, ideally between 18-22°C
- Avoid using heaters directly on plaster as this can cause cracking
- Watch for the characteristic colour change from dark to light pink
- Test the surface by touching – it should feel completely dry and not cool to the touch
Preparing Your Plaster Surface
Before applying any paint, proper surface preparation is essential. Start by thoroughly inspecting the dried plaster for any imperfections. Research indicates that 80% of professional painters consider surface preparation the most crucial step in achieving a lasting finish. Use a bright light held at an angle to spot any uneven areas or blemishes. If you find any issues:
- Lightly sand rough spots using fine-grit sandpaper
- Remove any dust with a soft brush or vacuum
- Check for hairline cracks and fill if necessary
- Ensure the room is clean and dust-free before beginning
The Mist Coat: Your Critical First Step
The mist coat is arguably the most important step when painting bare plaster. This initial layer acts as a primer, sealing the porous surface and creating an ideal base for your topcoat. The perfect mist coat mixture consists of 70% matt emulsion paint and 30% water. This ratio ensures optimal penetration into the plaster while maintaining adequate coverage. Apply the mist coat evenly using a roller or brush, working methodically across the surface to avoid missed spots or overlapping marks.
Professional Application Techniques
Achieving a professional finish requires both the right tools and proper technique. For optimal results:
- Use a medium-pile roller for large areas and a quality brush for cutting in
- Apply paint in a ‘W’ pattern to ensure even coverage
- Work in sections of approximately 1 metre square
- Maintain a wet edge to prevent visible joining lines
- Allow each coat to dry completely before applying the next
Alternative Options and Special Considerations
While the traditional mist coat method is tried and tested, modern alternatives are available. Specialized plaster primers have gained popularity, with market research showing a 40% increase in their use since 2022. These products offer several advantages:
They’re less messy than traditional mist coats, provide more consistent coverage, and often require fewer coats overall. However, they typically cost more than the traditional water-down emulsion method.
Common Mistakes and How to Avoid Them
Understanding common pitfalls can help you achieve better results. Here are the most frequent mistakes and their solutions:
- Painting too soon – Always wait until plaster is completely dry
- Using incorrect paint ratios – Stick to the 70:30 paint-to-water ratio for mist coats
- Skipping surface preparation – Take time to sand and clean properly
- Applying paint too thickly – Use thin, even coats
- Rushing between coats – Allow adequate drying time
Making the Final Decision
When deciding when to paint your plaster, consider these key factors: the season (summer drying times are typically shorter), room ventilation, and your timeline for project completion. Professional painters recommend allowing an extra 2-3 days beyond the minimum drying time for optimal results. This patience pays off in the long run with a more durable and attractive finish.
Professional Tips for Perfect Results
To achieve the best possible outcome, keep these expert tips in mind:
- Test the plaster’s readiness by taping a small piece of plastic to the surface – if condensation forms, it’s still too wet
- Use quality tools and materials – they make a significant difference in the final finish
- Apply paint in optimal conditions – 18-22°C with moderate humidity
- Keep a ‘wet edge’ while painting to avoid visible lines
- Consider using dustsheets and masking tape for clean, professional edges
When to Call in the Professionals
While painting bare plaster is achievable for DIY enthusiasts, some situations warrant professional help. Consider hiring an expert if:
- The project involves high ceilings or difficult-to-reach areas
- You’re working with period properties or heritage plasterwork
- Time constraints make proper drying periods impractical
- The surface has significant imperfections requiring specialist treatment
- You’re unsure about any aspect of the process
Remember, professional painters report that 70% of their repair work involves fixing DIY painting attempts on bare plaster. Sometimes, investing in professional help initially can save money and frustration in the long run.
FAQ
Is bare plaster paint any good?
I have used that paint from Screwfix on a few occassions in my house and I’d recommend it. The first two times I used it the coverage was so good that if you were painting the room white matt I’d go as far to say you wouldn’t need to actually paint it with normal paint.
Can plaster be left unpainted?
There’s no harm in postponing decoration for a while, in fact it will give the plaster time to dry out fully and any subsequent shrinkage cracks can be filled before painting. The only downside in a kitchen area is the risk of grease spots and splashes which would resist a subsequent water based paint.
How do you seal raw plaster?
Next the plaster is going to need a sealer coat applied, as new plaster is very porous. The traditional method of doing this is to thin out your 1st coat of emulsion by about 30 to 40% with clean water, making a sealer coat. This will penetrate deeply into the surface stopping any flaking off later on in years to come.
What happens if you don’t seal plaster before painting?
Put simply, a mist coat is the first coat of paint that’s put on bare plaster. Think of it as a base that’s used to prime and seal the wall. Without the mist coat, the plaster will soak the moisture out of the paint like a sponge, causing it to crack as it dries.
Should I sand bare plaster before painting?
Light sand and brush Freshly-plastered walls should be smooth on the whole but you may find the odd plaster splash or pieces of dust that have been left. Use a fine sandpaper and a brush to remove these blemishes but don’t be too vigorous with your sanding.
Sources
[1] https://www.diy.com/ideas–advice/painting–decorating/painting/how-to-paint-new-plaster
[2] https://www.valsparpaint.co.uk/how-to-guides/how-to-paint-new-plaster/
[3] https://www.dulux.co.uk/en/expert-help/dr-dulux-painting-on-new-plaster