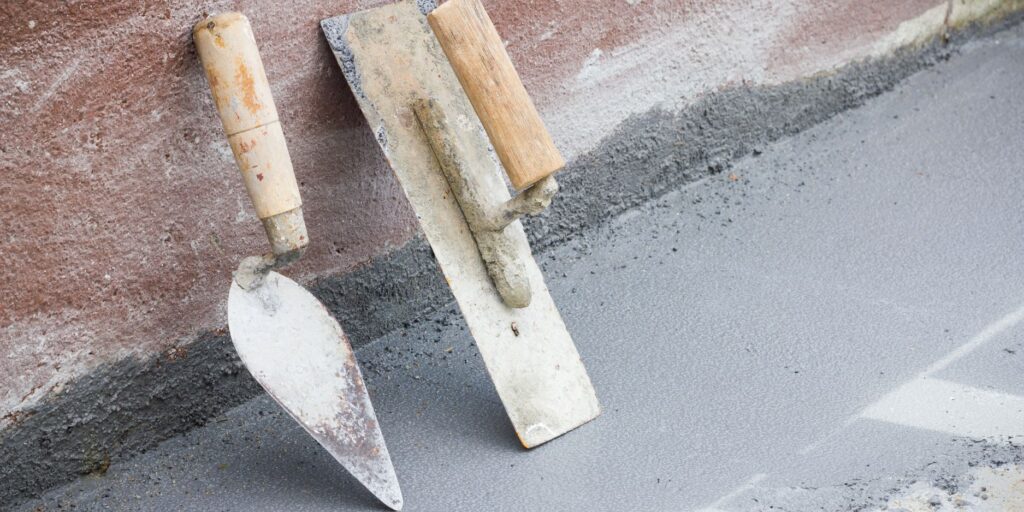
Painting fresh plaster is a crucial step in the process of transforming your walls, but it can be a challenge for both DIY enthusiasts and professionals alike. Knowing the right techniques and products to use will ensure a smooth, long-lasting finish that showcases your newly plastered surfaces. In this comprehensive guide, we will walk you through the process of painting fresh plaster, providing tips and tricks to help you achieve flawless results. So, let’s get started!
- Allow the Plaster to Dry Completely:
Before you start painting, it’s essential to allow your fresh plaster to dry fully. The drying time can vary depending on factors such as room temperature, humidity, and the type of plaster used. Generally, it takes about one week for fresh plaster to dry, but in some cases, it may take up to two weeks. Keep an eye on the color of the plaster – as it dries, it will change from a dark brown to a light, even shade. This is a clear indication that it’s ready for painting.
- Prepare the Surface:
Once your plaster is dry, it’s time to prepare the surface for painting. Start by removing any dust or debris from the walls using a soft brush or vacuum cleaner. Ensure that the surface is clean and smooth before proceeding to the next step.
- Apply a Mist Coat:
A mist coat is a mixture of watered-down emulsion paint that serves as a primer for your fresh plaster. The purpose of the mist coat is to seal the porous plaster surface and provide a base for the subsequent paint layers. To create a mist coat, mix one part water with three parts emulsion paint, ensuring the mixture is well combined.
Using a paintbrush or roller, apply the mist coat evenly across the surface. Be sure to cover the entire area, but avoid applying too much paint at once, as this can cause the plaster to become damp again. Allow the mist coat to dry completely, which typically takes around 24 hours.
- Choose the Right Paint:
When selecting paint for fresh plaster, it’s essential to choose a high-quality, water-based emulsion paint. This type of paint allows the plaster to breathe and continue drying even after the paint has been applied. Avoid using oil-based or vinyl paints, as these can prevent the plaster from drying properly and may cause issues later on.
- Apply the Top Coats:
Now that your mist coat is dry, it’s time to apply the top coats of paint. Depending on the colour and finish you desire, you may need to apply two or three coats to achieve the desired effect. Allow each coat to dry completely before applying the next one, following the drying time instructions on the paint can.
When painting, use long, even strokes with a paintbrush or roller to ensure a smooth and consistent finish. Be mindful of any drips or uneven areas and address them immediately to avoid unsightly imperfections.
- Clean Up and Enjoy Your Freshly Painted Walls:
Once you’ve applied the final coat of paint and allowed it to dry, it’s time to clean up your workspace and admire your freshly painted walls. Remove any painter’s tape or protective coverings, clean your brushes and rollers, and put away any leftover paint for future touch-ups.
Painting fresh plaster may seem like a daunting task, but with the right techniques and patience, you can achieve professional-looking results. By allowing the plaster to dry, preparing the surface, applying a mist coat, and using high-quality paint, you’ll be well on your way to creating a beautiful, long-lasting finish that highlights your newly plastered walls.

