SVP Meaning: What It Means in the Construction Industry
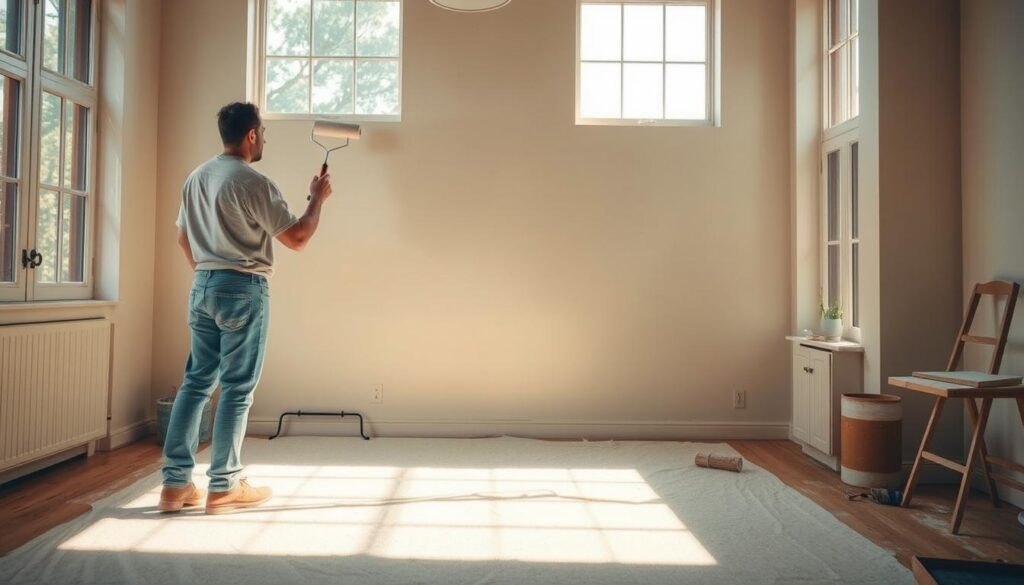
Drainage systems in buildings are complex, and the Soil Vent Pipe (SVP) is key. It helps manage pressure and keeps foul smells and gases out. It’s important to have access points for maintenance1. Understanding SVPs is vital for drainage systems to work well and safely. A good SVP prevents pressure buildup, which can cause bad smells. Access points should be in the roof or at flat roof level for easy testing1. Soil pipes come in 110mm and 160mm sizes, with 110mm being common above ground2. SVPs are crucial for drainage systems to operate efficiently and safely. In the UK, waste pipe sizes are 32mm, 40mm, and 50mm. A typical 110mm PVC-U soil system has a vertical stack and is vented through or above the roof2. Key Takeaways SVPs are important for managing pressure and keeping buildings free from foul smells and gases. Access points for maintenance should be at 3 storey intervals or less, above appliance spillover levels1. A well-designed SVP prevents pressure buildup, which can cause bad smells and gases. Soil pipes are usually 110mm or 160mm, with 110mm being common above ground2. For plastering needs, contact Kent Plastering. SVPs are essential for drainage systems to work efficiently and safely, key to svp meaning construction and definition. It’s important to maintain soil and waste systems to avoid blockages, a common plumbing problem2. Understanding SVP in Construction Context In construction, SVP stands for soil vent pipe. It’s key for managing pressure in drainage systems. This prevents pressure buildup, which can cause bad smells and gas emissions3. Simply put, it’s a pipe that lets air and gases move in and out, keeping the system working right. A good SVP stops pressure buildup, avoiding bad smells and gas. Traditionally, SVPs were cast iron, but now plastic is more common4. For example, a well-made SVP stops pressure buildup, keeping the system safe and clean. For more on SVPs, contact Kent Plastering. When designing an SVP system, consider a few things: * The material, like cast iron or plastic * The size and shape of the SVP * Where the SVP is placed in the system * Regular checks to make sure it works well3 Common Uses of SVP in Construction In the construction world, you might hear about SVP. It stands for svp abbreviation construction or svp construction acronym. Let’s look into how SVPs help keep drainage systems running smoothly. SVPs are key in managing pressure in drainage systems. They stop pressure from building up, which can cause bad smells and gases5. This is vital in tall buildings, where plumbing is far from the main drainage line. Proper venting is needed to avoid pressure issues6. Some important things about SVPs in construction are: They need to be installed correctly, with brackets and supports every 1.2 to 1.5 meters5. They must follow local building codes to avoid fines of $500 to $5,0005. Regular checks are needed to stop blockages and leaks, suggested every 6 to 12 months5. Understanding SVPs in construction shows their vital role in keeping buildings safe and healthy. Whether called svp abbreviation construction or svp construction acronym, their importance is clear. Need help with SVP installation or maintenance? Contact Kent Plastering for expert and dependable services. Benefits of Implementing SVP Using SVP in the building industry brings many advantages. It makes projects more efficient and cuts down costs. Knowing the svp meaning in construction terminology helps professionals design and manage projects better. The first web source says SVPs prevent pressure buildup in drainage systems7. This stops foul odors and gases from being released, which is bad for health and the environment. In the svp in building industry world, good drainage is key. A well-planned SVP stops pressure buildup, avoiding bad smells and gases. This means projects run smoother and cheaper. For example, a 110mm PVC-U soil system has a vertical stack and a main drain, vented through the roof2. SVPs also save money by avoiding expensive fixes and upkeep. By knowing the svp meaning in construction terminology and using SVPs, projects get better and cheaper. Contact Kent Plastering for plastering work and they’ll help with SVPs. With their help, your project will be done well and fast, saving money and improving efficiency7. How SVP Affects Project Management SVP construction terminology is key in the building world. It greatly affects how projects are managed. SVP meaning construction is linked to managing drainage systems well. This stops pressure buildup and foul smells and gases. According to8, 88% of top executives say projects must align with strategy to succeed. SVPs are crucial in this alignment. SVPs give project managers the info they need for drainage system decisions. They understand the svp construction terminology interpretation and its project relevance. A good SVP ensures the drainage system works right, avoiding errors and costly fixes8. Clear communication is vital in project management. SVPs help by explaining the drainage system clearly. This makes team and stakeholder communication better, leading to more efficient projects and lower costs8. For plastering needs, contact Kent Plastering. They offer expert advice and services for top-quality project completion. Understanding SVPs in project management helps professionals. They ensure projects have the right drainage systems. This leads to successful outcomes and lower costs8. Key Stakeholders Involved in SVP Understanding the svp construction definition is key when dealing with Soil Vent Pipes (SVPs) in construction. SVPs are crucial for keeping buildings clean and safe by letting sewer gases out. The question of what does svp stand for in construction is important to many in the field. Project managers, architects, and engineers are at the heart of SVP projects9. These professionals work together to make sure SVPs are properly designed and installed. Project managers ensure SVPs are part of the project plan. Architects and engineers focus on the design and installation of the drainage systems. For expert advice on SVP installation and maintenance, contact Kent Plastering. The materials used for SVPs are important. They are usually made of cast iron or plastic, with cast iron used for
SVP Meaning: What It Means in the Construction Industry Read More »