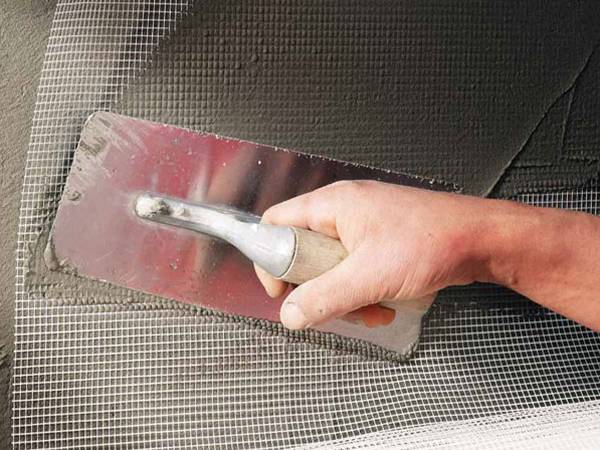
How to Master DIY Spray-On Plastering
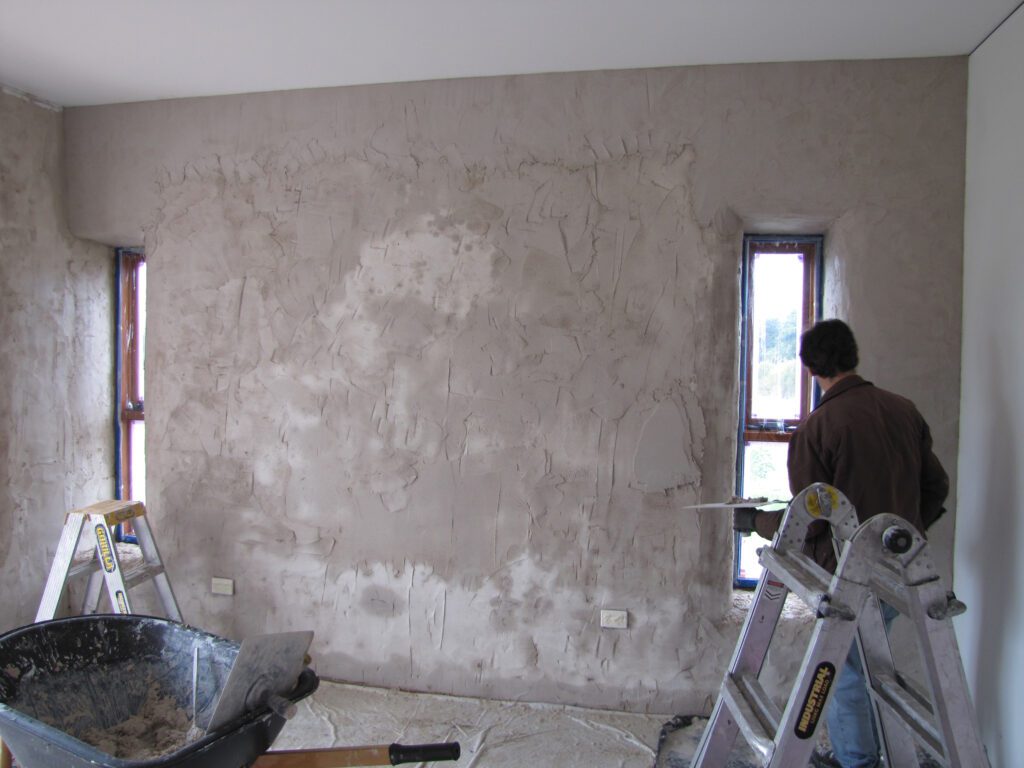
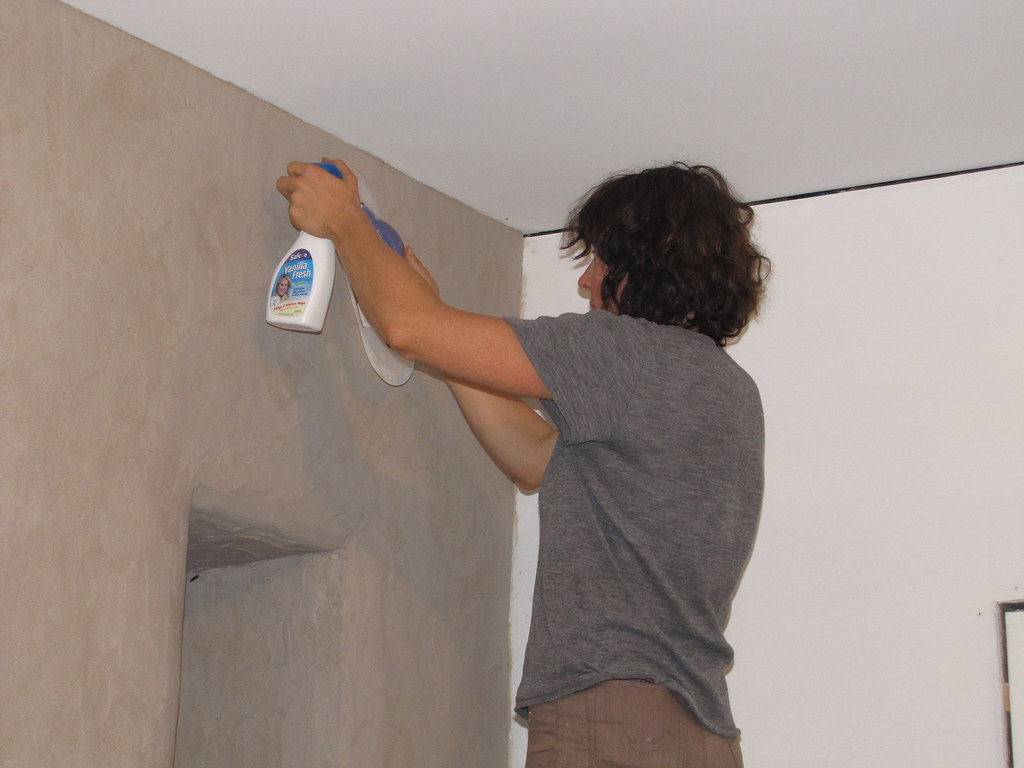
Transform your walls in half the time with spray-on plastering – the modern solution that’s revolutionising DIY home renovation. With the growing trend towards efficient home improvements, spray-on plastering has emerged as a game-changing technique that promises professional results with significantly less effort. Understanding Spray-On Plaster Spray plaster represents a revolutionary advancement in wall finishing technology, offering a modern alternative to traditional hand-applied plastering methods. This innovative solution consists of a specially formulated, premixed compound that’s applied using high-pressure spraying equipment. According to recent industry data, spray plastering can reduce application time by up to 70% compared to conventional methods, making it increasingly popular among both DIY enthusiasts and professional contractors. The system works by atomising the plaster mixture into fine particles, creating an exceptionally smooth and uniform coating that adheres perfectly to properly prepared surfaces. Faster application – covers up to 200m² per day Superior Level 5 finish without additional steps Reduces material waste by up to 40% Dries white, eliminating the need for a mist coat Significantly less mess and cleanup required Essential Equipment and Materials To achieve professional results with spray-on plastering, investing in the right equipment is crucial. The industry-standard Graco Mark V airless sprayer leads the market, offering reliable performance and consistent results. However, alternatives like Wagner and Titan sprayers can also deliver excellent results. The initial investment might seem substantial, with professional-grade equipment costing between £2,000 to £5,000, but the time and labour savings quickly justify the expense for larger projects. Airless sprayer (Graco Mark V or equivalent) Spray tips (517-523 recommended) Premixed spray plaster Mixing paddles Clean water supply Extension poles and hoses Surface Preparation and Planning Proper surface preparation is absolutely critical for achieving a flawless finish with spray-on plaster. Begin by thoroughly assessing the wall condition, addressing any cracks, holes, or structural issues. Research shows that 90% of plastering failures can be attributed to inadequate surface preparation. Remove all loose material, ensure surfaces are clean and free from dust, and apply appropriate primers where necessary. Temperature and humidity play crucial roles – optimal conditions include room temperatures between 10-25°C and relative humidity below 70%. The Spray-On Application Process The application process requires careful attention to technique and consistency. Start by mixing the plaster according to manufacturer specifications – typically requiring a mechanical mixer for optimal results. Modern spray plasters are engineered to achieve ideal consistency with minimal water addition, typically requiring only 2-3% water by volume. When spraying, maintain a consistent distance of approximately 300mm from the wall surface, using overlapping passes to ensure even coverage. Start in corners and work outwards Maintain 50% overlap between passes Keep consistent arm movement speed Apply in thin, even coats Monitor material consistency throughout Finishing and Troubleshooting The finishing stage is where spray-on plastering truly shows its advantages. Unlike traditional plastering, spray application creates an incredibly smooth base that often requires minimal troweling. However, timing is crucial – the initial leveling should be done within 10-15 minutes of application. Common issues like orange peel texture or inconsistent coverage can usually be addressed by adjusting spray pressure or material consistency. Modern spray plasters typically achieve full cure within 24-48 hours, significantly faster than traditional methods. Best Practices and Pro Tips Success with spray-on plastering relies heavily on following established best practices and learning from experienced practitioners. Temperature control and ventilation are crucial – maintain consistent room temperature and ensure adequate air circulation without creating direct drafts. Professional plasterers recommend doing a small test area first and maintaining detailed records of mixing ratios and spray settings for consistency across larger projects. Complete a test patch before full application Document successful mixing ratios Clean equipment thoroughly after each use Monitor temperature and humidity throughout Keep spare parts and tips readily available Advanced Techniques and Special Finishes Once you’ve mastered the basics, spray-on plastering opens up possibilities for creating unique textured finishes and decorative effects. Different spray tips and pressure settings can achieve various textures, from ultra-smooth to stippled effects. Advanced users can even incorporate colour tints or metallic additives for distinctive finishes. Statistics show that textured finishes can increase property value by up to 15% when executed professionally. Maintenance and Aftercare Proper maintenance ensures the longevity of your spray-plastered surfaces. Allow a minimum curing period of 7 days before applying any decorative finishes. Modern spray plasters are highly durable, with manufacturers reporting expected lifespans of 25+ years when properly maintained. Regular visual inspections can help identify any potential issues early, and small repairs can usually be accomplished with minimal matching concerns thanks to the consistent nature of spray application. Schedule routine inspections every 2-3 years to maintain optimal condition and address any maintenance needs promptly. FAQ How much does it cost to plaster a 2000 square feet house? Plaster Cost per Square Foot Can I plaster by myself? Plastering is a job that even the most confident of DIYers will steer clear of. However, with some preparation, patience and know how, you can plaster your own walls and achieve a smooth, professional finish. What is cheaper than plastering? Dry lining is generally more cost effective than traditional plastering due to reduced labour and material costs. Which is the preferable choice: dry lining or wet plastering? The preferable choice between dry lining and wet plastering depends on your specific project requirements. How do plasterers get it so smooth? Spray the edges of the plaster and run the trowel over it to smoothen out the surface. Use inward strokes when doing this. You can also use a wet brush for the job, especially around the tricky edges. Finish by running a clean float over the entire surface to flatten out any lumps and bumps. Sources [1] https://painttechtrainingacademy.co.uk/resource-centre/benefits-of-spray-plaster/ [2] https://www.toupret.co.uk/professional-filler/folder/spraying-plaster-the-ultimate-time-saving-technique [3] https://www.sprayplant.co.uk/blogs/news/what-is-spray-plaster-and-how-do-i-spray-it
How to Master DIY Spray-On Plastering Read More »