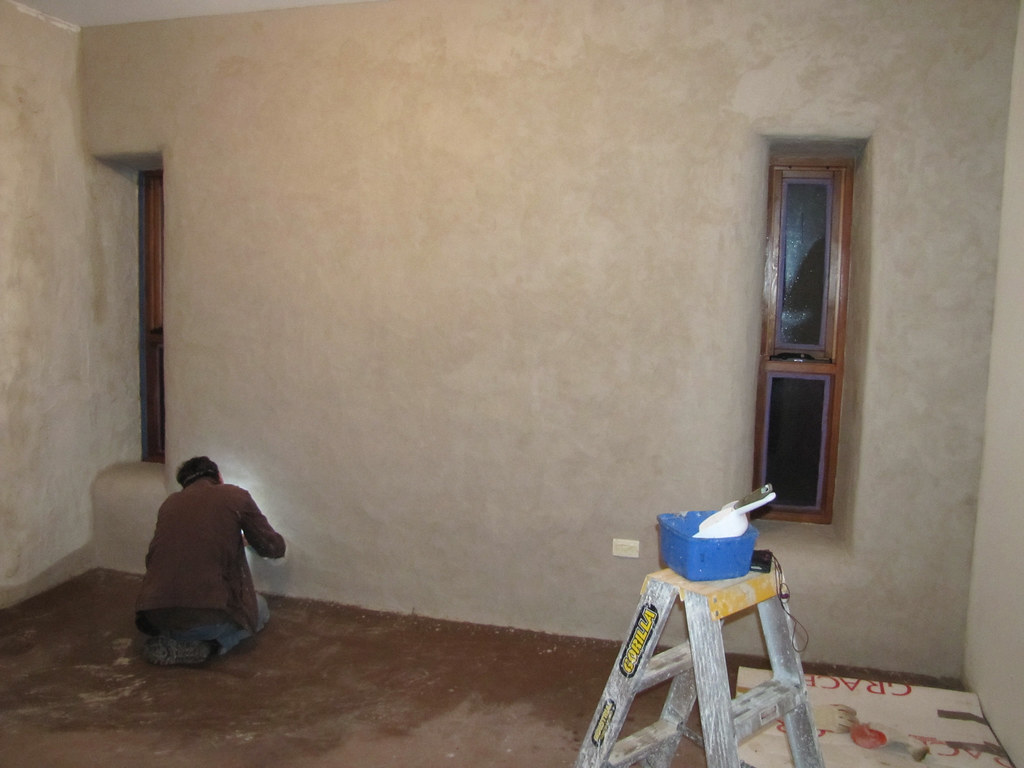
Transform your walls with bonding plaster – discover the professional secrets to achieving that flawless, durable finish you’ve always wanted.
Understanding Bonding Plaster and Its Benefits
Bonding plaster is a versatile undercoat plaster designed specifically for surfaces where standard backing plaster might not adhere effectively. With average bond strength of 385 PSI after 28 days, it’s particularly valuable for challenging surfaces like concrete and ceramic tiles. This specialised material has revolutionised modern plastering techniques, offering superior adhesion and durability compared to traditional methods.
The primary advantage of bonding plaster lies in its exceptional versatility and adhesive properties. It creates a robust mechanical key that covers 300-400 square feet per gallon, ensuring excellent adhesion to virtually any structurally sound surface. Moreover, its non-toxic, low VOC formulation makes it an environmentally conscious choice for contemporary construction projects.
Essential Tools and Materials
- Quality bonding plaster (ensure it meets ASTM C-631 standards)
- Plastering trowel and hawk
- Mixing bucket and paddle mixer
- Scraping tool and wire brush
- Spirit level and straight edge
- Clean water supply
Safety Equipment
- Dust mask or respirator
- Safety goggles
- Heavy-duty gloves
- Protective clothing
Preparing Your Surface
Proper surface preparation is crucial for achieving optimal results with bonding plaster. Begin by thoroughly assessing the wall condition, looking for any structural issues, damp problems, or loose material. Clean the surface meticulously, removing all dust, grease, and loose particles. For painted surfaces, ensure they’re non-water-based, as bonding plaster is suitable for most non-water-based paints.
Different surfaces require specific preparation techniques. Concrete surfaces should be roughened to provide a better key, while ceramic tiles need thorough degreasing. Check moisture levels carefully – excessive dampness can compromise the plaster’s adhesion and final finish.
Mixing and Application Techniques
Achieving the perfect mix consistency is crucial for successful application. Add the plaster to clean water gradually, following manufacturer’s recommended ratios strictly. Mix thoroughly until you achieve a smooth, lump-free consistency similar to thick cream. Remember that bonding plaster can be applied by brush, roller, or spray, though trowel application remains most common for professional results.
Application Steps
- Apply first coat at approximately 8mm thickness
- Allow to set slightly before scratching surface
- Build up additional layers for depths exceeding 11mm
- Maintain consistent pressure during application
- Work in manageable sections to ensure even coverage
Working with Different Surfaces
Bonding plaster excels on various surfaces, each requiring specific techniques. For concrete and brick, ensure surfaces are dampened but not wet. When covering ceramic tiles, create a thorough key by scoring or roughening the surface. For electric heating cables, maintain recommended minimum coverage depths and avoid direct contact with heating elements. When joining old and new plasterwork, create a graduated transition to ensure seamless integration.
Common Challenges and Solutions
Even experienced plasterers encounter challenges, but understanding common issues helps prevent problems. Temperature fluctuations can affect drying times – maintain room temperature between 10-25°C during application and curing. Avoid applying in freezing conditions, though the product itself is freeze-thaw stable. If bubbling occurs, check for contamination or improper mixing. For corners and awkward areas, use smaller tools and take extra care with preparation.
Finishing Touches and Aftercare
Allow the bonding plaster to dry completely before applying finishing coats. Typically ready for finishing plaster within a few hours, but environmental conditions can affect drying times. Maintain good ventilation but avoid direct heat or draughts. Once dried, the surface should feel firm and exhibit a consistent colour. Test readiness by pressing firmly – no indentation should remain.
Professional Tips and Expert Advice
- Always mix fresh batches rather than trying to rejuvenate partially-set material
- Work systematically from top to bottom, maintaining a wet edge
- Use appropriate lighting to spot imperfections during application
- Consider weather conditions and timing for optimal results
- For large areas or critical applications, consider hiring a professional
Remember, while bonding plaster is more forgiving than skim plaster for novices, achieving truly professional results requires patience and practice. Don’t hesitate to seek professional help for challenging projects or when perfect results are crucial.
FAQ
How long does bonding plaster take to dry?
How Long Does Bonding Take to Dry? Your bonding plaster will be dry and ready for a finishing coat after 24 hours.
What happens if you apply plaster too thick?
A thicker layer will retain more moisture, leading to a prolonged drying time. To ensure timely project completion, it’s crucial to avoid applying plaster too thick, which can lead to frustrating delays in the drying process.
Can I use bonding plaster for dot and dab?
Drywall Adhesive (otherwise known as Bonding Compound) is an essential component in the installation of both standard and insulated plasterboard. It serves to bond boards directly to the wall in a process known as “dot and dab”. The dot and dab method serves as an efficient alternative to studs.
How thick can you apply bonding plaster?
Applying the plaster Using your hawk and trowel, liberally apply the bonding plaster between the beaded areas. This can be up to one inch thick to ensure a good clean underlay, ready for the finishing plaster.
What can I use instead of bonding plaster?
Browning plaster is a decorative plaster that’s used as a base for paint and other decorative endeavours. It’s very similar to bonding plaster, but more absorbent, and thus most useful with more absorbent surfaces. They are used by professional plasterers as an undercoat for paint and adornments.
Sources
[1] https://conspecmaterials.com/product/larsen-products-plaster-weld-plaster-bonding-agent-1-gal/
[2] https://paintandplasters.com/plaster-weld/
[3] https://www.youtube.com/watch?v=S6i5VxKQ-i8

