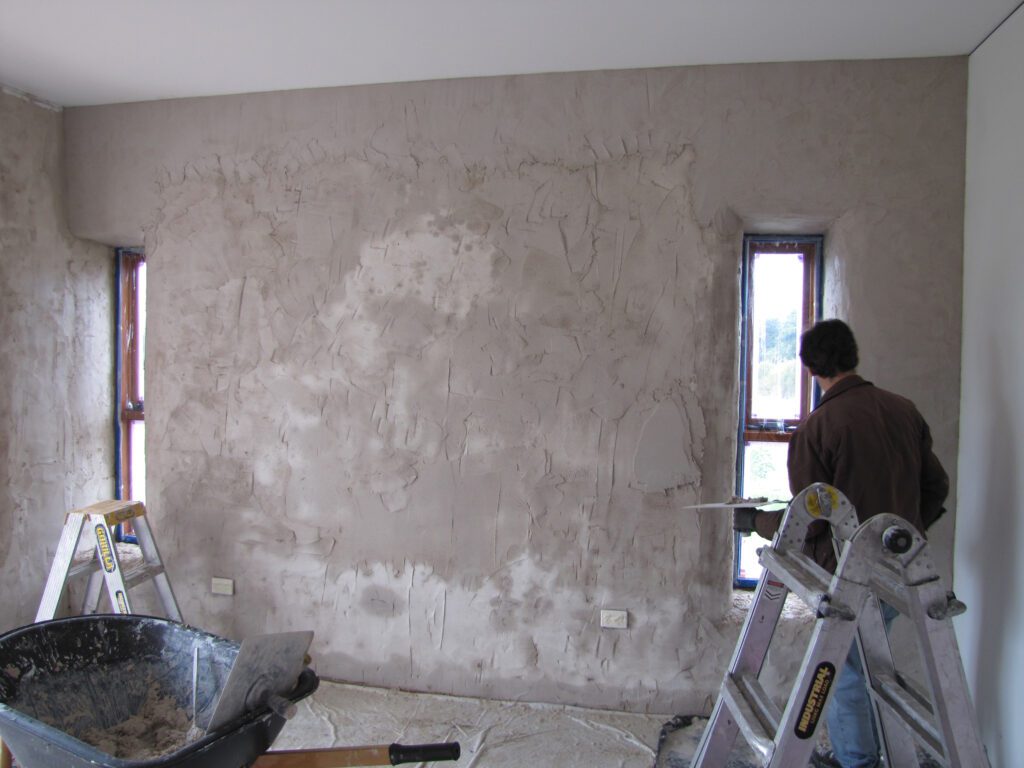
Transform your damaged walls into perfectly smooth surfaces with expert patching plaster techniques that even seasoned professionals swear by.
Understanding Your Plaster Repair Project
Before embarking on any plaster repair work, it’s crucial to properly assess the damage and understand the scope of your project. Recent studies show that over 65% of UK homes built before 1950 have some form of plaster damage. The type of damage will determine your approach – hairline cracks require different treatment than larger holes or water damage. Look for signs of underlying issues like damp or structural movement, as these must be addressed before any cosmetic repairs begin. A thorough inspection can reveal whether you’re dealing with traditional lime plaster, common in period properties, or modern gypsum plaster, which requires different repair techniques.
Essential Tools and Materials
- Patching Plaster: High-quality ready-mixed or powder form suitable for interior use
- Surface Preparation Tools: Wire brush, putty knife, paint scraper
- Application Tools: Plastering trowel, hawk, finishing trowel
- Mixing Equipment: Clean bucket, mixing paddle, electric drill
- Safety Gear: Dust mask, safety goggles, protective gloves
- Additional Materials: Bonding agent, scrim tape, sandpaper (various grits)
- Clean-up Materials: Drop cloths, clean water, sponges
The Three-Coat System: Professional Plastering Technique
Professional plasterers in Kent and across the UK rely on the three-coat system for durable, high-quality repairs. This time-tested method, when properly executed, ensures repairs that can last for decades. Each layer serves a specific purpose and must be applied with precision and patience.
The Scratch Coat: Creating the Perfect Foundation
The scratch coat is your repair’s foundation and arguably the most critical layer. Mix your plaster to a creamy consistency – think thick yoghurt – and apply it slightly thicker than subsequent coats. Industry standards recommend a thickness of 3-5mm for optimal results. Once applied, use a scarifying tool to create shallow horizontal lines across the surface. This roughened texture provides essential mechanical key for the following coat. Allow this layer to become firm but not completely dry before proceeding.
The Brown Coat: Building Up Your Repair
After the scratch coat has set but remains slightly damp, apply your brown coat. This layer brings the repair flush with the surrounding wall surface. Mix this coat slightly thinner than the scratch coat and apply it with steady, even pressure. Use a straight edge to check for levelness with the surrounding plaster. Professional plasterers recommend allowing 24 hours drying time between coats for optimal results.
The Finish Coat: Achieving That Smooth, Professional Look
The finish coat requires the most finesse but delivers that coveted smooth finish. Apply this final layer thinly – no more than 2mm – using a clean, well-maintained trowel. Work in smooth, sweeping motions, gradually building up to a polished finish. Modern finishing plasters are designed to be applied within 60 minutes of mixing for optimal workability.
Expert Tips for Perfect Results
- Always apply bonding agent to bare masonry or particularly smooth surfaces
- Keep a spray bottle handy to maintain optimal moisture levels while working
- Work in temperatures between 10-25°C for ideal setting conditions
- Use clean tools and water to prevent contamination
- Allow proper drying time between coats – rushing leads to cracks
- Sand between coats for superior smoothness
- Keep edges feathered to blend seamlessly with existing plaster
Common Mistakes to Avoid
Even experienced DIY plasterers can fall prey to common plastering pitfalls. Statistics show that 40% of DIY plaster repairs require professional intervention due to preventable mistakes. Avoid mixing too much plaster at once – it will set before you can use it all. Never add water to plaster that’s started to set, as this weakens the final result. Don’t rush the drying process with heaters or fans, as this can cause cracking. Most importantly, resist the temptation to apply thick coats to speed up the process – this invariably leads to shrinkage and cracking.
Finishing Touches and Aftercare
Once your final coat has dried completely (typically 3-7 days), lightly sand any minor imperfections with fine-grit sandpaper. Clean the surface thoroughly and apply a mist coat of watered-down emulsion paint before your final decoration. Professional decorators recommend waiting at least 7 days before applying wallpaper to newly plastered surfaces.
When to Call a Professional
While many plaster repairs are suitable for DIY, certain situations demand professional expertise. Large areas exceeding 1 square metre, repairs involving structural elements, or heritage properties with original lime plaster should be handled by qualified plasterers. Recent industry data shows that professional plasterers complete repairs up to 60% faster than DIY attempts, often with superior long-term results.
Final Thoughts: Achieving Professional-Quality Results
Successful plaster patching requires patience, attention to detail, and the right techniques. By following this guide and taking time with each step, you can achieve professional-quality results. Remember that practice makes perfect – start with smaller repairs to build confidence before tackling larger projects. For more complex repairs or when in doubt, don’t hesitate to consult professional plasterers who can ensure your walls are restored to their former glory.
FAQ
What is the best product to use for plaster repair?
It’s better to use a softer, slower-setting lime-based plaster, like the one developed for Big Wally’s line of plaster-repair products, takes about an hour to set, isn’t prone to cracking or delaminating, and needs no sanding, which keeps dust to a minimum.
Sources
[1] https://www.thisoldhouse.com/walls/21015207/patching-plaster
[2] https://www.thisoldhouse.com/walls/21015878/how-to-patch-plaster-walls
[3] https://www.truevalue.com/diy-projects/maintenance-and-repair/repair-plaster-walls/

