
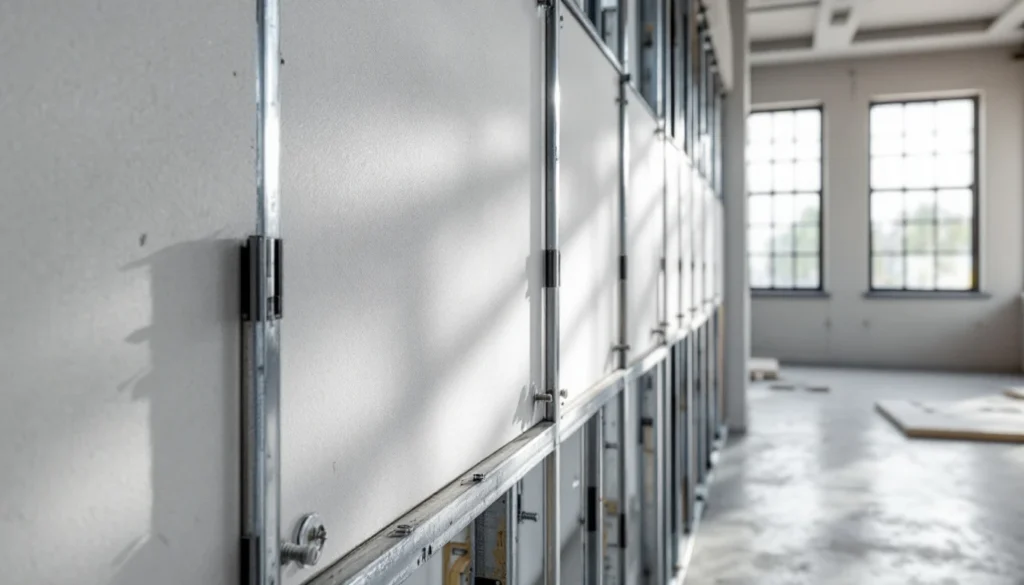
6mm Plasterboard: When to Use Thin Plasterboard and Installation Tips
Quick Answer: 6mm plasterboard is a lightweight, flexible board primarily used for curved walls, ceilings with minimal load, dry lining over existing surfaces, and renovation projects where weight is critical. It’s NOT suitable for new ceilings, structural walls, or areas requiring impact resistance. Most professionals use 9.5mm or 12.5mm boards for standard applications, reserving 6mm for specialised situations where its flexibility and minimal weight are genuine advantages. What Is 6mm Plasterboard and Where Does It Fit in Construction? 6mm plasterboard sits at the thinnest end of the plasterboard spectrum available in the UK. While 12.5mm plasterboard dominates most drylining projects and 9.5mm serves as the lightweight alternative for walls, 6mm occupies a specialised niche. This ultra-thin board measures just 6 millimetres thick — roughly the thickness of three stacked two-pound coins. It weighs approximately 4.8-5.2 kg per square metre, making it around 40% lighter than standard 9.5mm board and about 50% lighter than 12.5mm. The reduced thickness comes with trade-offs. The board offers minimal impact resistance, limited acoustic performance, and negligible thermal insulation. However, its flexibility and light weight make it invaluable for specific applications that other boards simply can’t accommodate. When Should You Use 6mm Plasterboard? Understanding where 6mm board excels — and where it fails — separates professional installations from problematic ones. Here are the legitimate uses: Curved Walls and Archways This is where 6mm plasterboard truly shines. The thin profile allows the board to bend around curves with a minimum radius of approximately 600mm (dry) or down to 300mm when wet. Standard 12.5mm board cracks under this kind of stress. Curved feature walls, barrel-vaulted ceilings, and rounded alcoves all benefit from 6mm’s flexibility. Professional plasterers often use two layers of 6mm board on curves rather than attempting to bend thicker material. Pro Tip: When creating tight curves, lightly mist the back of 6mm board with water using a garden sprayer 10-15 minutes before installation. This temporarily increases flexibility without saturating the gypsum core. The board regains rigidity as it dries. Overlaying Existing Surfaces Dry lining over damaged plaster, tired artex ceilings, or uneven masonry often requires minimal thickness to avoid reducing room height or creating door clearance issues. 6mm board adds just 6-8mm total thickness (including adhesive dabs), compared to 15-18mm with 12.5mm board. This application works particularly well in: Period properties where ceiling height is already limited Rental properties needing quick cosmetic updates Commercial spaces where millimetre-level clearances matter around sprinkler heads or fire detectors Renovation projects where door frames can’t accommodate thicker boarding Lightweight Ceiling Repairs Small ceiling repairs in older properties with lath-and-plaster construction sometimes benefit from 6mm board. The reduced weight minimises stress on weakened joists or existing fixings, though this should never substitute for proper structural assessment. You’ll occasionally see 6mm used for bulkhead ceilings or decorative ceiling features where the board spans only 300-400mm between supports and carries no significant load. ⚠️ Warning: Never use 6mm plasterboard as the primary ceiling board on standard joist spacing (400-600mm centres). Building Regulations require adequate structural performance, and 6mm will sag, crack, and potentially fail under its own weight plus skim coat. Always use 9.5mm minimum for ceilings, preferably 12.5mm. Temporary or Non-Structural Partitions Exhibition stands, temporary office partitions, or theatrical set construction sometimes use 6mm board for its ease of handling and cutting. These applications prioritise quick installation over longevity or performance. When NOT to Use 6mm Plasterboard The limitations of 6mm board are significant. Avoid it in these common scenarios: Application Why 6mm Fails Minimum Recommended Standard ceilings Insufficient strength, will sag between joists 9.5mm (12.5mm preferred) Load-bearing walls No structural contribution, inadequate fixings 12.5mm minimum High-traffic areas Extremely vulnerable to impact damage 12.5mm or impact-resistant board Bathrooms/kitchens Poor moisture resistance, tiles too heavy 12.5mm moisture-resistant board Fire-rated partitions Insufficient fire resistance for Building Regs 12.5mm fire-rated (often double-layer) Acoustic separation Minimal mass = poor sound reduction 15mm+ acoustic board 6mm Plasterboard Specifications and Performance Understanding the technical specifications helps you make informed decisions about when 6mm board is genuinely appropriate. Physical Properties Thickness: 6mm (±0.5mm tolerance) Weight: 4.8-5.2 kg/m² (approximately half the weight of 12.5mm) Core: Standard gypsum plaster encased in paper liners Edge types: Usually tapered edge, occasionally square edge Standard sheet sizes: 2400mm × 1200mm, 2400mm × 900mm (smaller sizes for easier handling) Structural Performance According to British Gypsum technical specifications, 6mm board has significantly reduced structural capacity compared to thicker alternatives: Maximum joist/stud spacing: 300mm centres (compared to 600mm for 12.5mm) Bending strength: Approximately 40% of 12.5mm board Impact resistance: Minimal — fails British Standard tests for standard wall applications Load capacity: Not rated for fixtures heavier than picture hooks Thermal and Acoustic Performance The thin profile limits both thermal and acoustic performance: Thermal resistance (R-value): Approximately 0.03 m²K/W (negligible insulation) Sound reduction (Rw): Around 28-30 dB as single-layer partition (inadequate for Part E compliance) Fire resistance: 30 minutes maximum (single layer, not suitable for critical applications) Installing 6mm Plasterboard: Professional Techniques Working with 6mm board requires modified techniques compared to standard plasterboard installation. The flexibility that makes it useful for curves also makes it challenging for straight applications. Tools and Materials Gather these before starting: 6mm plasterboard sheets (calculate area + 10% wastage) Plasterboard adhesive (for dot-and-dab application) 25mm or 30mm drywall screws (standard 38mm screws over-penetrate) Sharp utility knife or plasterboard saw Straight edge (min. 1200mm) Spirit level Scrim tape for joints Jointing compound Pro Tip: Use shorter screws specifically for thin board. Standard 38mm screws designed for 12.5mm board will over-penetrate 6mm material, reducing holding power and potentially damaging underlying surfaces. 25-30mm screws provide adequate purchase in timber studs or battens. Dot-and-Dab Application Over Existing Surfaces This is the most common professional installation method for 6mm board: Surface preparation: Remove loose material, fill major holes, and ensure the substrate is dry and dust-free. PVA prime if necessary (though British Gypsum Dri-Wall adhesive works on most surfaces without priming). Adhesive application: Apply 50-75mm diameter dabs at 400mm centres vertically and 600mm horizontally. Use slightly larger
6mm Plasterboard: When to Use Thin Plasterboard and Installation Tips Read More »