Office Renovation Design: Transform Your Space
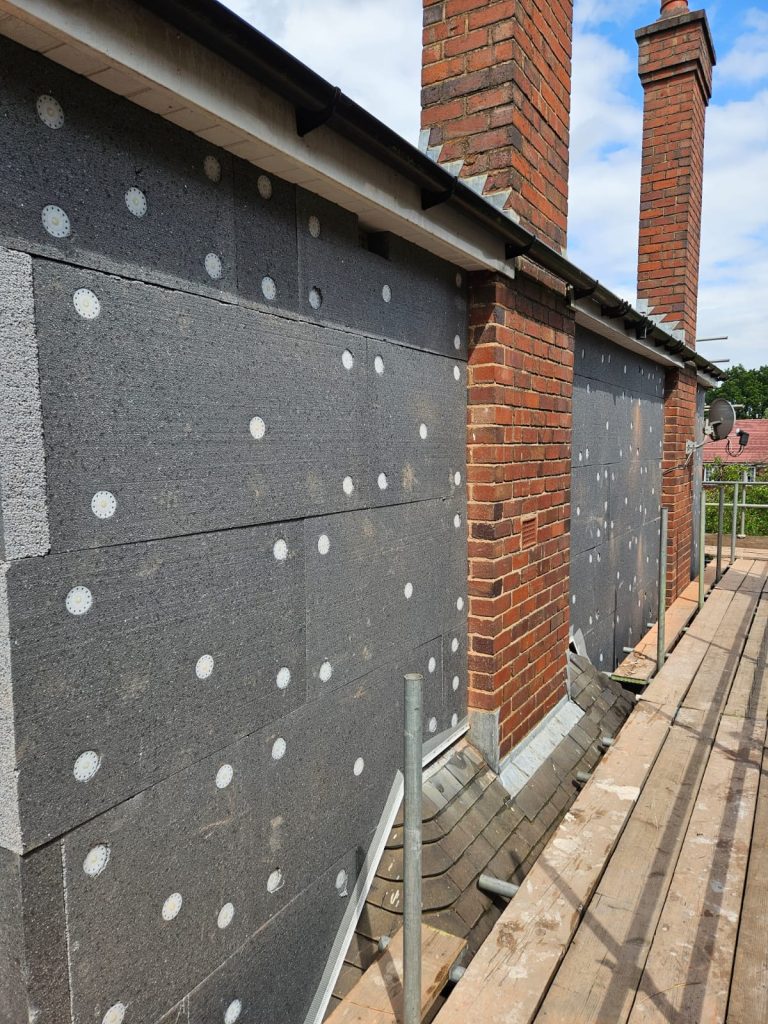
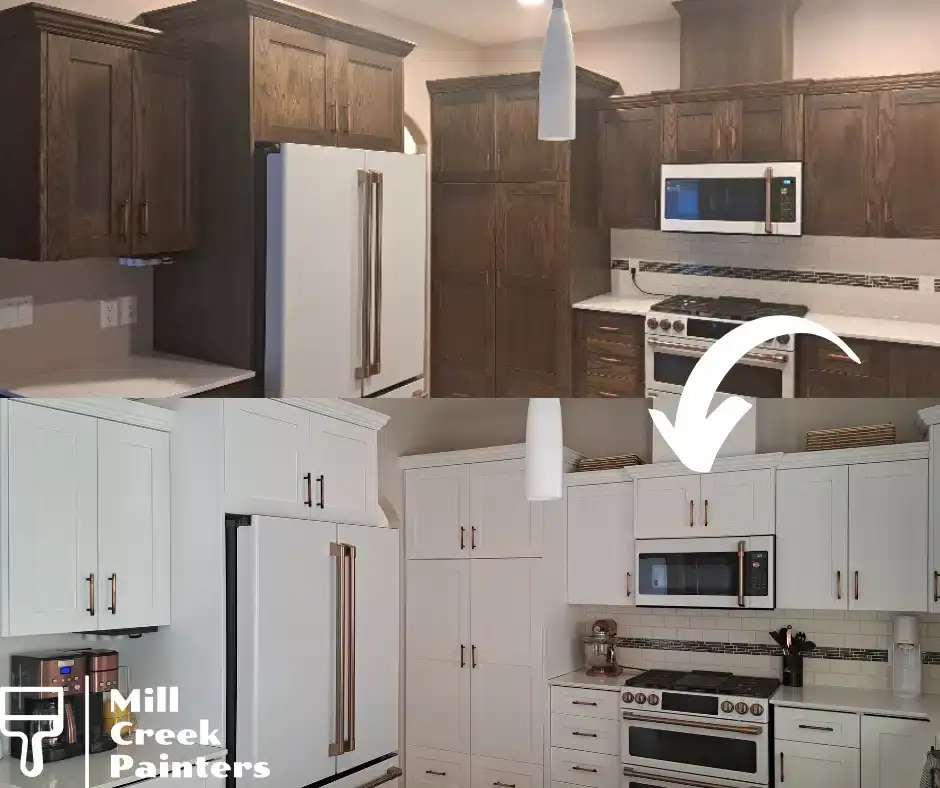
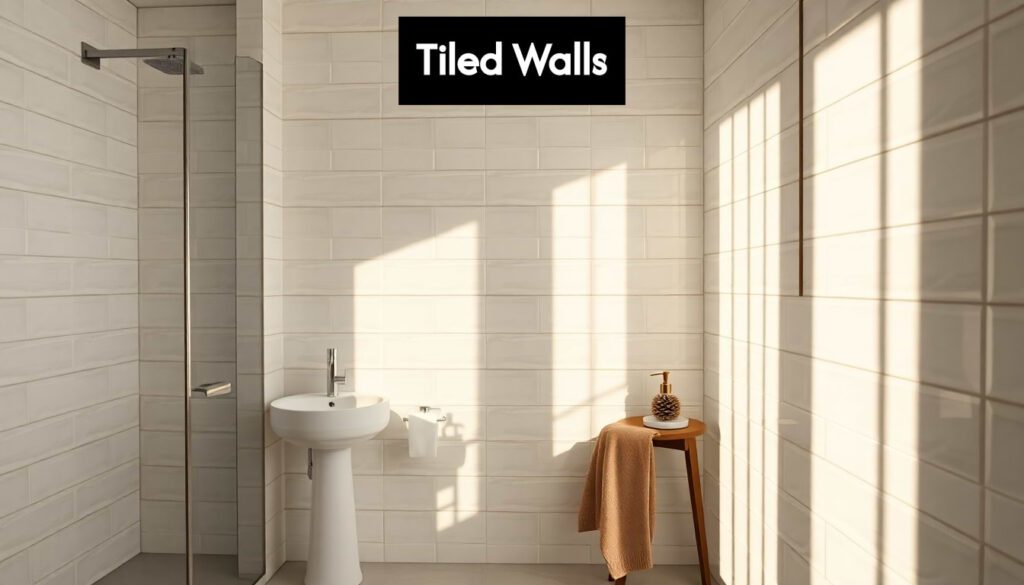
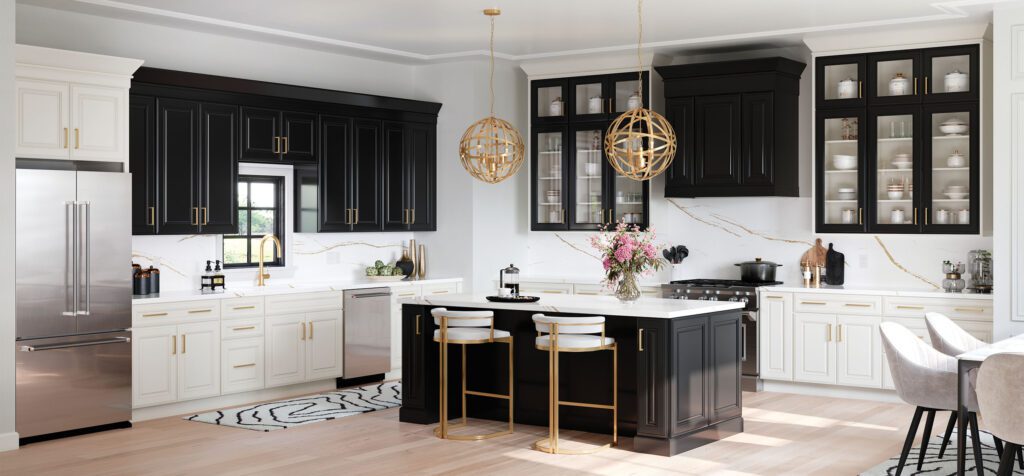
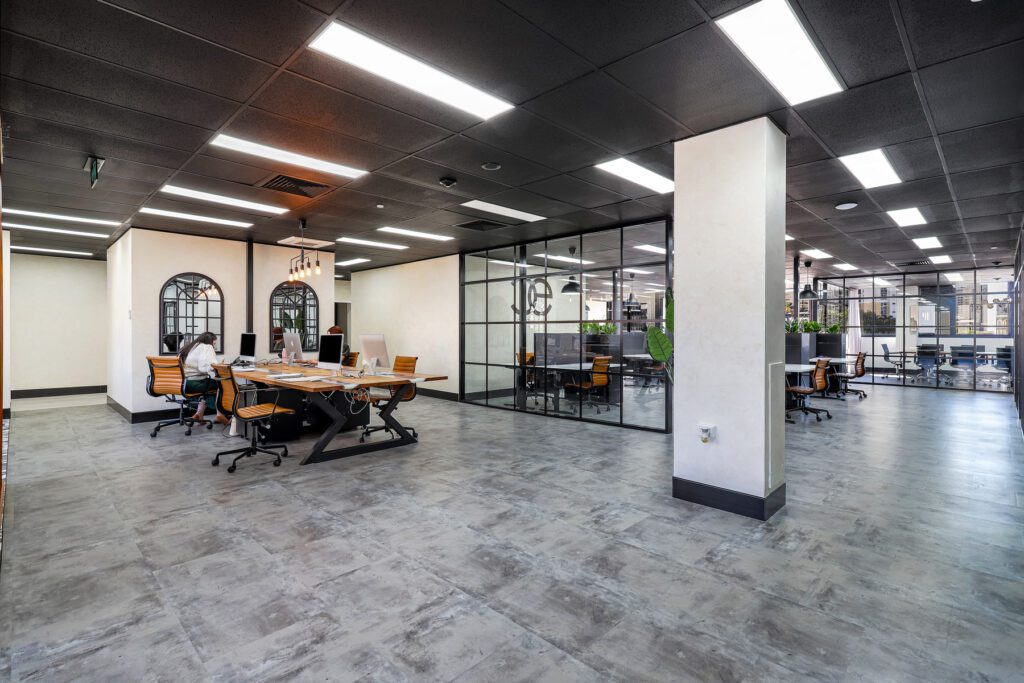
Quick Answer: Office renovation costs in the UK typically range from £90-£500 per square foot or £300-£1600 per square metre. Well-designed office spaces can increase productivity by up to 20% and significantly improve employee satisfaction. The key is creating flexible, collaborative environments that support both in-person and hybrid work while prioritizing employee wellbeing and brand identity. Discover how strategic office renovation design can revolutionize your workspace, boost productivity, and create an environment that inspires success. The Evolution of Modern Office Design The landscape of office design has undergone a remarkable transformation in recent years, particularly accelerated by the events of 2020. Modern workspaces have evolved from traditional cubicle-filled environments to dynamic, flexible spaces that prioritise both functionality and employee wellbeing. Recent studies show that well-designed office spaces can increase productivity by up to 20% and significantly impact employee satisfaction and retention rates. The shift towards hybrid working models has further emphasised the need for thoughtful office renovation design that accommodates both in-person and remote collaboration. Planning Your Office Transformation Successful office renovation begins with thorough planning and budgeting. Current market data indicates that office renovation costs in the UK typically range from £90-£500 per square foot, depending on the scope and complexity of the project. Professional design services generally account for 8-12% of the total budget, proving to be a worthy investment for optimal results. Planning Phase Key Actions Assessment Conduct thorough assessment of current space utilisation Objectives Define clear objectives and priorities for the renovation Budget Establish realistic budget including contingency funds Timeline Create detailed timeline for implementation Phasing Consider phased renovation to minimise disruption Creating Collaborative Environments The heart of modern office design lies in fostering collaboration while maintaining space for focused work. Research indicates that employees spend up to 50% of their time collaborating, making it crucial to design spaces that support this need. Creating a mix of open areas and private spaces allows for both spontaneous interaction and concentrated work. Pro Tip: Balance your collaborative spaces with quiet zones. Provide at least one quiet area for every three open collaborative spaces to ensure employees can focus when needed without sacrificing team interaction opportunities. Key collaborative space elements include: Open plan areas with flexible seating arrangements Dedicated meeting pods and breakout spaces Acoustic solutions for noise management Multi-purpose areas that can be reconfigured as needed Designing for Flexibility and Future Growth Future-proofing your office space through flexible design elements is essential in today’s rapidly evolving workplace. Studies show that 73% of UK businesses now prioritise adaptable office layouts that can accommodate changing team sizes and working patterns. Incorporating modular furniture and movable partitions allows for easy reconfiguration as your organisation’s needs evolve. Enhancing Employee Wellbeing Employee wellness has become a central focus in modern office design. 87% of workers state that their office environment impacts their mental health, making wellbeing a critical consideration. A well-designed office should incorporate elements that promote both physical and mental wellbeing: Ergonomic furniture and adjustable workstations Biophilic design elements including natural light and plants Dedicated wellness rooms and relaxation spaces Proper ventilation and air quality control systems Technology Integration and Hybrid Work Solutions Modern office spaces must seamlessly integrate technology to support hybrid working models. Recent data shows that 65% of UK companies are investing in advanced conferencing systems as part of their office renovations. Creating tech-enabled spaces that support both in-person and remote collaboration is crucial for future success. Bringing Your Brand to Life Your office design should reflect and reinforce your company’s brand identity. Research indicates that branded office spaces can increase employee engagement by up to 30%. From colour schemes to architectural elements, every design choice should align with your brand values and culture. Effective brand integration strategies: Custom wall graphics and company artwork Brand-aligned colour schemes and materials Interactive spaces that showcase company achievements Creative zones with writable surfaces for innovation Lighting and Atmosphere Proper lighting design is crucial for both productivity and wellbeing. Studies show that well-designed lighting can reduce eye strain by 51% and increase productivity by 23%. Modern office lighting should be adaptable to different tasks and times of day to maximize employee comfort and performance. The Implementation Process A successful office renovation requires careful coordination and project management. Creating a detailed implementation plan helps minimise disruption and ensure smooth execution. Research shows that well-planned renovations can reduce project timelines by up to 25%. Implementation best practices: Phase the renovation to maintain business continuity Communicate regularly with all stakeholders Establish clear milestones and deadlines Plan for temporary workspace solutions if needed Regular quality checks and progress reviews Measuring Success and Making Adjustments Post-renovation evaluation is crucial for ensuring the new space meets its intended objectives. Gather feedback through surveys and observation, and be prepared to make adjustments based on actual usage patterns. Companies that conduct post-renovation assessments report 40% higher satisfaction rates with their office transformations. Professional Support and Next Steps Engaging professional expertise is crucial for successful office renovation. From architects to contractors, having the right team ensures quality results. Statistics show that professionally managed renovations are 60% more likely to be completed on time and within budget. When selecting partners, look for experience in commercial renovations and a proven track record of successful projects. Cost Factor Range Per Square Foot £90-£500 Per Square Metre £300-£1600 Design Services 8-12% of total budget FAQ How much to refurbish an office? The cost of an office fit out or office refurbishment can range between £300 to £1600 per square metre. A more specific breakdown of costs are listed below, though these will vary between types of project. Which funding avenue you choose can also influence costs. Sources [1] https://www.bigrentz.com/blog/how-to-design-millennial-friendly-workplace [2] https://www.meyerinc.com/resource-center/office-renovation-ideas/ [3] https://www.dgicommunications.com/office-renovations/
Office Renovation Design: Transform Your Space Read More »