Flooring Trends UK 2026: Seamless Low-Maintenance
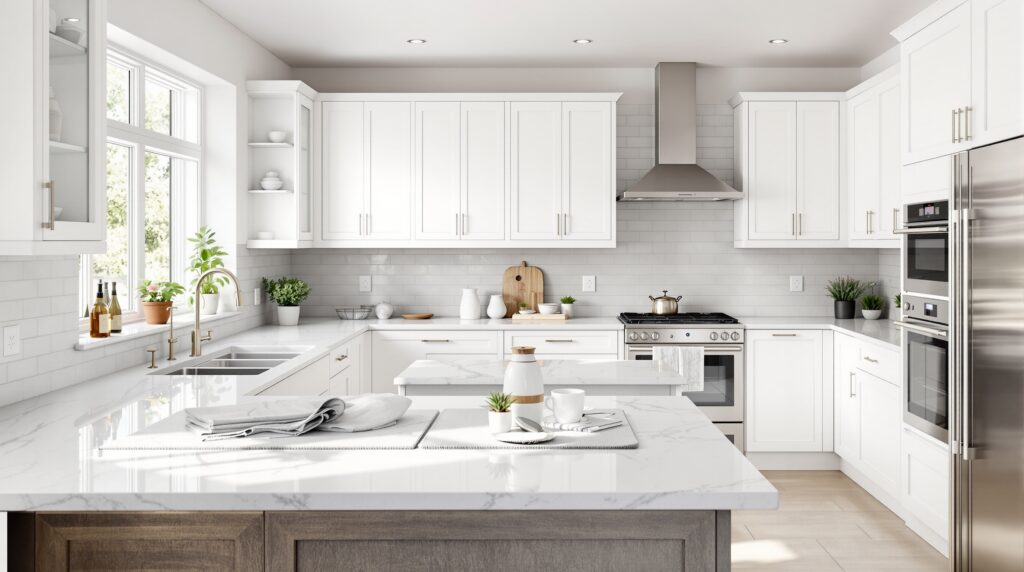
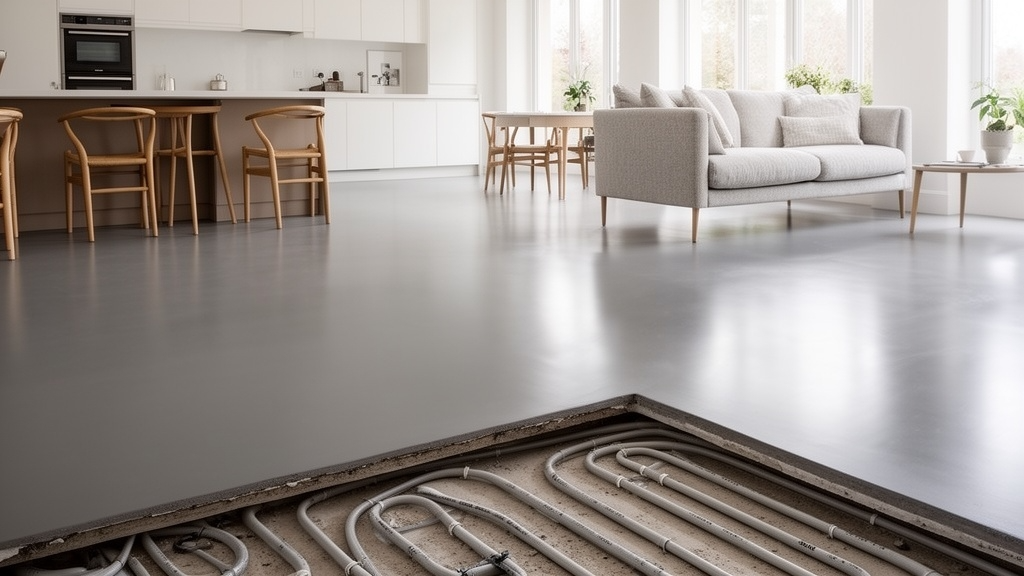
Quick Answer: UK flooring trends in 2026 prioritise seamless, low-maintenance surfaces over decorative finishes. Homeowners favour durable, easy-to-clean options like resin flooring for modern open-plan spaces, driven by hybrid working lifestyles, hygiene concerns, and long-term value over upfront cost. “Homeowners are becoming far more considered about flooring than they were even a few years ago. We’re seeing less focus on purely decorative finishes and much more interest in durability, hygiene and long-term maintenance — particularly in kitchens, utility rooms and open-plan living spaces,” says a spokesperson at Beams Renovation. Flooring choices in UK homes are changing in 2026. While traditional options such as tiles, engineered wood and carpet remain popular, there is growing interest in seamless, low-maintenance surfaces that suit modern lifestyles. This reflects broader changes in how homes are used: more hybrid working, more open-plan layouts, and greater attention to cleaning, allergens and long-term running costs. Key Drivers Behind Flooring Trends Several factors are shaping flooring choices in residential renovation: Increased use of open-plan layouts, where a single flooring type is used across large areas Greater focus on hygiene and ease of cleaning Rising awareness of lifecycle cost rather than just upfront price Compatibility with underfloor heating and energy-efficient homes Preference for neutral, minimal interior aesthetics These drivers favour flooring types that are durable, seamless and simple to maintain. The Rise of Seamless Flooring One of the most notable trends is the increased use of seamless flooring systems. Unlike tiles or planks, seamless floors have no joints or grout lines. This makes them easier to clean, visually calmer, and less prone to trapping dirt or moisture. Resin flooring is the most common seamless system being adopted in residential settings, particularly in functional spaces such as kitchens, bathrooms, hallways, home gyms and garages. How Resin Flooring Fits Into the Trend Resin flooring offers multiple benefits that align with modern homeowner priorities: Feature Benefit Continuous, joint-free surface No grout lines to trap dirt or moisture High resistance to stains, moisture and impact Long-lasting performance in high-use areas Easy cleaning and hygiene Wipe-clean surface ideal for kitchens and bathrooms Modern, understated aesthetic Suits neutral, minimal interior design trends Compatible with underfloor heating Works with energy-efficient heating systems These characteristics align closely with current homeowner priorities, which is why resin flooring is increasingly considered alongside tiles and wood during renovation planning. Pro Tip: When choosing seamless flooring, consider how the room will be used — foot traffic levels, moisture exposure, and temperature fluctuations all affect which resin system performs best. Professional substrate testing before installation prevents costly issues down the line. The Importance of Specification and Installation Although resin flooring is becoming more common in homes, it remains a specialist system that requires proper specification and installation. Evo Resin Flooring explains: “Resin floors perform extremely well in residential environments, but they’re not a one-size-fits-all solution. The system needs to match how the room is used — whether that’s foot traffic, moisture exposure or temperature changes — and preparation is critical to long-term performance.” This highlights the importance of selecting the correct resin type. Ensuring the substrate is properly tested and prepared before installation is equally critical. Summary In 2026, UK flooring trends are increasingly shaped by function rather than fashion. Homeowners are prioritising: Ease of maintenance Durability Hygiene Longevity Visual simplicity Seamless systems such as resin flooring fit well within this shift, particularly in modern and high-use spaces. While traditional flooring materials remain relevant, the growing adoption of performance-led flooring reflects a broader move towards homes that are easier to live in, easier to maintain, and better suited to modern lifestyles.
Flooring Trends UK 2026: Seamless Low-Maintenance Read More »