DIY Home Decor: Transform Your Space on Budget
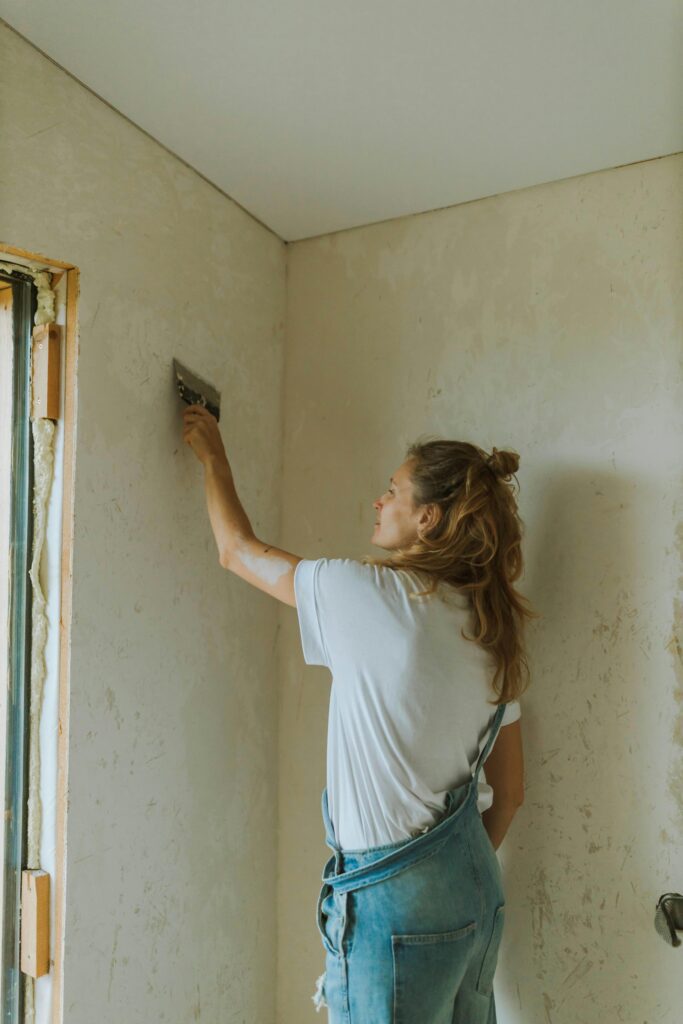
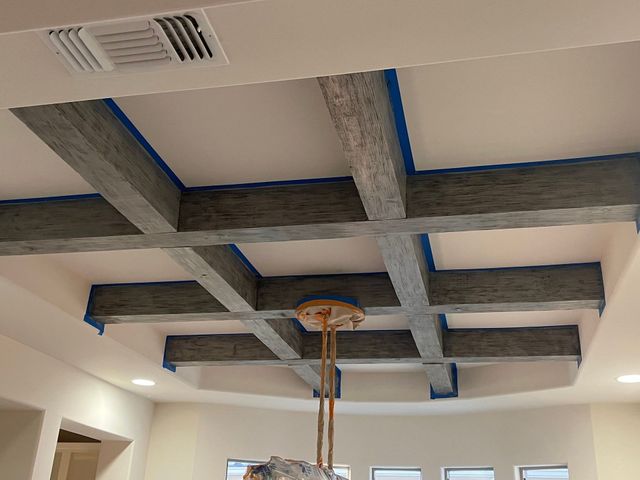
Discover how budget-friendly DIY home decor can turn your ordinary living space into a stunning sanctuary that reflects your unique style – without the designer price tag. Understanding the DIY Home Decor Revolution The DIY home decor movement has experienced an unprecedented surge in popularity, particularly in the UK, where homeowners are increasingly seeking creative ways to enhance their living spaces without incurring significant expenses. Recent studies show that 78% of UK homeowners attempted at least one DIY home improvement project in 2023, with decor-related projects leading the trend. This shift towards DIY solutions isn’t merely about cost-saving; it represents a broader cultural movement towards personalisation, sustainability, and creative expression in home design. The appeal lies in the perfect blend of affordability, creativity, and the satisfaction of creating something unique with your own hands. Essential Materials and Tools for Budget-Friendly Decor Basic Tools: Paint brushes, scissors, craft knife, measuring tape, level, and pencils Core Materials: Acrylic paints, mod podge, wood glue, and craft paper Budget-Friendly Sources: Pound shops, charity shops, and local DIY stores Upcycling Materials: Glass jars, wooden crates, old picture frames, and fabric scraps Essential Finishes: Clear varnish, metallic paint, and sealants Transform Your Living Spaces Statement Wall Art and Canvas Creations Creating stunning wall art doesn’t require professional artistic skills. The key lies in selecting the right techniques and materials. Modern palm canvas art has become particularly popular, with 65% of UK homeowners preferring botanical themes in their living spaces. Start with a blank canvas and use simple stencilling techniques or free-hand designs with confidence. For floral artwork, consider using textured mediums or 3D elements to add depth and interest. The beauty of DIY wall art lies in its ability to perfectly match your colour scheme and style while saving significantly on gallery prices. Elegant Vase and Container Projects Beaded Vase Transformation: Apply adhesive in patterns and add glass beads Foam Vase Enhancement: Use decorative foam mouldings for instant elegance Clay-Detailed Containers: Add handcrafted clay elements to plain vessels Textured Finishes: Create unique patterns using household items Luxurious Table Accessories Transform ordinary items into luxurious table accessories that rival high-end retailers. Create Pottery Barn-inspired trays using affordable materials like seagrass and wooden bases, finished with mineral chalk paint for an aged, sophisticated look. DIY coasters can be crafted using simple materials from pound shops, elevated with metallic accents and protective finishes. These projects typically cost 75% less than retail equivalents while maintaining a high-end appearance. Seasonal and Special Occasion Decor Wreaths and Floral Arrangements Seasonal decor offers an excellent opportunity to showcase your DIY skills. Peony flower wreaths have become increasingly popular, with artificial flowers providing a long-lasting alternative to fresh arrangements. The key to professional-looking wreaths lies in the layering technique and strategic placement of elements. Recent trends show that 82% of UK homes feature some form of seasonal wreath, making this a particularly relevant DIY project. Custom Storage Solutions Storage Table Creation: Combine planters with wood rounds for functional art Decorative Boxes: Transform plain boxes with paint and embellishments Floating Shelves: Install custom-painted shelving for display and storage Basket Upgrades: Enhance simple baskets with paint and rope details Professional-Looking Finishing Touches Lighting and Ambiance Lighting plays a crucial role in home decor, and DIY options can create stunning effects. Craft lanterns using simple materials and an antique wax finish for a vintage look. Create Pottery Barn-inspired candle holders using plaster techniques that cost a fraction of the original price. Proper lighting can increase a room’s perceived value by up to 20%, making these projects particularly worthwhile investments. Textile and Soft Furnishings Custom Pillow Covers: Create designer-inspired patterns using stencils and fabric paint Table Runners: Craft unique runners using basic sewing skills Window Treatments: Design simple yet elegant curtain tie-backs Throw Blankets: Add personal touches to basic blankets with tassels and trim Maintaining Your DIY Decor The longevity of your DIY creations depends largely on proper maintenance and care. Establish a regular cleaning routine using appropriate products for different materials. For painted surfaces, avoid harsh chemicals and opt for gentle cleaning solutions. With proper care, DIY decor items can maintain their appearance for 3-5 years, representing excellent value for money. Regular touch-ups and seasonal updates can help maintain the fresh, professional look of your creations. Conclusion: Creating Your Personal Designer Space DIY home decor represents more than just a cost-saving measure; it’s an opportunity to create a truly personal living space that reflects your style and creativity. By following these guidelines and techniques, you can achieve professional-looking results that rival expensive designer pieces. Remember that successful DIY projects often require patience and attention to detail, but the satisfaction of creating beautiful decor elements while saving money makes the effort worthwhile. Start with smaller projects to build confidence, and gradually tackle more ambitious transformations as your skills develop. FAQ What makes a house worth less? Neighborhood Factors Can Bring Down Property Values If your neighborhood looks unkempt, if it’s noisy, if there are foreclosures, or if there are things like power lines, low-income housing, and gun ranges nearby, these could drop the value of your home. What is the cheapest style of house? Cheapest type of house to build per square foot Sources [1] https://www.youtube.com/watch?v=xCbdJXfn1Zw [2] https://www.youtube.com/watch?v=qQiKRLs75c4 [3] https://www.youtube.com/channel/UCBXyNhe8vQZ7BeOLKlL4Mfg
DIY Home Decor: Transform Your Space on Budget Read More »