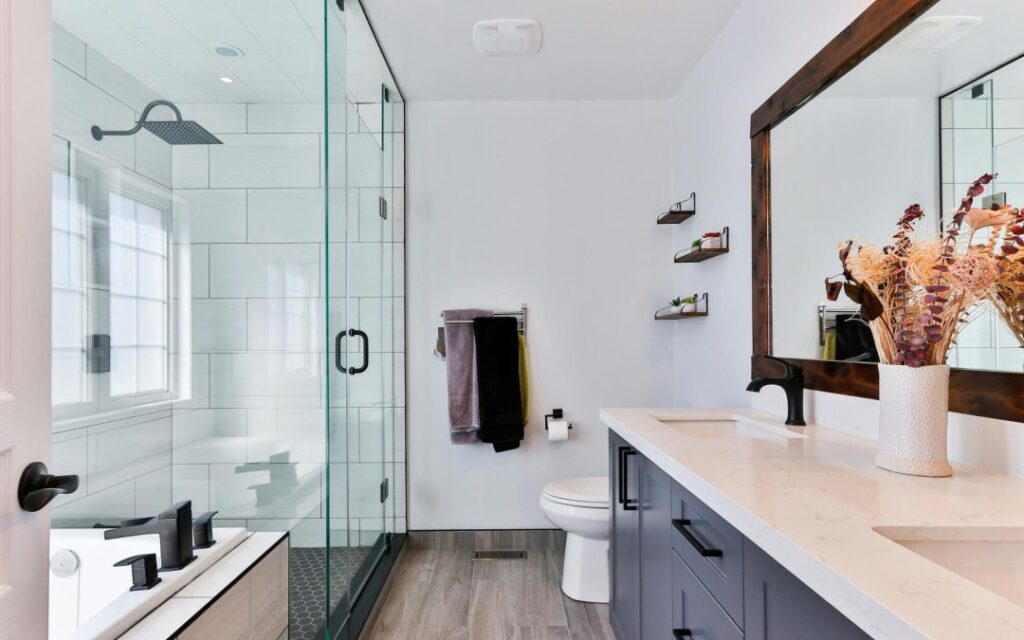
Bathroom Remodeling Contractor Near Me: Find the Best
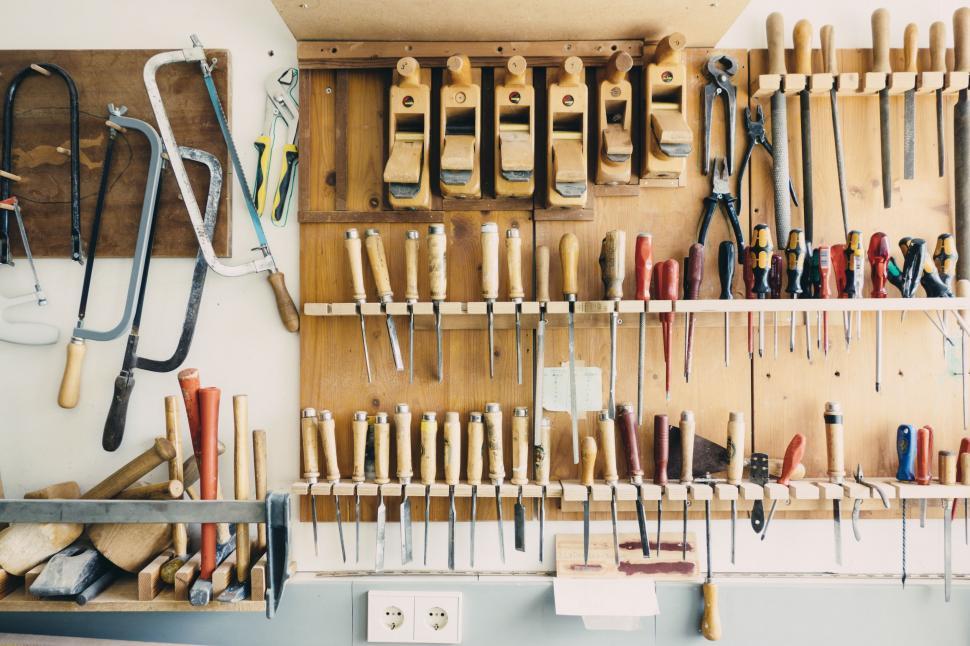
Discover how finding the right bathroom remodeling contractor near me transformed a nightmare renovation into a stunning success story – and how you can do the same. The Hidden Risks of DIY Bathroom Remodeling When it comes to bathroom remodeling, the allure of DIY can be tempting, especially with countless online tutorials and home improvement shows making it look deceptively simple. However, statistics show that 63% of DIY bathroom renovations in the UK exceed their initial budget due to unforeseen complications and mistakes. Professional expertise becomes crucial when dealing with complex systems like plumbing and electrical work, where even minor errors can lead to costly disasters. Local contractors bring invaluable experience in handling these challenges, ensuring your project meets building regulations and safety standards. Recent surveys indicate that 87% of DIY bathroom renovations require professional intervention at some point, often costing more than hiring a contractor from the start. What Makes a Quality Local Bathroom Contractor Stand Out? Extensive Experience: Look for contractors with at least 10+ years in bathroom renovations Proper Certifications: Ensure they hold relevant UK qualifications and insurance Portfolio of Work: A diverse showcase of completed projects in your area Transparent Pricing: Detailed quotes with no hidden costs Strong Local References: Positive reviews from nearby customers Knowledge of Current Trends: Up-to-date with modern bathroom design and technology The Value of Local Knowledge and Expertise Local contractors bring an intimate understanding of Kent properties that’s simply irreplaceable. They’re familiar with common challenges in local homes, from Victorian plumbing quirks to modern building regulations. Studies show that local contractors complete projects 30% faster than non-local alternatives, thanks to their established supplier networks and familiarity with regional building codes. This local expertise often translates to more accurate quotes, fewer delays, and better problem-solving when unexpected issues arise. Vetting Your Local Bathroom Remodeling Options Before committing to a contractor, thorough vetting is essential. Start by verifying their credentials and insurance coverage. According to recent industry data, 92% of successful bathroom renovations involved contractors who were thoroughly vetted. Request detailed quotes, timeline commitments, and ask about their project management approach. Be wary of contractors who pressure you for immediate decisions or demand large upfront payments. Check their rating with local trade associations and review their portfolio of similar projects in your area. The Benefits of Choosing an Established Local Contractor Established Supply Chain: Direct relationships with quality suppliers ensuring better prices and reliable material delivery Regulatory Compliance: Deep understanding of local building codes and permit requirements Community Reputation: Stakes in maintaining excellent local references Emergency Response: Quickly available for urgent issues or concerns Local Showroom: Opportunity to see materials and finishes in person After-Service Support: Easily accessible for follow-up maintenance or adjustments Making Your Investment Count Professional contractors ensure long-term value through quality workmanship and materials. Research shows that professionally remodeled bathrooms retain 85% of their value compared to just 65% for DIY renovations. Local contractors can recommend cost-effective solutions without compromising quality, often saving clients 15-20% on material costs through their established supplier networks. They also understand which improvements add the most value to Kent properties, helping you make informed decisions about your investment. Working With Your Contractor: A Partnership for Success Success in bathroom remodeling relies heavily on effective collaboration between homeowner and contractor. Clear communication channels, regular progress updates, and mutual understanding of expectations are crucial. Projects with weekly progress meetings are 40% more likely to finish on time and within budget. Establish a clear timeline, payment schedule, and decision-making process upfront. Remember, your contractor’s experience can guide you through important choices about materials, layout, and functionality. Taking the Next Step Research potential contractors thoroughly using online reviews and local references Prepare a detailed project brief including your budget and timeline Request and compare multiple quotes from local contractors Check credentials, insurance, and past work examples Discuss potential challenges and solutions before work begins Get everything in writing, including warranties and guarantees Conclusion: Securing Your Bathroom Remodeling Success Choosing the right local bathroom remodeling contractor is crucial for project success. With bathroom renovations seeing a 25% increase in Kent during 2023, finding qualified professionals has never been more important. By following the guidelines outlined above and working with established local contractors, you’re investing in expertise that will transform your bathroom renovation from a potential nightmare into a stunning success story. Remember, the right contractor isn’t just a service provider – they’re a partner in creating your dream bathroom, ensuring quality, value, and peace of mind throughout the process. FAQ Can you renovate a bathroom for 5k? Renovating your bathroom doesn’t always mean breaking the bank. In fact, with the right design, clever planning, and smart shopping, you can create a stunning bathroom for under £5000. Do plumbers renovate bathrooms? Plumbers are an essential trade when completing a bathroom renovation. A licensed plumber will install new water pipes, replace showers and baths, and relocate fixtures. They also need to be engaged for work on water or sewage pipes and stormwater drains to complete the job safely and to Australian Standards. Can I renovate my bathroom for $10,000? It might be cheaper than under-floor heating, as well. You can complete your bathroom renovation for under $10,000, and on time, especially if it’s a small bathroom renovation. Set a firm budget, plan it well from the start and get several quotes. Speak to the experts first: plumbers, tilers and electricians. Sources [1] https://www.angi.com/companylist/us/de/dover/kitchen-and-bath-remodeling.htm [2] https://www.homeadvisor.com/tloc/Dover-DE/Bathroom-Remodel/ [3] https://www.homedepot.com/services/c/bathroom-remodel/d9843b7cb
Bathroom Remodeling Contractor Near Me: Find the Best Read More »