Dado Rails and Picture Rails: Should You Keep or Remove Them?
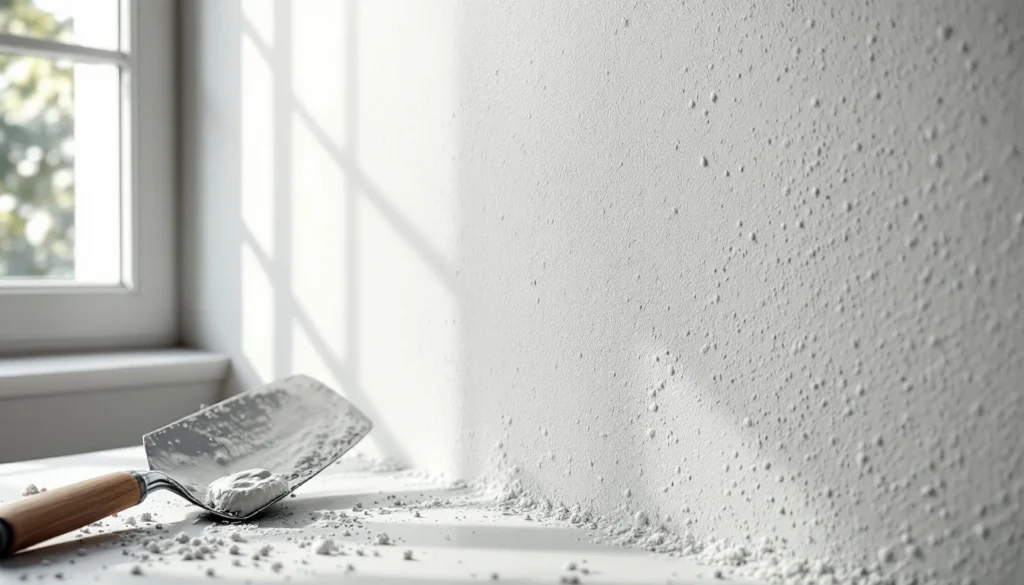
Quick Answer: Whether to keep or remove dado and picture rails depends on your property’s age, architectural style, and your design preferences. Period properties (pre-1930s) generally benefit from retaining original mouldings, adding £2,000-£5,000 to resale value. Modern homes rarely suit these features. Removal costs £150-£400 per room including making good, whilst professional installation of new rails runs £250-£600 per room. The decision should balance aesthetic preference with property value considerations. Understanding Dado Rails and Picture Rails: What’s the Difference? Before deciding whether to keep or remove these architectural features, it’s essential to understand what they actually are and their historical purpose. Dado rails (also called chair rails) sit approximately 900mm-1000mm from the floor—roughly one-third of the wall height in standard UK rooms with 2.4m ceilings. Originally installed to protect plaster walls from chair backs in dining rooms and hallways, they became a decorative feature separating wall colours or wallpapers. Picture rails sit much higher, typically 300-450mm below the ceiling line. Victorians and Edwardians used them to hang framed artwork using hooks and wire, avoiding the need to hammer nails directly into plaster walls. This system allowed for easy rearrangement of pictures without damaging the wall surface. Common Materials and Profiles Traditional rails were manufactured from solid timber (usually pine or hardwood) with various ornate profiles. Modern reproductions come in several materials: MDF mouldings: £2-£8 per metre, lightweight and easy to install, but lack the solidity of period originals Solid timber: £8-£25 per metre depending on wood species, provides authentic appearance and durability Polyurethane: £5-£12 per metre, moisture-resistant and pre-primed, ideal for bathrooms and kitchens Original Victorian/Edwardian: Varies significantly, often features deeper profiles (40-75mm) with intricate detailing Should You Keep Your Existing Rails? Key Considerations The decision to retain or remove dado and picture rails isn’t purely aesthetic—it affects your property’s character, value, and the complexity of future decorating projects. When to Keep Your Rails Period property authenticity is the primary reason to preserve original mouldings. If you own a Victorian, Edwardian, or 1920s-1930s property, these features contribute significantly to architectural character. According to Historic England guidance on internal alterations, removing original features from listed buildings requires consent and is generally discouraged. Properties that benefit most from retaining rails include: Listed buildings or those in conservation areas Victorian and Edwardian terraces with original features intact 1920s-1930s semi-detached properties with period details Character cottages where mouldings add proportional definition Properties marketed at the premium end where period features command higher prices Pro Tip: If your dado or picture rails are painted over with multiple layers, consider having them professionally stripped rather than removed. A specialist can chemically strip decades of paint to reveal beautiful hardwood underneath, often at £40-£80 per metre—cheaper than replacement and preserving the original craftsmanship. When Removal Makes Sense Modern properties built after 1960 rarely featured these mouldings originally. If they’ve been added retrospectively, removal often improves the clean lines that characterise contemporary design. Consider removal when: Your property is post-1960s with no original period features Rails are poor-quality MDF additions that don’t match the property’s era The room feels visually cluttered or ceiling height is already limited (below 2.3m) You’re creating a minimalist, Scandinavian, or contemporary aesthetic Damaged rails would cost more to repair than to remove and make good You’re undertaking major renovation and want a blank canvas Modern interior design trends favour textured walls and decorative finishes over traditional mouldings, particularly in open-plan living spaces where visual continuity matters more than period authenticity. The Property Value Question: Do Rails Add or Subtract Value? This is perhaps the most commercially important consideration for homeowners. The impact on property value depends entirely on context. Property Type With Original Rails Rails Removed Value Impact Victorian/Edwardian Terrace Adds period character buyers expect Perceived as feature loss +£2,000-£5,000 1930s Semi Maintains authenticity Neutral impact +£500-£1,500 Post-War/Modern Build Can look dated or incongruous Cleaner aesthetic preferred -£500 to neutral Listed Building Essential for character/consent May breach listing Significant negative New Build (retrofit rails) Often looks artificial Returns to original design intent +£200-£800 Estate agents consistently report that buyers of period properties specifically seek original features. The 2026 UK property market shows continued premium pricing for authentically preserved Victorian and Edwardian homes, particularly in areas like Canterbury, Tunbridge Wells, and Rochester. How to Remove Dado Rails and Picture Rails: The Professional Approach If you’ve decided removal is the right choice, the process requires care to avoid damaging the plaster beneath. Many DIYers underestimate the complexity, leading to costly repairs. Tools and Materials Required Bolster chisel: 75mm or 100mm width for levering rails away from walls Claw hammer: For removing nails and gentle persuasion Multi-tool with flush-cutting blade: Essential for cutting through nails without wall damage Filling knife: 100mm and 150mm widths for making good Joint compound or easifill: For filling nail holes and gaps (British Gypsum Easifill 60 is industry standard at £8-£12 per 10kg bag) Fine surface filler: For final skim over filled areas 120-grit sandpaper: For finishing filled areas flush with wall surface Dust sheets: Essential—removal creates significant dust and debris Step-by-Step Removal Process Step 1: Score the paint line. Use a sharp Stanley knife to cut through the paint seal where the rail meets the wall. This prevents the paint from tearing away in large chunks when you remove the rail, which would create additional repair work. Step 2: Locate fixing points. Rails are typically fixed every 400-600mm along their length. Look for filler spots, slight bulges, or use a stud finder to locate nails. Victorian rails may use cut clasp nails which are particularly stubborn. Step 3: Remove carefully. Start at one end and work along the rail. Insert the bolster chisel behind the rail and gently lever away from the wall. If nails won’t release, use the multi-tool to cut through them flush with the wall surface rather than forcing the rail—this causes less plaster damage. ⚠️ Warning: Pre-1990s properties may contain lead paint on original rails. If you suspect lead paint (common on Victorian/Edwardian mouldings), use
Dado Rails and Picture Rails: Should You Keep or Remove Them? Read More »