Renovation Guide: Meaning, Methods & Savings
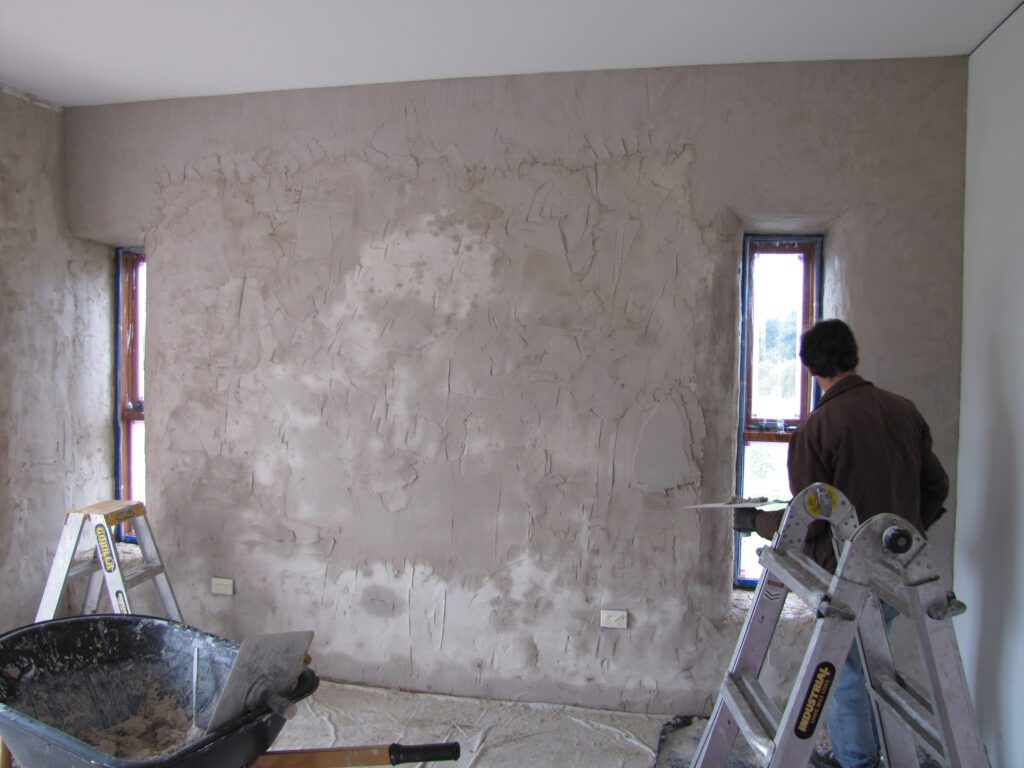
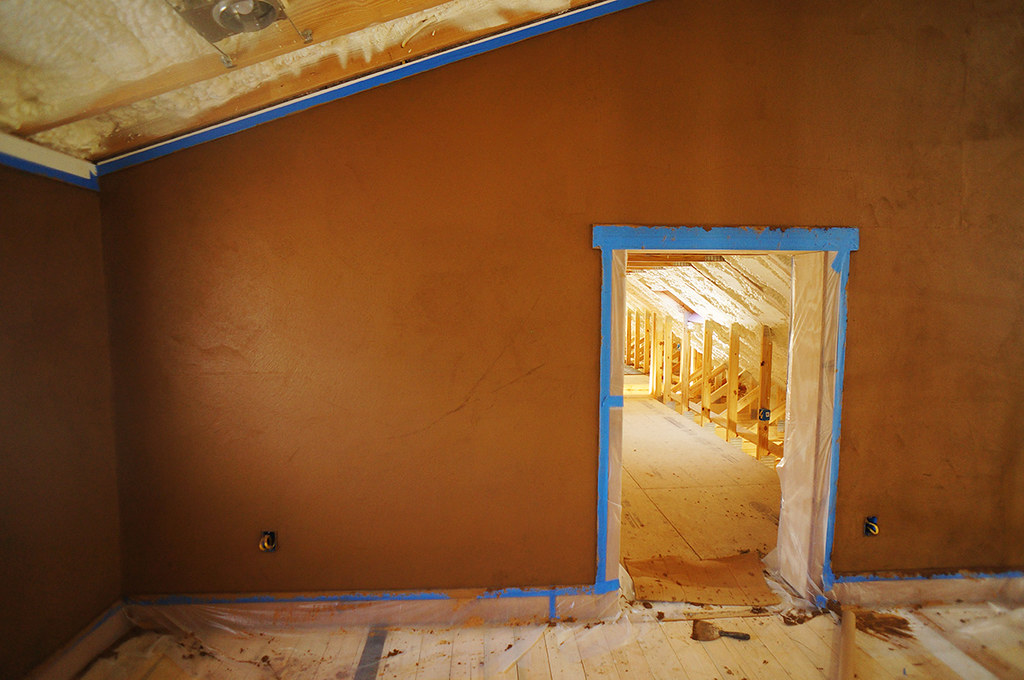
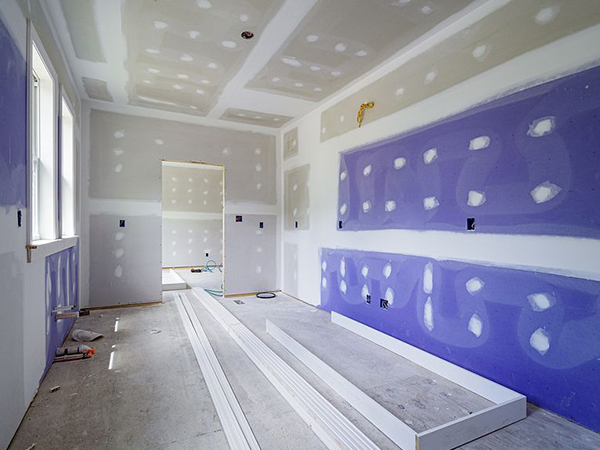
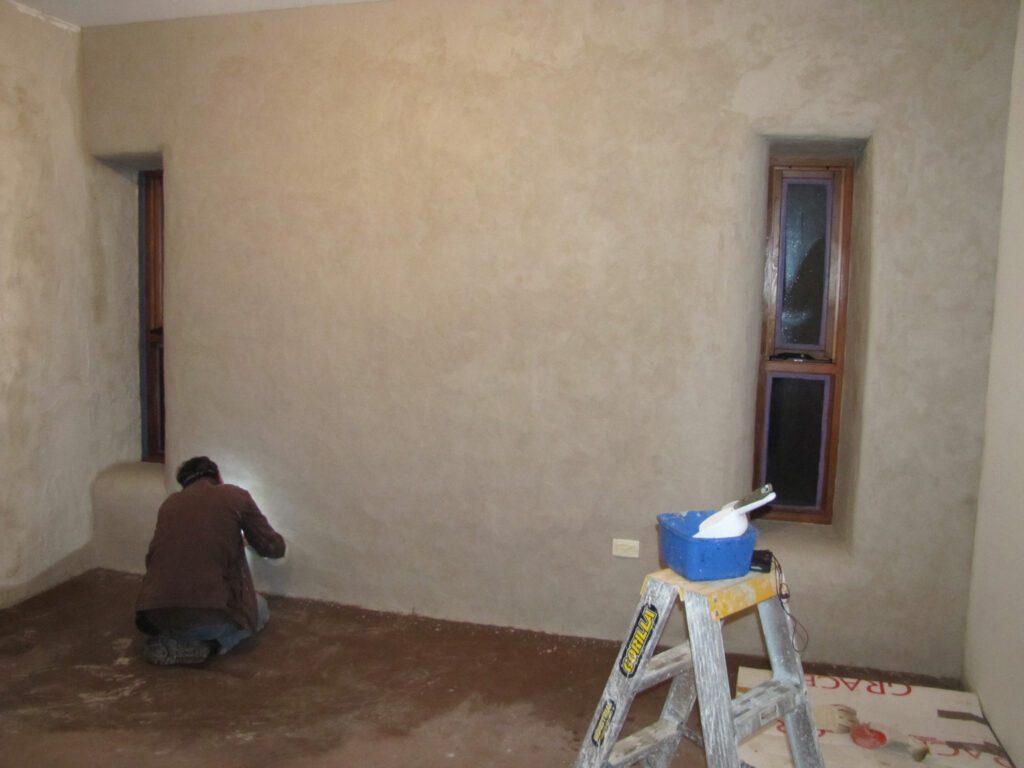
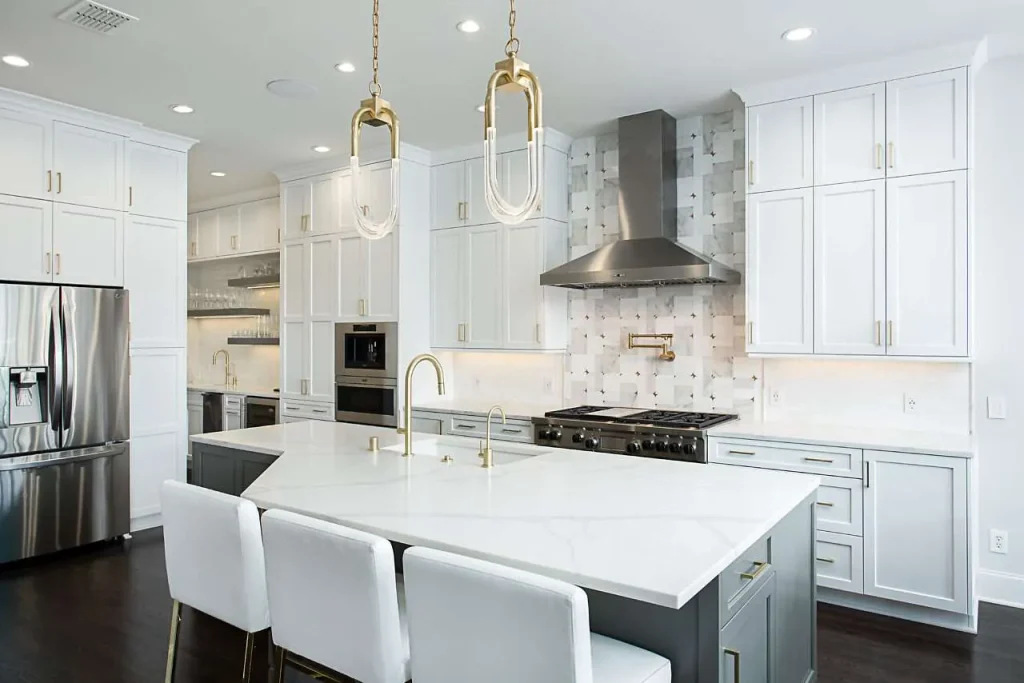
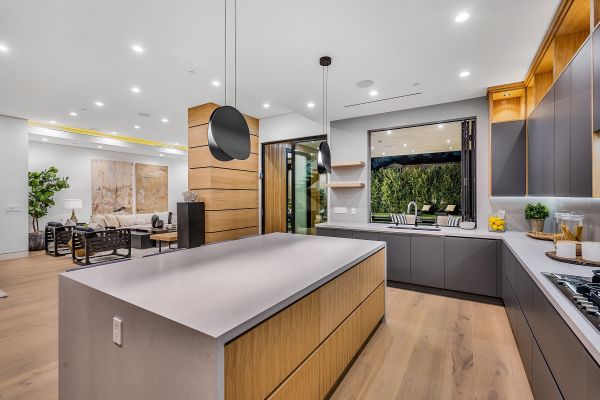
Quick Answer: Renovation means making an existing space new again through comprehensive improvements, repairs, and modernisation. It’s more than cosmetic changes—it’s a strategic process that can increase property value by up to 25% when done correctly. Success requires proper planning, a 20% contingency budget, and quality workmanship, especially for foundational elements like plastering. Unlock the true meaning of renovation and transform your space from dated to dream-worthy with expert insights that save both time and money. In today’s dynamic property market, understanding renovation isn’t just about making changes – it’s about making smart investments that enhance both value and livability. Whether you’re a homeowner in Kent looking to refresh your living space or a property developer seeking to maximise returns, grasping the true meaning and scope of renovation is crucial for success. Understanding Renovation: More Than Just a Makeover Renovation, derived from the Latin word ‘renovare’ meaning ‘to make new again’, encompasses far more than simple cosmetic changes. It’s a comprehensive process of improving, repairing, or modernising existing structures while preserving their core function and character. In the UK property market, where 78% of homes are over 50 years old, renovation plays a vital role in maintaining and enhancing our built environment. Unlike basic repairs or remodelling, renovation focuses on breathing new life into spaces while potentially increasing property value by up to 25% when done correctly. The Essential Elements of Successful Renovation Structural Integrity: Ensuring the building’s foundation, walls, and support systems are sound Surface Finishing: High-quality plastering, painting, and decorative elements Systems Upgrade: Modernising electrical, plumbing, and heating systems Space Optimisation: Improving layout and functionality Energy Efficiency: Incorporating sustainable solutions and insulation Planning Your Renovation: A Strategic Approach Successful renovation begins with meticulous planning. Start by establishing a clear vision for your project and setting realistic goals. Create a detailed budget that includes a 20% contingency fund for unexpected issues – a standard practice among successful renovators in Kent. Develop a timeline that accounts for various phases, including planning permission if required, which typically takes 8-13 weeks in the UK. Consider whether specific elements require professional expertise, particularly for crucial aspects like plastering, which demands skilled craftsmanship for a flawless finish. Pro Tip: Always set aside a 20% contingency fund in your renovation budget. This buffer protects you from unexpected issues like hidden structural problems or material price increases, which affect 35% of renovation projects in Kent. Smart Money-Saving Renovation Techniques Prioritise essential repairs before cosmetic improvements Source materials during seasonal sales (typically January and July) Retain original features where possible instead of replacing Bundle multiple jobs together to negotiate better rates with contractors Focus on high-impact, low-cost improvements like quality plastering and painting Consider recycled or reclaimed materials where appropriate Common Renovation Pitfalls and How to Avoid Them Many renovation projects in Kent face challenges that could be avoided with proper planning. 35% of renovation projects exceed their budget due to poor initial assessment and unexpected issues. Key pitfalls include: Underestimating timeframes Choosing the wrong contractors Neglecting necessary permissions To avoid these, always obtain multiple quotes, check references thoroughly, and consult with local authorities about planning requirements. Additionally, ensure your contractor has proper insurance and experience, particularly for specialist work like plastering. The Impact of Professional Plastering in Renovation Quality plastering forms the foundation of any successful renovation project. Professional plastering not only creates smooth, durable surfaces but also ensures proper insulation and moisture control. In the UK’s variable climate, well-executed plastering can reduce energy costs by up to 15% and prevent common issues like damp and mould. Modern plastering techniques, when properly applied, can last for decades, making it a cost-effective investment in your property’s future. Making Your Renovation Investment Count Renovation Area Potential ROI Key Benefits Kitchens & Bathrooms 70-80% High-impact areas that buyers value most Energy Efficiency Upgrades Up to 14% Lower running costs, improved comfort Quality Finishes (Plastering) Significant appeal boost Foundation for all decorative work, long-lasting Smart Storage Solutions Variable Maximises space without structural changes Your Next Steps to a Successful Renovation Begin your renovation journey by conducting thorough research and creating a detailed project plan. For residents in Bromley and Kent, consulting with experienced local professionals like Kent Plasterers can provide valuable insights into achieving your renovation goals. Remember that successful renovation is about balancing aesthetics, functionality, and value. Start with a clear vision, establish realistic budgets and timelines, and prioritise quality workmanship, particularly for crucial elements like plastering that form the backbone of your renovation’s success. Ready to transform your space? Contact Kent Plasterers for expert advice on how professional plastering can enhance your renovation project and add lasting value to your property. FAQ What is a renovation person called? A remodeler is a specialized type of contractor that remodels, renovates, or restores private homes and commercial buildings. While there’s some overlap between them, remodelers are distinct from construction contractors or handymen. What is a fancy word for remodeling? Synonyms include: reconstruct, redo, alter, change, modify. These words mean to cause change, make different, or cause a transformation. What is the difference between renovation and building? Typically, a renovated space is within the existing envelope (building walls and roof), and you are confined by those limits. Building new generally allows starting from scratch and completely customizing a solution that meets current and to some extent future needs. What is the other name for renovation? Some common synonyms of renovate are refresh, rejuvenate, renew, and restore. While all these words mean “to make like new,” renovate suggests a renewing by cleansing, repairing, or rebuilding. How long is a renovation? Renovation timelines vary widely depending on project scope. Planning permission alone typically takes 8-13 weeks in the UK, while full home renovations can range from several weeks to several months. Sources [1] https://en.wikipedia.org/wiki/Renovation [2] https://www.mfsuk.com/blog/define-refurbishment/ [3] https://www.rocketmortgage.com/learn/renovation-and-remodeling
Renovation Guide: Meaning, Methods & Savings Read More »