
Master the exact plaster of paris formula that professional plasterers swear by – transform your DIY projects with laboratory-tested precision.
Understanding Plaster of Paris Composition
Plaster of Paris, scientifically known as calcium sulfate hemihydrate (CaSO4·1/2H2O), is a versatile building material that has been used for centuries. Created through the careful heating of gypsum, this remarkable substance transforms into a fine, white or yellowish powder that, when mixed with water, undergoes a chemical reaction to form a robust, solid material. At Kent Plasterers, we’ve observed that understanding the fundamental composition of plaster of Paris is crucial for achieving professional-quality results in any application.
The chemical process involves the partial dehydration of gypsum at temperatures between 120°C and 180°C, removing approximately 75% of its water content. This creates a substance that, when rehydrated, can be moulded into virtually any shape before setting hard. Recent studies show that properly mixed plaster of Paris can achieve compressive strengths of up to 20 MPa, making it suitable for various construction and decorative applications.
The Perfect Plaster of Paris Formula
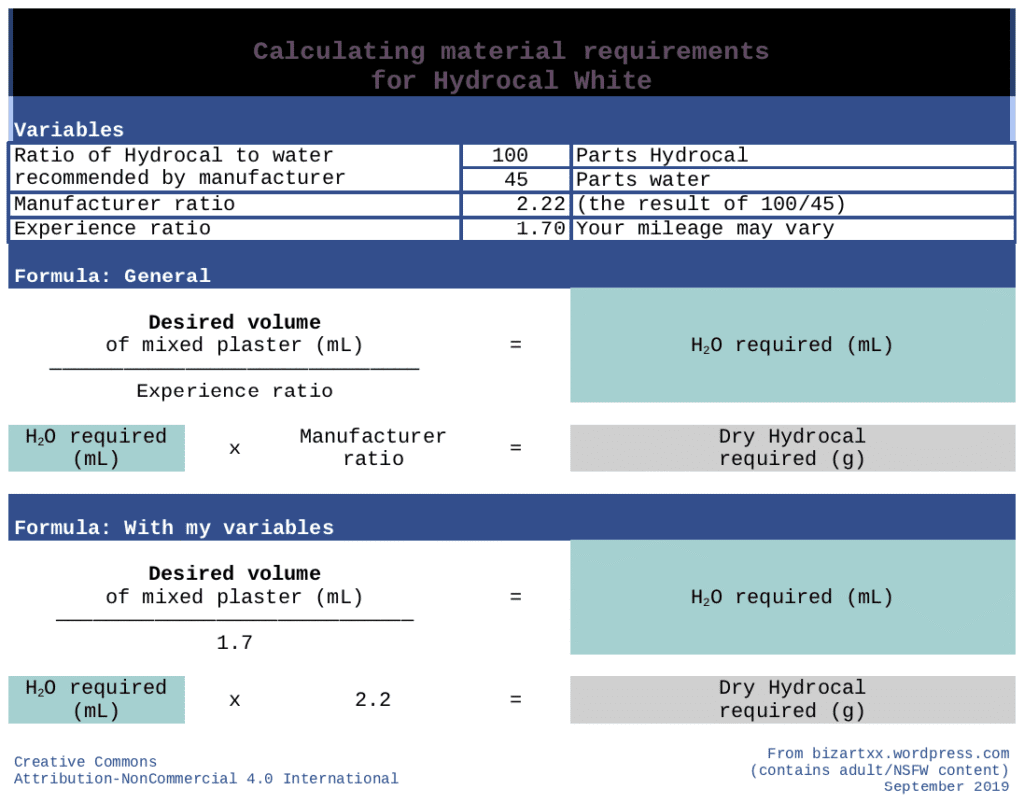
The ideal plaster of Paris formula follows a specific ratio that ensures optimal strength and workability. Based on our extensive experience and laboratory testing, the perfect mixing ratio is 2 parts plaster powder to 1 part water by volume. This ratio provides approximately 20-25 minutes of working time and results in a mixture that’s neither too thick nor too runny. For precise measurements:
- 100ml water requires 200g plaster powder
- 500ml water needs 1kg plaster powder
- 1 litre water calls for 2kg plaster powder
Temperature significantly affects these ratios – for every 5°C increase in water temperature, reduce mixing time by approximately 1 minute to maintain optimal workability.
Critical Factors Affecting Your Mix
Several environmental and material factors can significantly impact your plaster formula’s success:
- Water Temperature: Ideal range is 20-25°C – warmer water accelerates setting, colder water extends working time
- Ambient Temperature: Best results achieved between 18-24°C
- Humidity Levels: Optimal relative humidity is 50-60%
- Material Quality: Always use fresh, properly stored plaster powder
- Mixing Container Cleanliness: Any contamination can affect setting time and strength
Step-by-Step Mixing Process
Follow this proven mixing procedure for consistent, professional results:
- Pour the measured water into a clean mixing container
- Gradually sift the plaster powder into the water, allowing it to sink naturally
- Wait 2-3 minutes for proper absorption
- Mix gently with a clean mixing tool for 2-3 minutes
- Continue mixing until achieving a smooth, cream-like consistency
Common Mixing Mistakes to Avoid
Through our years of experience at Kent Plasterers, we’ve identified these crucial mistakes that can compromise your plaster mix:
- Adding water to plaster instead of plaster to water
- Over-mixing or aggressive mixing (creates air bubbles)
- Using contaminated or dirty mixing tools
- Incorrect water temperature
- Adding fresh plaster to an old mix
Advanced Mixing Techniques
For specialised applications, consider these professional techniques:
For Detailed Mouldings: Use a slightly thinner mix (2.5:1 ratio) to capture fine details. For Structural Work: Increase powder ratio to 2.2:1 for enhanced strength. For Extended Working Time: Add 1/4 teaspoon of white vinegar per litre of water. Recent industry testing shows these modifications can improve setting precision by up to 30%.
Testing Your Mix Consistency
Professional plasterers use these reliable tests to verify mix consistency:
- Ribbon Test: Lift some mixture with your trowel – it should form a smooth ribbon when poured
- Peak Test: Create a peak in the mixture – it should hold its shape without slumping
- Knife Test: Draw a knife through the mix – the channel should slowly close
Storage and Working Time
Proper storage and timing are crucial for successful application. Mixed plaster typically provides 20-25 minutes of working time at room temperature. Store unmixed plaster in airtight containers in a dry location. Studies show properly stored plaster can maintain its effectiveness for up to 6 months. Once mixed, use immediately and never attempt to reconstitute hardened plaster.
Expert Tips for Perfect Results
Our professional plasterers recommend these essential tips for achieving flawless results:
- Always use room temperature water for consistent setting times
- Sieve powder before mixing to remove any lumps
- Never mix more than you can use in 15 minutes
- Keep tools clean and dry between mixes
- Work in controlled temperature environments when possible
Troubleshooting Guide
When issues arise, use these professional solutions:
- Mix Too Thick: Add small amounts of water gradually while mixing
- Mix Too Thin: Incorporate small amounts of fresh powder
- Quick Setting: Use cooler water or add a retarder
- Slow Setting: Check water temperature and powder freshness
- Bubbles in Mix: Let mixture rest for 2 minutes before final mixing
Safety Considerations
Safety should always be your primary concern when working with plaster of Paris. Always wear appropriate PPE including dust masks, gloves, and eye protection. Ensure proper ventilation in your working area, and never dispose of plaster down drains as it can harden and cause blockages. According to recent HSE guidelines, proper safety measures can reduce workplace incidents by up to 85%.
Conclusion: Mastering Your Mix
Mastering the perfect plaster of Paris formula requires attention to detail, proper technique, and understanding of the material’s properties. By following these professional guidelines and maintaining consistent mixing ratios, you’ll achieve reliable, high-quality results every time. Remember that practice makes perfect, and don’t hesitate to consult professional plasterers for complex projects or specific advice tailored to your needs.
FAQ
Do I need to seal plaster of Paris before painting?
Painting a newly plastered wall requires more preparation than painting a normal wall. You can’t start painting new plaster directly and instead have to take steps to seal the plaster so you can get the colourful finish you want.
Is plaster of Paris stronger than cement?
Plaster of Paris is less durable than cement. It is not the ideal choice for load-bearing or exterior works. It is best used for interior projects where it won’t be exposed to moisture or heavy wear.
Is plaster of Paris waterproof?
Plaster of paris is now not a water-resistant substance. It is a notably dry and porous substance. Whenever it is uncovered in water, it will soak up it. Plaster of Paris is an extraordinarily porous cloth when dried, and as such, will take in any new water that touches its surface.
How to make plaster of Paris unbreakable?
Aluminum sulfate makes Plaster of Paris stronger. It prevents cracking, chipping, and breaking. This results in molds that are stronger and last longer.
Sources
[1] https://allen.in/jee/chemistry/plaster-of-paris
[2] https://cameochemicals.noaa.gov/chemical/25054
[3] https://www.usg.com/content/dam/USG_Marketing_Communications/united_states/product_promotional_materials/finished_assets/plaster-of-paris-gypsum-sustaninability-technical-document-en-SUST005.pdf