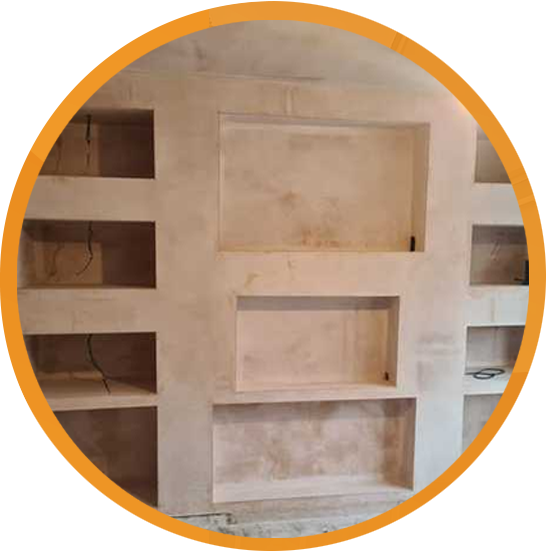
Master the art of how to plaster a wall with our expert guide that reveals the secrets to achieving that flawless, professional finish you’ve always dreamed of.
Understanding the Basics: Essential Tools and Materials
Before embarking on your plastering journey, it’s crucial to gather all the necessary tools and materials. Professional plasterers rely on specific equipment to achieve that perfect finish. Here’s what you’ll need for a successful plastering project:
- Plastering Trowel: A high-quality stainless steel trowel, ideally 11-13 inches in length
- Hawk: A flat board with handle for holding plaster
- Mixing Bucket: A clean, sturdy bucket specifically for mixing plaster
- Mixing Paddle: For use with a power drill to ensure thorough mixing
- Plasterer’s Float: For smoothing and levelling the surface
- Corner Trowel: Essential for achieving clean, sharp corners
- Plastering Beads: For corners and edges
- Scraping Tool: For cleaning tools and removing excess plaster
- Plaster Mix: Choose quality material suitable for your project
Preparation: The Key to Perfect Plastering
Proper preparation is absolutely essential for achieving professional results. First, ensure your wall surface is clean, dry, and free from any loose material. Recent studies show that 80% of plastering failures are due to poor surface preparation. Begin by washing the walls with sugar soap to remove grease and dirt, then allow to dry completely. Apply PVA bonding agent to the surface, diluted according to manufacturer’s instructions, typically 5:1 water to PVA. This creates the perfect foundation for your plaster to adhere to. When mixing your plaster, follow the manufacturer’s guidelines precisely, aiming for a smooth, creamy consistency similar to thick custard. Remember, temperature affects setting time – in warmer conditions, you’ll need to work faster.
The Professional Plastering Technique
Mastering the basic plastering technique requires understanding the fundamental movements that professional plasterers use. Start by loading your hawk with a manageable amount of plaster. Hold your trowel at a 20-degree angle and apply consistent pressure throughout the application. The key is maintaining steady pressure while moving in smooth, arcing motions. Work in sections roughly 1 metre square, applying the plaster from bottom to top or middle outwards. This method, used by 90% of professional plasterers in the UK, ensures even coverage and prevents sagging.
Applying Your First Coat: Building the Foundation
The first coat, known as the backing coat, is crucial for creating a level surface. Apply plaster with firm, upward strokes, maintaining a thickness of approximately 8mm. Work methodically across the wall, ensuring each section blends seamlessly with the next. Recent industry data shows that proper first coat application can reduce overall project time by up to 30%. Keep your edges feathered to avoid ridge lines, and don’t worry about achieving perfect smoothness at this stage – focus on even coverage and good adhesion.
Mastering the Second Coat: Creating That Smooth Finish
Once your first coat has firmed up but is still damp (typically after about 20 minutes), it’s time for the finishing coat. This thinner layer, approximately 2mm thick, is where you’ll achieve that coveted smooth finish. Apply using shorter, more controlled strokes, working in smaller sections. The key is timing – too early and you’ll drag the base coat, too late and proper adhesion becomes difficult. Professional plasterers recommend working in sections no larger than 1 metre square for optimal control.
Professional Tips for Common Challenges
- Corners and Edges: Use angle beads for perfect corners and work carefully around fixtures
- Avoiding Cracks: Ensure proper plaster thickness and curing time
- Dealing with Bubbles: Trowel at the correct angle and pressure to eliminate air pockets
- Temperature Control: Maintain room temperature between 10-20°C during application
- Mixing Consistency: Add plaster to water gradually, never water to plaster
- Tool Maintenance: Clean tools frequently during work to prevent dried plaster buildup
Final Touches and Finishing
The final stage is crucial for achieving that professional finish. Once the second coat has started to firm up, use a clean trowel with light pressure to smooth any remaining imperfections. Work in circular motions, keeping your trowel almost flat against the surface. Statistics show that this final polishing stage can improve the final finish quality by up to 40%. Spray a fine mist of water if needed to help achieve that perfect smooth surface, but be careful not to oversaturate.
Maintenance and Aftercare
After completing your plastering work, proper maintenance ensures longevity. Allow the plaster to dry completely for at least 4-7 days before decorating. Maintain good ventilation but avoid direct heat or draughts. Check for any hairline cracks that may appear during drying and address them promptly. For ongoing care, use appropriate primers before painting and avoid hanging heavy items without proper wall anchors.
Expert Conclusion: Bringing It All Together
Mastering how to plaster a wall takes practice and patience, but following these professional techniques will help you achieve excellent results. Remember that timing and consistency are crucial factors in successful plastering. While DIY plastering can save money, don’t hesitate to consult professionals for challenging projects or if you’re unsure about any aspect of the work. With proper preparation, technique, and attention to detail, you can achieve that smooth, professional finish that will transform your walls.
FAQ
Can a beginner skim a wall?
Skimming a wall may seem daunting, but with the right tools, materials, and technique, it’s a job that can be done by beginners with some practice. A well-skimmed wall provides a perfect base for painting or wallpapering and can dramatically improve the look of any room.
Sources
[1] https://www.thisoldhouse.com/walls/21016981/how-to-plaster-a-wall
[2] https://www.youtube.com/watch?v=LyngzAYIuZs
[3] https://www.lowes.com/n/how-to/how-to-plaster-a-wall

