
Dreaming of smooth, modern ceilings but stuck with dated Artex? Discover whether plastering over Artex is your ticket to ceiling perfection, and what you need to know before taking the plunge.
Understanding Artex and Modern Ceiling Solutions
Artex, a textured coating that dominated UK home design from the 1970s through the 1990s, has become increasingly outdated in modern interior design. These distinctive textured patterns, while once considered the height of home fashion, now often date properties and can significantly impact their market appeal. Today’s design trends overwhelmingly favour clean lines and smooth surfaces, with over 75% of UK homeowners preferring smooth ceilings according to recent interior design surveys. The good news is that plastering over Artex is indeed possible and has become a popular solution for modernising homes across Britain. However, success depends entirely on proper preparation, technique, and understanding of your specific ceiling’s conditions.
The Critical First Step: Asbestos Safety
Before considering any work on an Artex ceiling, safety must be your primary concern. Artex products manufactured before 1999 may contain asbestos, a hazardous material that poses serious health risks if disturbed. Professional testing is essential for ceilings installed before this date. A UKAS-accredited laboratory can analyse a small sample, typically costing between £30-£50, providing peace of mind and legal compliance. If asbestos is detected, you’ll need to either:
- Hire a licensed asbestos removal contractor before any plastering work begins
- Choose overboarding as a safer alternative that doesn’t disturb the existing surface
- Consider specialist encapsulation treatments designed specifically for asbestos-containing materials
Assessing Your Artex Ceiling
The success of plastering over Artex largely depends on the existing ceiling’s condition and pattern depth. Different textures present varying challenges:
- Subtle stippled patterns: Generally easiest to cover with standard plastering techniques
- Deep swirls or peaks: May require additional preparation or multiple coating stages
- Damaged or flaking areas: Must be repaired before any plastering can begin
Before proceeding, thoroughly inspect your ceiling for:
- Structural stability and signs of water damage
- Pattern depth and consistency
- Previous repairs or covering attempts
- Signs of cracking or separation from the substrate
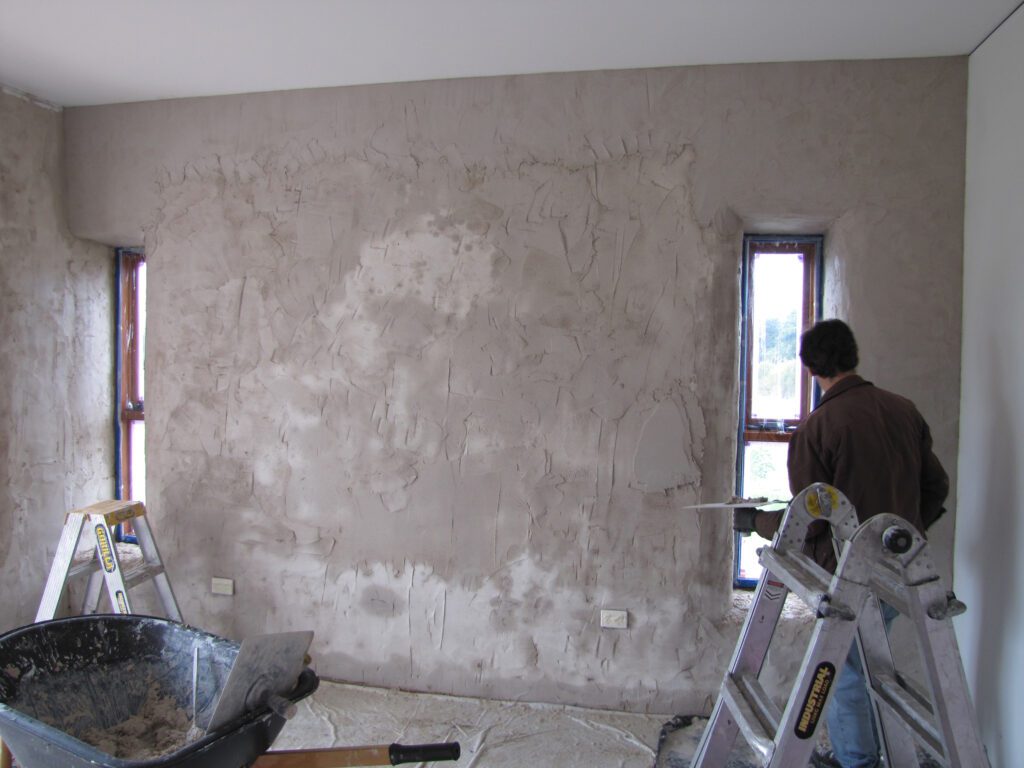
Method 1: Direct Plastering Over Artex
Direct plastering over Artex requires careful preparation and specific techniques to achieve a professional finish. Here’s the essential process:
1. Surface Preparation:
- Clean the ceiling thoroughly to remove dust and debris
- Apply a stabilising solution to prevent future flaking
- Use a bonding agent or PVA adhesive (diluted 5:1 with water) to improve plaster adhesion
2. Plastering Technique:
The process typically involves two distinct coating stages:
- First coat: Apply a thicker base coat to fill and level the texture
- Second coat: A finishing skim coat for a smooth, professional finish
Method 2: The Overboarding Alternative
Overboarding involves fixing plasterboard directly over the existing Artex ceiling, offering several advantages:
- No risk of disturbing asbestos-containing materials
- Creates a completely flat surface for finishing
- Often quicker than direct plastering
- Can incorporate improved insulation
The process requires careful planning and consideration of factors such as ceiling height reduction and fixing methods. Costs typically range from £25-35 per square metre including materials and labour.
Professional Tips for a Flawless Finish
Achieving a perfect finish requires attention to detail and professional techniques:
- Use appropriate plaster mixing ratios for each coat
- Maintain consistent temperature and ventilation during application
- Allow adequate drying time between coats
- Consider using specialist products designed for covering Artex
Making the Right Choice for Your Home
The best approach depends on various factors including:
- Budget constraints: Direct plastering typically costs £20-30 per square metre
- Time considerations: Most projects take 2-3 days for average-sized rooms
- Ceiling condition and asbestos status
- Desired finish and long-term durability requirements
When to Call in the Professionals
While DIY plastering is possible, professional expertise often proves invaluable. Consider professional help when:
- Dealing with large areas or high ceilings
- Asbestos is suspected or confirmed
- The Artex pattern is particularly deep or complex
- You require a guaranteed, showroom-quality finish
Transform Your Space: The Final Steps
Once your ceiling is smoothly plastered, proper finishing is crucial for long-term success. Allow the plaster to dry completely (typically 5-7 days) before decorating. Use a mist coat of watered-down emulsion paint as a primer, followed by your chosen ceiling paint. Regular maintenance and prompt attention to any issues will ensure your newly smooth ceiling remains perfect for years to come. Studies show that updating textured ceilings can increase property value by up to 5%, making this improvement a worthwhile investment in your home’s future.
FAQ
Why is Artex unpopular?
Sometimes referred to as ‘popcorn’ or ‘cottage cheese’ ceilings, they fell out of favour years ago, not only because the look was no longer considered fashionable, but also because until the mid-80s Artex was made with white asbestos to make it stronger.
How do professionals remove Artex?
Artex can be removed by scraping, steaming or chemical stripping. It can also be plastered over. Caution – some older Artex may contain asbestos so always check before you start to work on it.
How expensive is it to remove Artex?
How much does Artex removal cost in 2025? Again, this depends on the scope. A 1 to 2-bedroom home might cost anywhere between £300 to £1,000, which includes the cost of labour and sealing. But, in larger homes or those in which asbestos contamination has occurred, additional costs might also arise.
Is it worth removing Artex?
Key takeaways Artex can detract from the value of your home. It’s frequently associated with asbestos, which can be hazardous. Removing your artex can help to make your home more attractive to potential buyers.
What do you put on Artex before plastering?
So best thing you got artex. Either cover it up with plaster. Board or cover it up with plaster. Two coats of plaster are started off with a dilute PVA two parts water one part PVA. Gave that a a good
Sources
[1] https://www.checkatrade.com/blog/ask-a-trade/can-you-plaster-over-artex-ceiling/
[2] https://www.youtube.com/watch?v=b11Gn6IFDG8
[3] https://www.myworkman.co.uk/questions/view/1923/plastering-over-artex-that-has-asbestos-in-it/