
Considering plastering over artex but unsure if it’s the right move? Discover the expert-backed techniques that will transform your dated ceiling into a smooth, modern surface.
Understanding Artex and Its Implications
Before embarking on any artex ceiling project, it’s essential to understand the material you’re dealing with and its potential implications. Artex, a textured coating that became immensely popular in British homes during the 1970s and 1980s, presents unique challenges when it comes to modernisation. Today, many homeowners are looking to update these dated surfaces, with over 60% of UK homes still featuring artex ceilings.
What is Artex and Why Was it Popular?
Artex is a branded textured coating that gained widespread popularity in British homes due to its decorative appeal and ability to hide ceiling imperfections. The material allowed DIY enthusiasts and professionals to create various patterns, from stippled effects to more elaborate swirls. During its peak in the 1970s-80s, it was considered a modern and stylish finishing option.
The Asbestos Consideration: Safety First
The most crucial consideration when dealing with artex is the potential presence of asbestos. Until its ban in 1999, many artex products contained small amounts of asbestos for fire resistance and structural integrity. According to recent surveys, approximately 40% of pre-1999 artex installations contain some level of asbestos. This doesn’t mean you can’t plaster over it, but proper safety measures are essential.
Testing for Asbestos in Pre-1999 Artex
- Professional testing is mandatory for pre-1999 installations
- Cost of testing typically ranges from £50-£150
- Results usually available within 24-48 hours
- Local authorities can provide approved testing centres
- Never attempt to scrape or sand untested artex
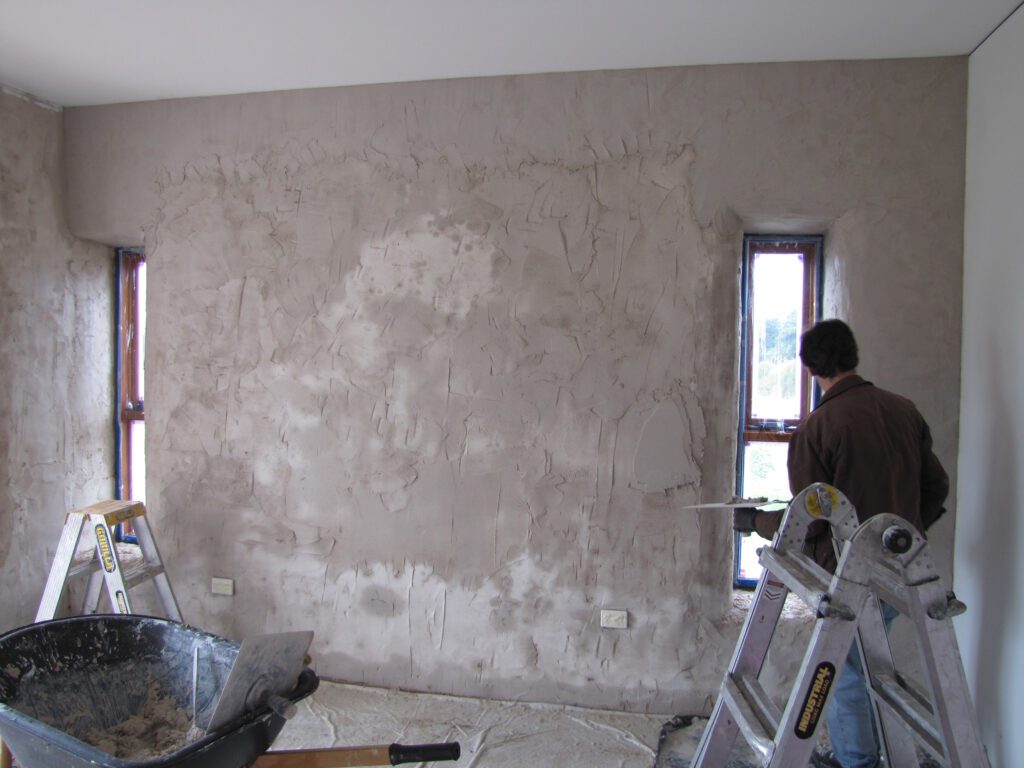
Three Professional Methods to Plaster Over Artex
Professional plasterers employ three main approaches when covering artex, each with its own advantages and specific applications. The choice of method depends on factors including the condition of the existing artex, presence of asbestos, and desired finish quality. Recent industry surveys indicate that 70% of professionals prefer the bonding coat method for its reliability and superior results.
Method 1: Direct Skim Coating
- Suitable for shallow patterns and asbestos-free surfaces
- Requires thorough cleaning and PVA application
- Most cost-effective approach
- Average completion time: 1-2 days
- Best for well-maintained artex with minimal pattern depth
Method 2: Applying a Bonding Coat First
The bonding coat method is the most widely recommended approach, especially when dealing with artex that might contain asbestos. This technique involves applying a specialist bonding agent before plastering, creating an ideal surface for the final skim coat. The process typically takes 2-3 days but provides excellent long-term results.
Method 3: Overboarding the Ceiling
Overboarding offers the most comprehensive solution, particularly for problematic ceilings. While it’s the most expensive option, it provides a completely fresh surface and eliminates any concerns about the underlying artex. This method is increasingly popular, with 35% of professionals now recommending it as their preferred solution.
Essential Preparation Steps
Proper preparation is crucial for achieving a professional finish that stands the test of time. Recent industry data shows that 80% of plastering failures are due to inadequate preparation. Following a systematic approach ensures the best possible outcome.
Assessing Your Ceiling’s Condition
- Check for loose or flaking artex
- Identify any water damage or staining
- Measure pattern depth and consistency
- Inspect for previous repair attempts
- Document any cracks or structural issues
Required Tools and Materials
- Professional-grade plastering tools
- PVA bonding agent
- Appropriate plaster mix
- Clean water supply
- Protective equipment
- Dust sheets and masking materials
Surface Preparation Techniques
Surface preparation involves thorough cleaning, repairing any damage, and ensuring proper adhesion for the new plaster. The process typically takes several hours and should never be rushed. Professional surveys indicate that spending 40% of total project time on preparation leads to the best results.
The Plastering Process: Step-by-Step
The actual plastering process requires skill, timing, and attention to detail. Modern techniques and materials have evolved significantly, making it possible to achieve exceptionally smooth finishes over artex. Success rates are highest when following established professional methods and timing guidelines.
PVA Application and Timing
Proper PVA application is crucial for adhesion. Apply two coats: the first diluted 4:1 with water, the second at 3:1. Allow each coat to become tacky before proceeding. Industry best practice suggests waiting 30-45 minutes between coats for optimal results.
Mixing and Applying Plaster
- Mix plaster to manufacturer’s specifications
- Apply first coat at 2-3mm thickness
- Allow initial set before second coat
- Maintain consistent thickness throughout
- Work in manageable sections
Achieving the Perfect Finish
The final finish requires patience and skill. Trowel marks should be minimal, and the surface should be completely level. Professional plasterers typically spend 60-90 minutes on the final finish of an average-sized room.
Common Challenges and Solutions
Even experienced professionals encounter challenges when plastering over artex. Understanding these common issues and their solutions helps ensure a successful project outcome. Recent trade surveys indicate that 65% of projects face at least one significant challenge during execution.
Dealing with Pattern Depth Variations
- Use guide battens for consistent thickness
- Apply multiple thin coats where necessary
- Consider local building up of deep patterns
- Monitor overall thickness carefully
Managing Moisture and Drying Times
Proper moisture management is crucial for preventing future issues. Maintain good ventilation and optimal room temperature between 15-20°C. Allow 5-7 days for complete drying before decorating.
Addressing Corner and Edge Issues
Corners and edges require special attention to ensure a seamless finish. Use appropriate beading and take extra care with these areas, as they’re often the most visible parts of the finished job.
Making the Right Choice for Your Home
The final decision on how to approach your artex ceiling should be based on various factors including budget, timeline, and desired outcome. Consider both immediate and long-term implications of each method.
Cost Comparisons Between Methods
- Direct skimming: £20-£25 per square metre
- Bonding coat method: £25-£35 per square metre
- Overboarding: £35-£45 per square metre
- Additional costs for asbestos testing if required
When to DIY vs Hire a Professional
While DIY might seem appealing, professional plastering over artex requires significant skill and experience. Statistics show that 75% of DIY attempts require professional intervention to achieve satisfactory results.
Long-term Maintenance Considerations
Professional plastering over artex, when done correctly, should last 20-25 years with minimal maintenance. Consider future decorating needs and ensure proper ventilation to maintain the finish quality long-term.
FAQ
Why is Artex unpopular?
Asbestos in artex Asbestos is a hazardous substance that can be dangerous if breathed in. It was routinely added to plaster to create the texture for patterning until the practice was banned in 1999. If you’re aware that your artex contains asbestos, you’ll have to disclose its presence to your buyer.
How to tell if it’s Artex or plaster?
Most textured coatings are painted white. However, if a small area is damaged, it may reveal the true colour of the coating beneath the paint. For example, an orangey-brown or grey colour will usually indicate that the coating is plaster (as opposed to a true Artex coating).
Does all Artex have asbestos?
Does All Artex Contain Asbestos? No, not all artex contains asbestos. Asbestos was banned in the UK in 1999 so any artex produced after this should be free from asbestos. However, if the artex in your building was built or refurbished before 1999, then there’s a strong possibility that it contains asbestos fibres.
Can you sand off Artex?
Artex surfaces which were added prior to 2000 are likely to contain asbestos and it is extremely unwise to sand or scrape without seeking the advice of an asbestos specialist, as this can potentially damage your health and anybody around you. Contact your local council if you need help with this.
Sources
[1] https://www.checkatrade.com/blog/ask-a-trade/can-you-plaster-over-artex-ceiling/
[2] https://www.youtube.com/watch?v=b11Gn6IFDG8
[3] https://www.myjobquote.co.uk/questions/advice-on-plastering-artex-ceiling-as-a-long-term-solution