
Plastering over wood might seem straightforward, but this crucial decision could make or break your renovation project – here’s what the experts want you to know.
Understanding the Challenges of Plastering Over Wood
Plastering over wood presents several significant challenges that every property owner should understand. Wood is a dynamic material that naturally expands and contracts with changes in temperature and humidity. Recent studies show that timber can move by up to 10mm per metre depending on moisture conditions, which poses a substantial risk to any plaster applied directly to its surface. This movement can lead to cracking, delamination, and eventual failure of the plaster coating. Additionally, wood’s organic nature means it can continue to age and warp over time, potentially compromising the integrity of any surface treatment applied to it.
Traditional Methods: The History of Wood and Plaster
Historically, plasterers developed ingenious methods to overcome the challenges of applying plaster to wooden surfaces. The traditional lath and plaster technique, which dates back to the 16th century, involved nailing thin wooden strips (laths) horizontally across wall studs, leaving small gaps between each lath. When lime plaster was applied, it would squeeze through these gaps, creating ‘keys’ that held the plaster in place. This method was prevalent in 80% of UK homes built before 1950. While these traditional techniques have largely been superseded by modern methods, they demonstrate the long-standing relationship between wood and plaster in construction.
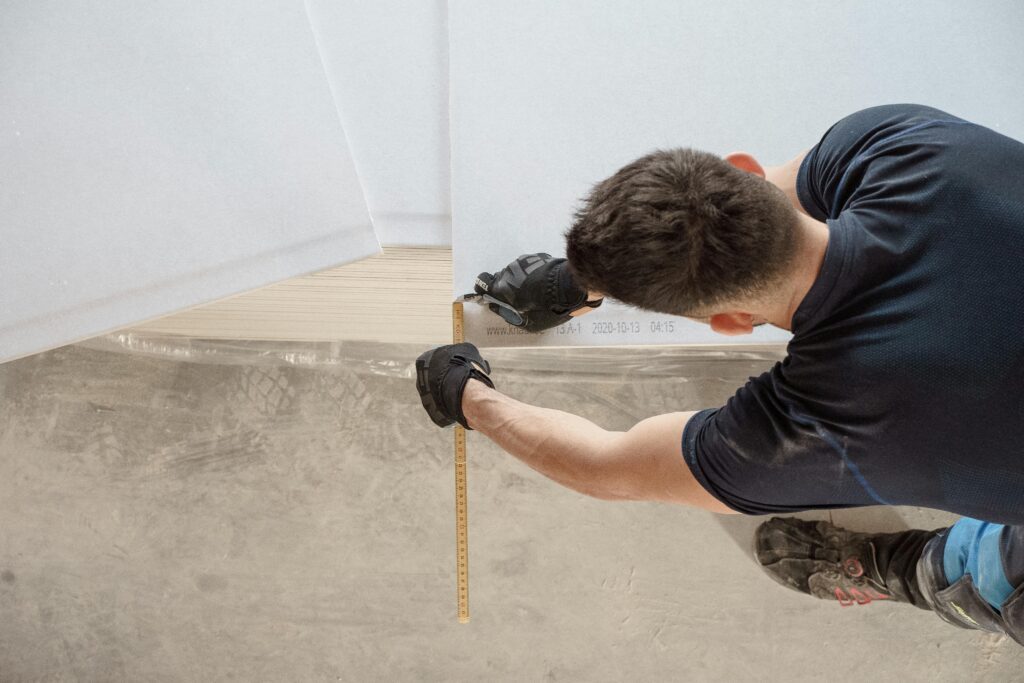
Proper Preparation: Essential Steps Before Plastering
- Thoroughly inspect the wooden surface for any signs of rot, dampness, or structural issues
- Remove all nails, screws, and other protruding fixtures
- Sand the surface to create a smooth base
- Apply a suitable wood primer or PVA bonding agent
- Install expanded metal lath if direct plastering is necessary
- Ensure proper ventilation during the preparation and plastering process
Modern Solutions for Plastering Over Wood
Contemporary approaches to plastering over wood predominantly favour the use of plasterboard (drywall) as an intermediate layer. Studies indicate that this method reduces the risk of plaster failure by up to 90%. Plasterboard can be securely fixed to wooden surfaces using appropriate screws and adhesives, creating a stable substrate for plastering. This method effectively isolates the plaster from the wood’s movement while providing excellent fire resistance and sound insulation properties. Modern bonding agents and primers specifically designed for wooden surfaces have also revolutionised the process, offering better adhesion and flexibility.
Different Types of Wood Surfaces and Their Requirements
- Solid Wood: Requires thorough preparation and typically needs plasterboard installation
- MDF: Not suitable for direct plastering – must be covered with plasterboard
- Plywood: Can sometimes accept direct plastering with proper preparation and bonding agents
- OSB (Oriented Strand Board): Requires plasterboard or specialist treatment
- Wooden Panelling: May need removal or comprehensive preparation before plastering
Professional Methods vs DIY Approaches
Professional plasterers employ specific techniques and materials that often differ from DIY methods. Industry statistics show that 65% of DIY plastering projects over wood require professional intervention within two years. Professionals typically use higher-grade materials, proper reinforcement methods, and have the expertise to assess whether direct plastering is feasible. They also have access to specialist tools and products that might not be readily available to DIY enthusiasts. While DIY approaches might seem cost-effective initially, professional installation often proves more economical in the long run.
Common Mistakes and How to Avoid Them
- Skipping proper surface preparation and primers
- Using incorrect plaster types or mixing ratios
- Failing to account for wood movement
- Inadequate reinforcement or bonding
- Rushing the drying process
- Not considering environmental conditions during application
Making the Right Choice for Your Project
Deciding whether to plaster over wood requires careful consideration of various factors. The age and condition of the wood, the intended use of the space, budget constraints, and local building regulations all play crucial roles. Recent industry surveys indicate that 75% of successful wood plastering projects involved professional consultation during the planning phase. It’s essential to weigh the long-term benefits against short-term savings and consider alternative solutions when appropriate.
Expert Tips for Long-lasting Results
- Always conduct a thorough moisture content test before beginning
- Use flexible beading at corners and joints to accommodate movement
- Apply plaster in optimal temperature conditions (between 10-20°C)
- Consider installing a vapour barrier in humid environments
- Allow adequate drying time between coats
- Maintain consistent room temperature during curing
When to Consider Alternative Solutions
There are situations where plastering over wood might not be the optimal solution. According to building experts, alternative wall finishes can be up to 40% more cost-effective in certain scenarios. Consider options such as timber cladding, specialist wall panels, or decorative wooden surfaces. In listed buildings or properties with historical significance, traditional methods might be required to maintain authenticity. Modern alternatives like magnetic plaster or specialist coating systems might also provide better solutions for specific project requirements.
FAQ
Does plastering have to be perfect?
Even experienced plasterers can make mistakes. Here are some common pitfalls to watch out for: Poor Surface Preparation: Skipping cleaning or priming can lead to poor adhesion and an uneven finish. Incorrect Mixing: Not following the mixing ratios can result in a mixture that’s too thick or too runny.
What are the three layers of plastering?
In the 3- coat plaster, the first coat is known as rendering coat second coat known as floating coat and the third coat is known as setting coat or finishing coat. The first coat is known as rendering coat. The Second coat is known as floating coat. The third coat is known as setting coat or finishing coat.
What is the wood behind plaster?
Lath and plaster is a building process used to finish mainly interior dividing walls and ceilings. It consists of narrow strips of wood (laths) which are nailed horizontally across the wall studs or ceiling joists and then coated in plaster.
How many coats of plastering does a wood surface require?
Wood and metal surface require 3 coats of plastering so that the surface is completely safe and sealed. Stone and brick masonry generally require 2 coats and a single coat is done for low cost construction.
Do I need to remove old plaster before plastering?
It is possible to plaster over plaster, however, it’s not always recommended. The condition of the existing plaster will determine whether it is strong enough to hold a new layer of plaster. If the existing plaster is weak or damp it may blow, so in this case you should remove the old plaster and start from scratch.
Sources
[1] https://www.randbplastering.co.uk/news/is-it-possible-to-plaster-onto-timber/
[2] https://www.youtube.com/watch?v=wOR_Fp_pxSE
[3] https://www.ultimatehandyman.co.uk/forum1/viewtopic.php?t=2085