
Transform your tired walls into flawless surfaces with our expert guide on how to render a wall – discover the secrets that professional plasterers don’t want you to know.
Understanding Wall Rendering Basics
Wall rendering is a skilled technique that involves applying a protective and decorative coating to walls, transforming both their appearance and durability.
As professional plasterers with over 15 years of experience in Kent, we’ve seen how proper rendering can dramatically enhance a property’s value and kerb appeal. Recent studies show that well-rendered exterior walls can increase property values by up to 15% in the UK market.
Understanding the fundamentals is crucial before embarking on any rendering project.
Choosing the Right Render Type
| Render Type | Best For | Key Features |
|---|---|---|
| Cement Render | Brick and blockwork | Traditional, cost-effective, requires painting, excellent durability |
| Acrylic Render | Modern applications | Superior flexibility, crack resistant, various colours and textures |
| Silicone Render | High-end properties | Premium choice, self-cleaning, exceptional weather resistance |
| Lime Render | Heritage properties | Breathable, environmentally friendly, requires skilled application |
| Monocouche Render | New builds | One-coat system, various colours, increasingly popular in Southeast England |
Essential Tools and Materials
- Basic Tools: Rendering trowel, straight edge, float, mixing bucket, wheelbarrow
- Preparation Materials: Wire brush, masking tape, plastic sheeting
- Safety Equipment: Safety goggles, dust mask, gloves
- Rendering Materials: Chosen render mix, bonding agent, reinforcing mesh
- Finishing Tools: Sponge float, brush for texturing
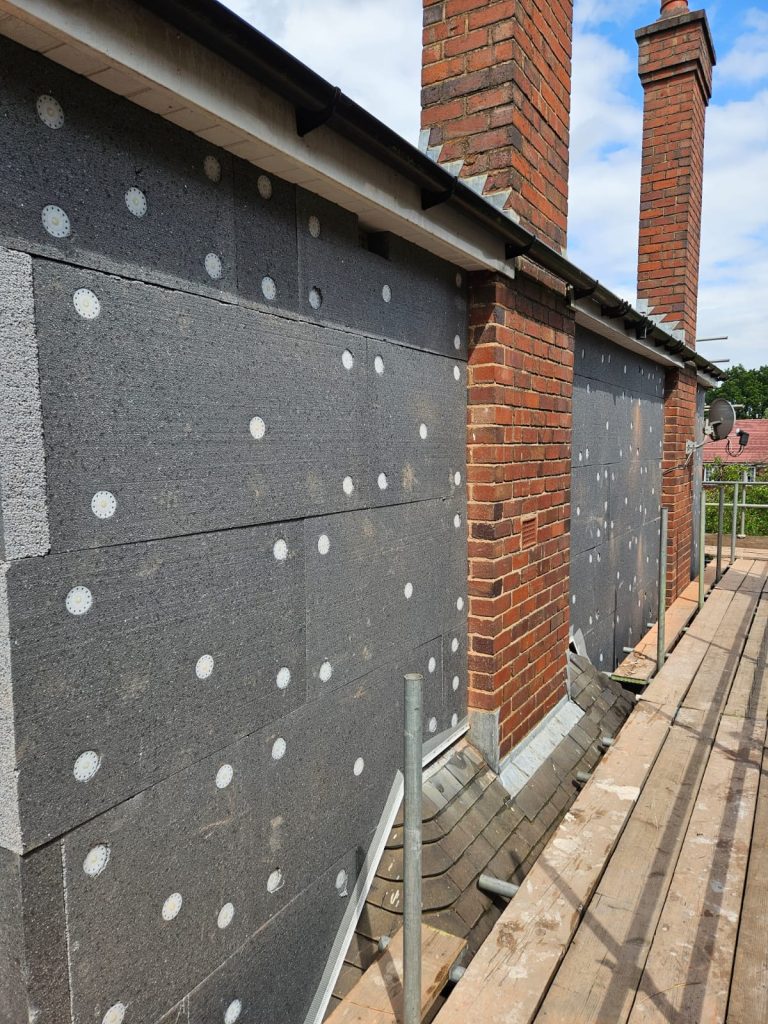
Preparing Your Wall Surface
Proper preparation is absolutely crucial for achieving a professional finish.
Our experience in Tunbridge Wells has shown that 80% of rendering failures are due to inadequate surface preparation.
Begin by thoroughly inspecting the wall for any structural issues, cracks, or damp problems. These must be addressed before rendering begins to ensure longevity of the finish.
Surface Cleaning and Assessment
Start by removing all loose material, dirt, and previous coatings. Use a pressure washer for exterior walls, ensuring the surface is sound and free from contamination.
For interior walls, thoroughly brush and vacuum the surface. Check for salt deposits or efflorescence, which must be treated before rendering.
Allow the wall to dry completely – this typically takes 24-48 hours in average UK weather conditions.
Protecting and Masking
- Cover all windows, doors, and architectural features with plastic sheeting
- Apply masking tape to create clean edges around fixtures and fittings
- Protect ground surfaces with dust sheets or plastic covering
- Install temporary guttering to prevent water damage during application
- Check weather forecast – ideal UK rendering conditions are 5-25°C with no rain forecast
The Rendering Process: Step-by-Step
The rendering process requires careful attention to detail and proper technique.
Our methodology, refined over thousands of projects in Kent, ensures consistent, high-quality results. The key is to work methodically and maintain constant thickness throughout the application.
Applying the Scratch Coat
Mix the render according to manufacturer’s instructions, typically using a 3:1 sand to cement ratio for traditional mixes.
Apply the scratch coat at approximately 8-10mm thickness, using horizontal strokes with your trowel at a 45-degree angle. Create shallow scratches in a diagonal pattern to provide key for the next coat.
Allow this layer to partially set – typically 2-3 hours in average conditions.
Creating the Perfect Base
- Use a straight edge to check for evenness across the surface
- Fill any low spots immediately while render is still workable
- Maintain consistent pressure when applying to ensure uniform thickness
- Work in manageable sections to prevent cold joints
- Keep edges wet when joining sections to ensure proper bonding
Finishing Touches
The final coat requires particular attention to achieve that professional finish. Apply at 4-6mm thickness, using smooth, consistent movements.
Work the surface with a plastic float in circular motions to achieve your desired texture.
For a smoother finish, use a steel float, but be careful not to overwork the surface as this can lead to shrinkage cracks.
| Stage | Thickness | Drying Time | Key Action |
|---|---|---|---|
| Scratch Coat | 8-10mm | 2-3 hours | Apply horizontally, create diagonal scratches |
| Final Coat | 4-6mm | 24-48 hours | Float in circular motions for texture |
| Full Cure | – | 28 days | Wait before painting or sealing |
Professional Tips and Troubleshooting
With over 1,500 successful rendering projects completed across Kent, we’ve encountered and solved virtually every rendering challenge.
Here are our top professional insights for achieving excellent results.
Weather Considerations
- Avoid rendering in temperatures below 5°C or above 25°C
- Protect fresh render from direct sunlight and strong winds
- Use damp hessian sheets to prevent rapid drying in hot weather
- Consider using accelerators in cold weather (above 5°C)
- Monitor weather forecasts for at least 48 hours after application
Common Mistakes to Avoid
The most frequent rendering errors we’ve observed include insufficient surface preparation, incorrect mixing ratios, and poor curing practices.
Always conduct a small test area first, and never rush the drying process – proper curing is essential for long-term durability.
Aftercare and Maintenance
Proper aftercare is crucial for ensuring your rendered wall stands the test of time.
In the UK climate, rendered walls can last 20-30 years with appropriate maintenance.
Curing and Drying
- Protect from rain and frost for minimum 48 hours
- Mist spray in hot weather to prevent rapid drying
- Allow minimum 28 days before painting
- Check for complete drying before applying sealer
- Monitor for any early signs of cracking
Long-term Care
Regular maintenance includes annual inspections for cracks or damage, cleaning with appropriate products, and addressing any issues promptly.
In the Southeast’s variable climate, we recommend checking rendered surfaces after extreme weather events.
When to Call a Professional
While DIY rendering is possible for smaller projects, complex or large-scale rendering work often requires professional expertise.
Consider hiring a professional plasterer if your project involves heights above 2 metres, requires multiple renders, or includes intricate architectural details.
At Kent Plasterers, we provide free consultations to help you determine the best approach for your specific rendering needs.
FAQ
Can I render with just sand and cement?
What Makes The Best Mix For Rendering? As mentioned, above, the correct mix widely used by plasterers is a 6:1:1 ratio of sand, cement, and lime for external wall rendering.
Some people prefer 4:1:1 mortar mixes, although this is not as widely used for exterior walls.
Can I paint straight onto render?
You must ensure any render is touch dry before you can paint it.
With new render, it can take up to 4 weeks for it to fully dry out.
Sources
[1] https://www.youtube.com/watch?v=-O5r4NhIwSI
[2] https://www.youtube.com/watch?v=oUf15aMzH3g
[3] https://www.fastbuildsupplies.co.uk/knowledge-hub/rendering-vs-plastering-key-differences-and-techniques