
Transform your tired brick exterior into a stunning rendered masterpiece with our expert guide on how to render a brick wall – perfect for every Kent property owner looking to boost their home’s kerb appeal.
Understanding Wall Rendering: What You Need to Know
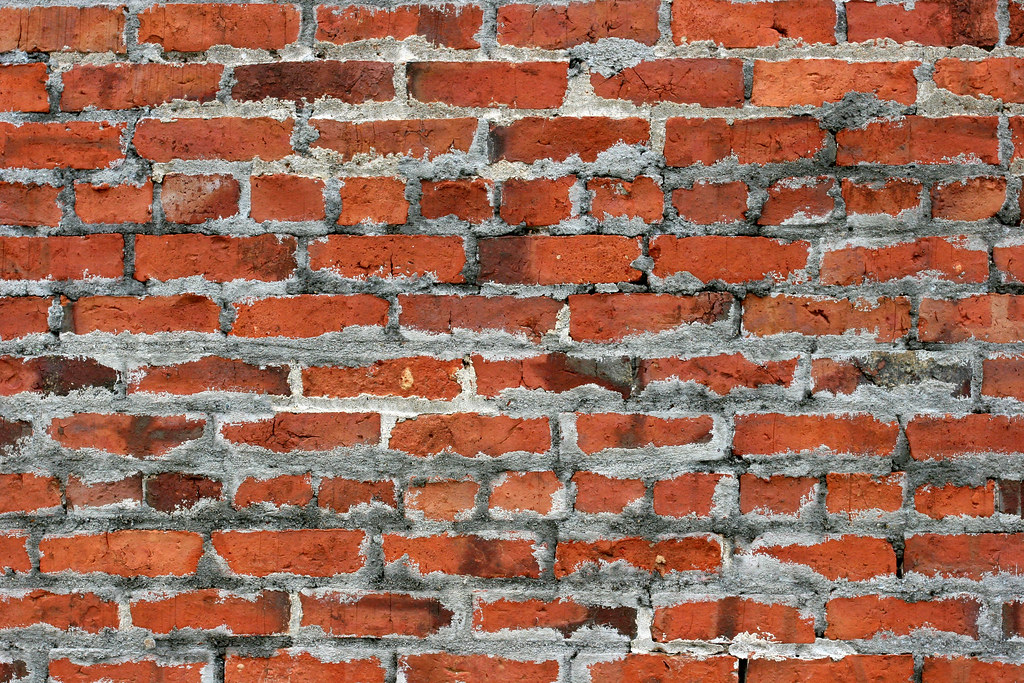
Wall rendering is a versatile finishing technique that involves applying a mixture of cement, sand, and other materials to exterior walls. This protective coating not only enhances your property’s appearance but also provides crucial protection against weather elements. In Kent’s variable climate, rendering can significantly extend your wall’s lifespan while adding value to your property. Recent studies show that properly rendered walls can increase a property’s value by up to 8% and provide thermal efficiency improvements of up to 15%.
Modern rendering systems fall into several categories:
- Traditional sand and cement render: Durable and cost-effective, perfect for most brick surfaces
- Lime render: Ideal for period properties, offering superior breathability
- Polymer-modified renders: Enhanced flexibility and weather resistance
- Monocouche renders: One-coat systems with coloured finish
Essential Tools and Materials for Rendering
Before beginning your rendering project, ensure you have all necessary equipment:
- Materials:
– Portland cement
– Sharp sand
– Hydrated lime
– Clean water
– Bonding agent
– Waterproof membrane (if required) - Tools:
– Plasterer’s trowel
– Hawk board
– Straight edge
– Spirit level
– Scratcher/scarifier
– Plastic float
– Steel float
– Mixing bucket or paddle mixer
– Water brush
Preparing Your Brick Wall for Rendering
Proper preparation is crucial for achieving a lasting render finish. Start by thoroughly inspecting your wall for any structural issues. According to industry statistics, 80% of rendering failures are due to inadequate surface preparation. Begin with these essential steps:
1. Remove any loose mortar or damaged bricks
2. Repair any cracks or holes with appropriate filler
3. Clean the wall surface using a wire brush to remove dirt and debris
4. Install beading around windows and doors
5. Cover windows, doors, and any external fixtures
6. Dampen the wall thoroughly before applying render
The Rendering Process: Step-by-Step Guide
Mixing Your Render
The perfect render mix is crucial for durability and workability. For a standard mix, combine:
– 1 part cement
– 4 parts sharp sand
– Small amount of lime (improves workability)
– Water until reaching a smooth, workable consistency
Applying the First Coat
The base coat, also known as the scratch coat, is fundamental to a successful render job. Apply using these techniques:
1. Start from the bottom and work upwards
2. Apply render with firm, upward sweeping motions
3. Maintain consistent thickness (approximately 8-10mm)
4. Create horizontal scratches once partially set
5. Allow to cure for at least 24 hours
Creating the Perfect Finish
Your final coat determines the aesthetic appeal of your rendered wall. Choose from these popular finishes:
- Smooth: Achieved using a steel float
- Textured: Created with a plastic float
- Tyrolean: Sprayed finish for decorative effect
- Pebbledash: Incorporating aggregate for durability
Curing and Protecting Your Rendered Wall
Proper curing is essential for render strength and longevity. Follow these crucial steps:
1. Keep the render damp for 2-3 days using a fine water spray
2. Protect from direct sunlight and strong winds
3. Allow minimum 7 days before painting
4. Consider applying a weatherproof coating for extra protection
Common Rendering Mistakes and How to Avoid Them
Be aware of these frequent pitfalls:
- Incorrect mix ratios leading to weak render
- Applying render in unsuitable weather conditions
- Insufficient surface preparation
- Rushing between coats
- Inadequate curing time
Professional Tips for a Perfect Render
With over 20 years of experience in Kent, our team recommends:
1. Check weather forecasts – avoid rendering in extreme temperatures
2. Use clean tools and materials
3. Maintain consistent mixing ratios
4. Work in manageable sections
5. Keep edges ‘wet’ when joining areas
When to Call a Professional
While DIY rendering is possible, certain situations warrant professional intervention:
- Large surface areas exceeding 50 square metres
- Heights above 2 metres requiring scaffolding
- Complex architectural features
- Heritage properties requiring specialist knowledge
- Signs of structural issues
Maintaining Your Rendered Wall
Ensure your rendered wall’s longevity with these maintenance tips:
1. Annual visual inspections for cracks or damage
2. Regular cleaning with mild detergent solution
3. Prompt repair of any damage
4. Repainting every 5-10 years as needed
5. Professional inspection every 5 years
FAQ
Can you render straight onto concrete blocks?
Blockwork or block wall is a type of substrate composed of concrete or cement blocks. It is a cost-effective and high-performing means of structurally supporting your property. Yet, rendering onto blocks can be an effective way to add further structural integrity to the wall.
What’s the best mix for rendering?
As mentioned, above, the correct mix widely used by plasterers is a 6:1:1 ratio of sand, cement, and lime for external wall rendering. Some people prefer 4:1:1 mortar mixes, although this is not as widely used for exterior walls.
How much does it cost to render a brick wall?
Rendering can cost anywhere from $30 to $80 per square metre, or more if you have a two-storey home. The complete cost to render a home can be in the region of $12,000 for a smaller family home to $50,000 for a larger double-storey home. Read this guide to find out more about: What is render?
Can you render with just sand and cement?
Sand and cement render is a relatively simple and cost-effective option for finishing the exterior of a building, and can be used to achieve a variety of looks, from traditional to modern.
Is rendering brick a good idea?
Rendering also has another key advantage: layering your builder’s exterior helps prevent the exposed brick from cracking and erosion, which can save you from having to pay for expensive maintenance.
Sources
[1] https://www.youtube.com/watch?v=oUf15aMzH3g
[2] https://www.youtube.com/watch?v=-O5r4NhIwSI
[3] https://www.youtube.com/watch?v=ThcIIDGN08Q