
Master the art of working with plaster of paris and unlock a world of creative possibilities with our expert guide to achieving flawless, professional-grade finishes every time.
Understanding Plaster of Paris
Plaster of Paris, a versatile building material with a rich history dating back to ancient civilizations, is essentially a fine white powder composed primarily of calcium sulfate hemihydrate. When mixed with water, it undergoes a fascinating chemical reaction, transforming into a workable paste that sets and hardens into a durable solid form. This remarkable material derives its name from the abundant gypsum deposits near Paris, France, where it was extensively quarried and processed.
What makes plaster of paris particularly valuable for DIY enthusiasts and professionals alike is its unique setting properties. The material typically begins to set within 10 minutes of mixing and achieves full hardness in approximately 45 minutes. During this process, it undergoes a slight expansion before contracting, which helps it capture intricate details in moulds and ensures a tight, secure fit in various applications.
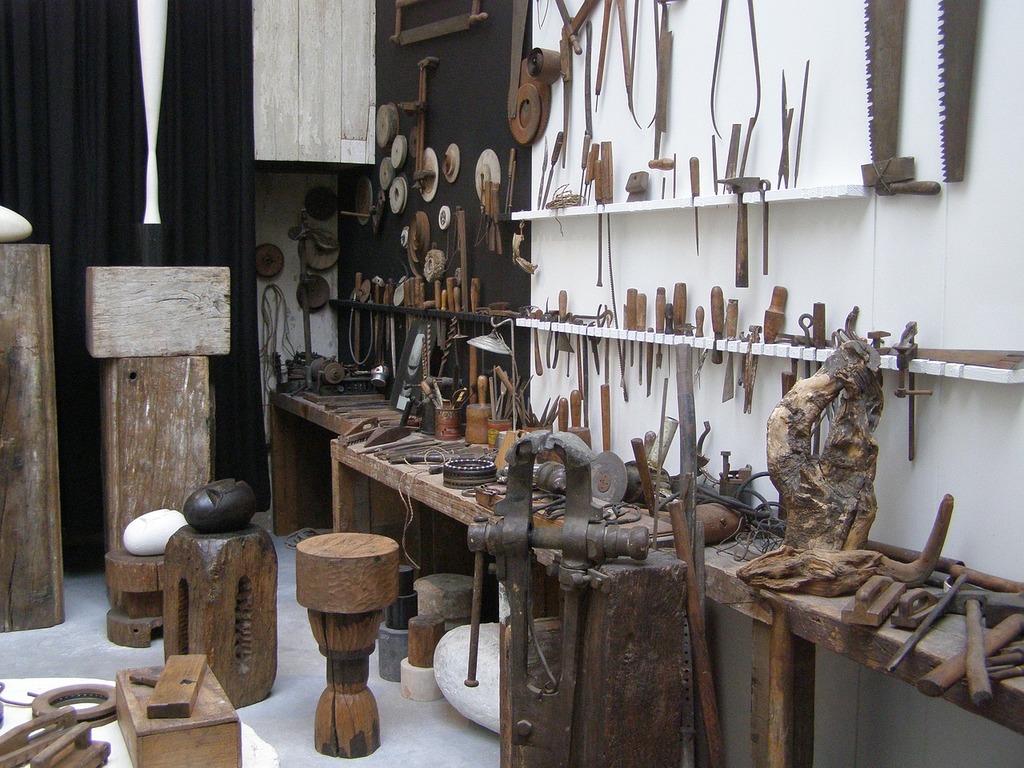
Essential Tools and Safety Equipment
- Mixing Tools: Large mixing bucket, measuring cups, mixing stick or electric mixer
- Application Tools: Trowels (various sizes), spatulas, smoothing tools
- Safety Gear: Dust mask or respirator, protective goggles, rubber gloves
- Workspace Protection: Drop cloths, masking tape, plastic sheeting
- Additional Equipment: Clean water supply, timer, sandpaper (various grits)
Mixing Plaster of Paris Perfectly
Achieving the perfect mix is crucial for successful plaster work. The ideal water-to-plaster ratio is typically 2:3 (two parts water to three parts plaster), though this may vary slightly depending on your specific application. Begin by pouring the measured water into your mixing container first, then gradually add the plaster while stirring continuously. This method helps prevent lumps and ensures even distribution. Mix until you achieve a smooth, creamy consistency similar to thick cream. Remember, once the mixing begins, work quickly as you typically have just 10 minutes before the mixture starts to set.
Application Techniques and Tips
Successful application of plaster of paris requires both skill and timing. Start by thoroughly preparing your surface – it should be clean, dry, and free from dust or debris. For best results, slightly dampen the surface before application, as this helps with adhesion. Apply the plaster using smooth, consistent strokes, working in small sections to ensure even coverage. Maintain a thickness of approximately 1/2 inch for optimal strength and durability. For detailed work or mouldings, ensure all crevices are filled completely to avoid air pockets.
Common Projects and Applications
- Decorative Mouldings: Create custom cornices, ceiling roses, and architectural details
- Repair Work: Fix holes, cracks, and damage in walls and ceilings
- Artistic Projects: Craft sculptures, decorative pieces, and craft items
- Surface Finishing: Create smooth surfaces for painting and decoration
- Casting: Make detailed moulds and replicas of objects
Troubleshooting and Problem Solving
Common issues when working with plaster of paris include bubbles, cracks, and uneven setting. To prevent bubbles, tap your mould gently during pouring and avoid overworking the mixture. Cracks typically occur due to rapid drying – control this by maintaining moderate room temperature and humidity levels during setting. If you experience uneven setting, check your mixing ratio and ensure thorough mixing before application. Remember that room temperature should be between 13-21°C (55-70°F) for optimal results.
Advanced Techniques and Special Effects
Once you’ve mastered the basics, explore advanced techniques to create unique finishes. Consider adding mineral pigments for coloured plaster, or experiment with textured finishes using specialised tools. For increased strength in structural applications, you can mix plaster of paris with Portland cement in a 1:5 ratio. Create marbling effects by adding different coloured plasters, or achieve antiqued finishes by applying tinted washes after the plaster has fully cured.
Maintenance and Care
- Allow plaster to fully cure for at least 72 hours before painting or sealing
- Use appropriate sealers for areas exposed to moisture
- Clean surfaces regularly with a soft, dry cloth
- Avoid harsh cleaning chemicals that may damage the finish
- Address any damage promptly to prevent deterioration
Environment and Safety Considerations
Working with plaster of paris requires proper ventilation and safety precautions. The material can reach temperatures exceeding 60°C while setting, and dust inhalation can pose health risks. Always work in a well-ventilated area and wear appropriate protective gear. Dispose of unused plaster properly – never pour it down drains as it can harden and cause blockages. Ensure your workspace maintains humidity levels between 40-60% for optimal results.
Professional Tips and Best Practices
- Always mix fresh batches rather than trying to reuse partially set plaster
- Keep tools clean and wash them immediately after use
- Work in manageable sections appropriate to setting time
- Store plaster in an airtight container in a dry place
- Practice on small projects before attempting larger ones
- Document your mixing ratios and techniques for consistency
FAQ
Is plaster of Paris as strong as concrete?
Plaster of Paris is less durable than cement. It is not the ideal choice for load-bearing or exterior works. It is best used for interior projects where it won’t be exposed to moisture or heavy wear. It gives a smooth and pretty finish.
What is better than plaster of Paris?
UCAST is more breathable and lighter than fiberglass and Plaster of Paris casts, which makes it more comfortable for the patient. Another important component of a comfortable cast is the fit: Plaster of Paris might win here but loses on overall wearability.
How long does plaster of paris take to harden?
The plaster will take anywhere between 3 hours and 3 days to fully cure, but it’s typically dry enough to remove from the mould in 30min-1hr. It’s a good idea to let it finish setting outside of the mould to speed up the process.
Sources
[1] https://en.wikipedia.org/wiki/Plaster
[2] https://www.britannica.com/technology/plaster-of-paris
[3] https://www.dap.com/products-projects/product-categories/patch-repair/plaster-stucco/plaster-of-paris/